How I made two Asian style kitchen knives with a Hamon

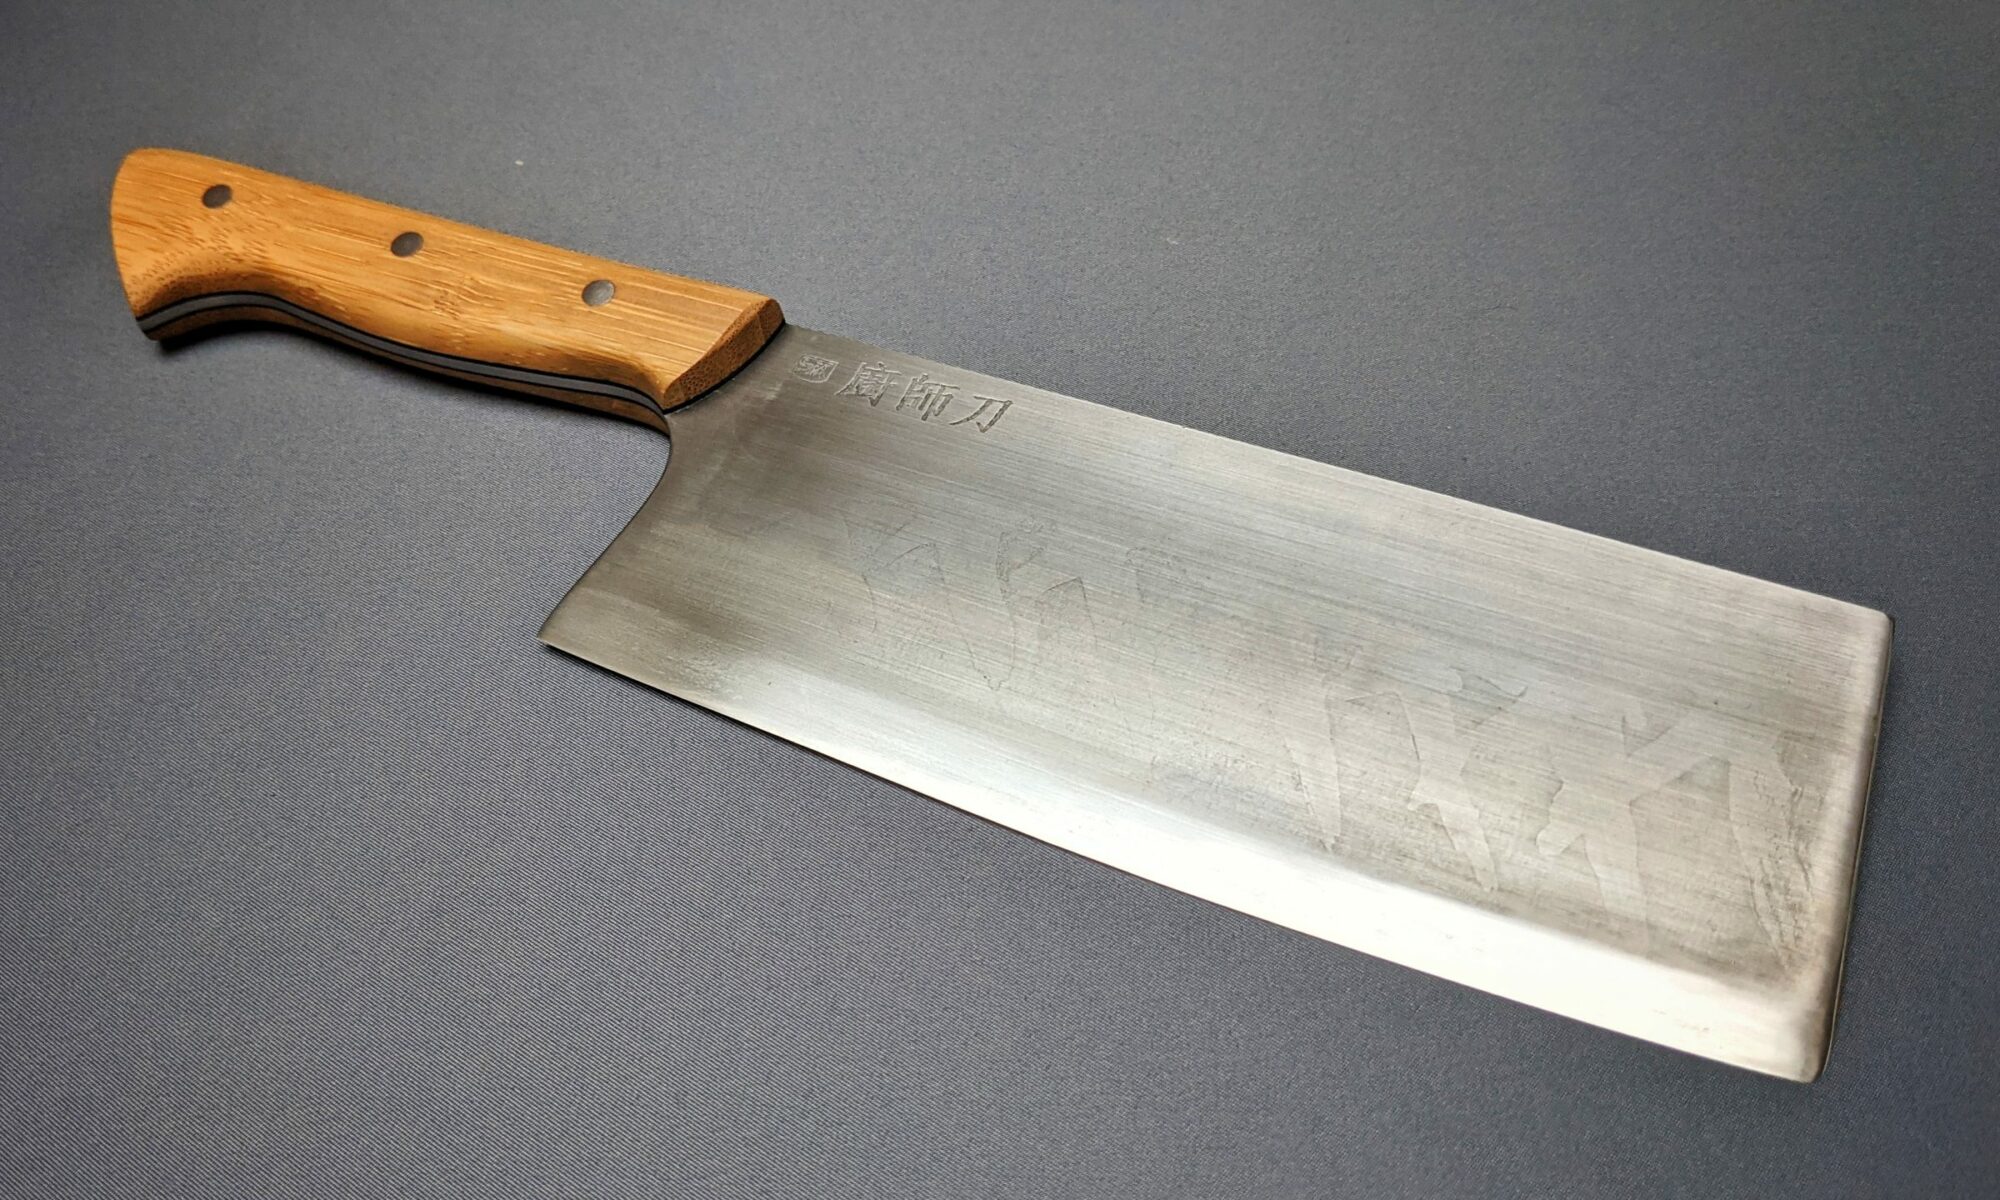
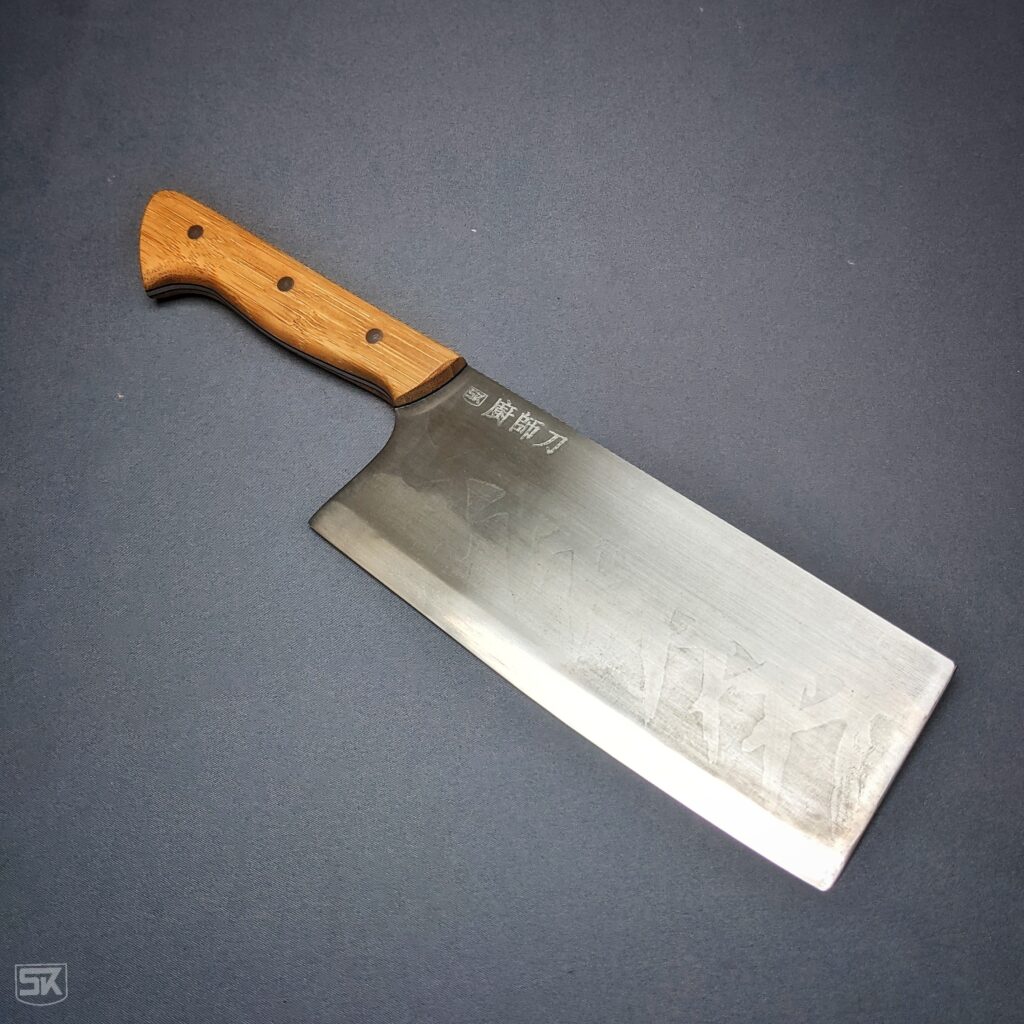
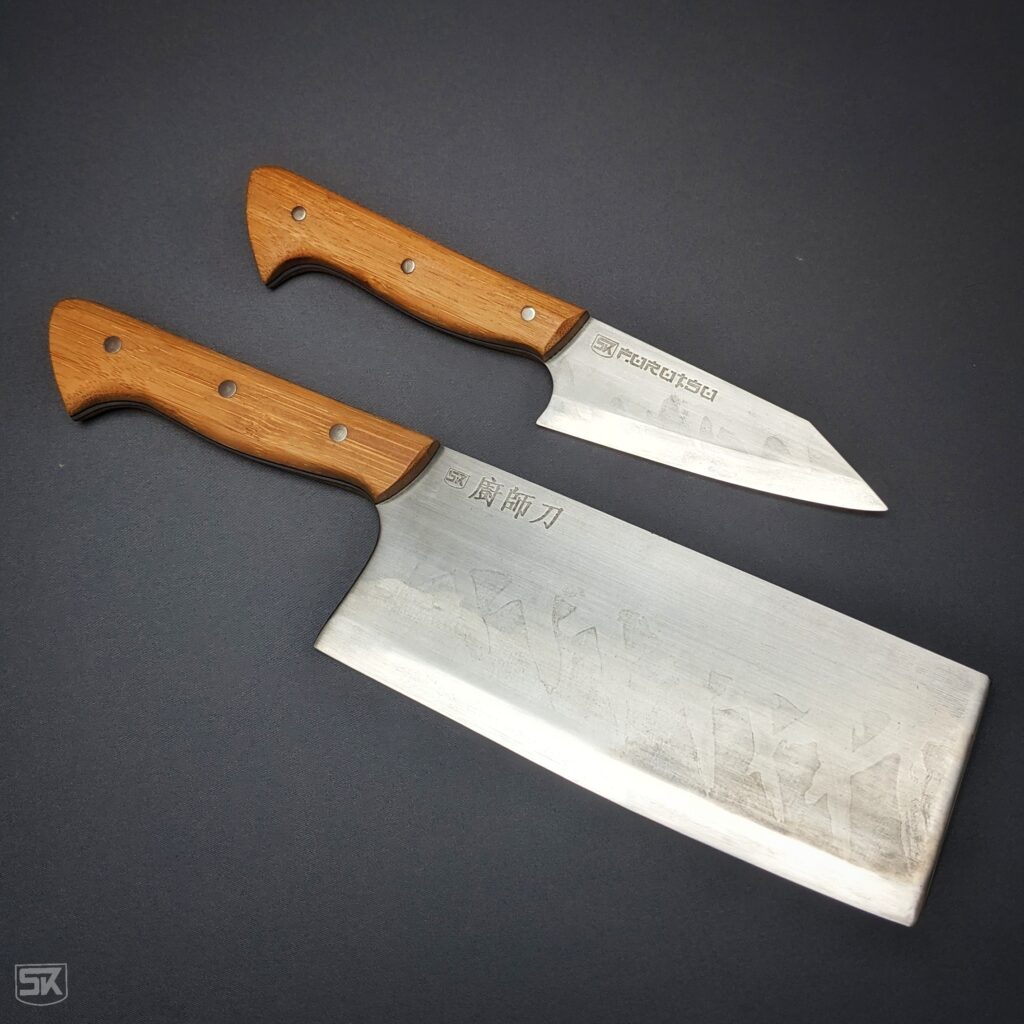
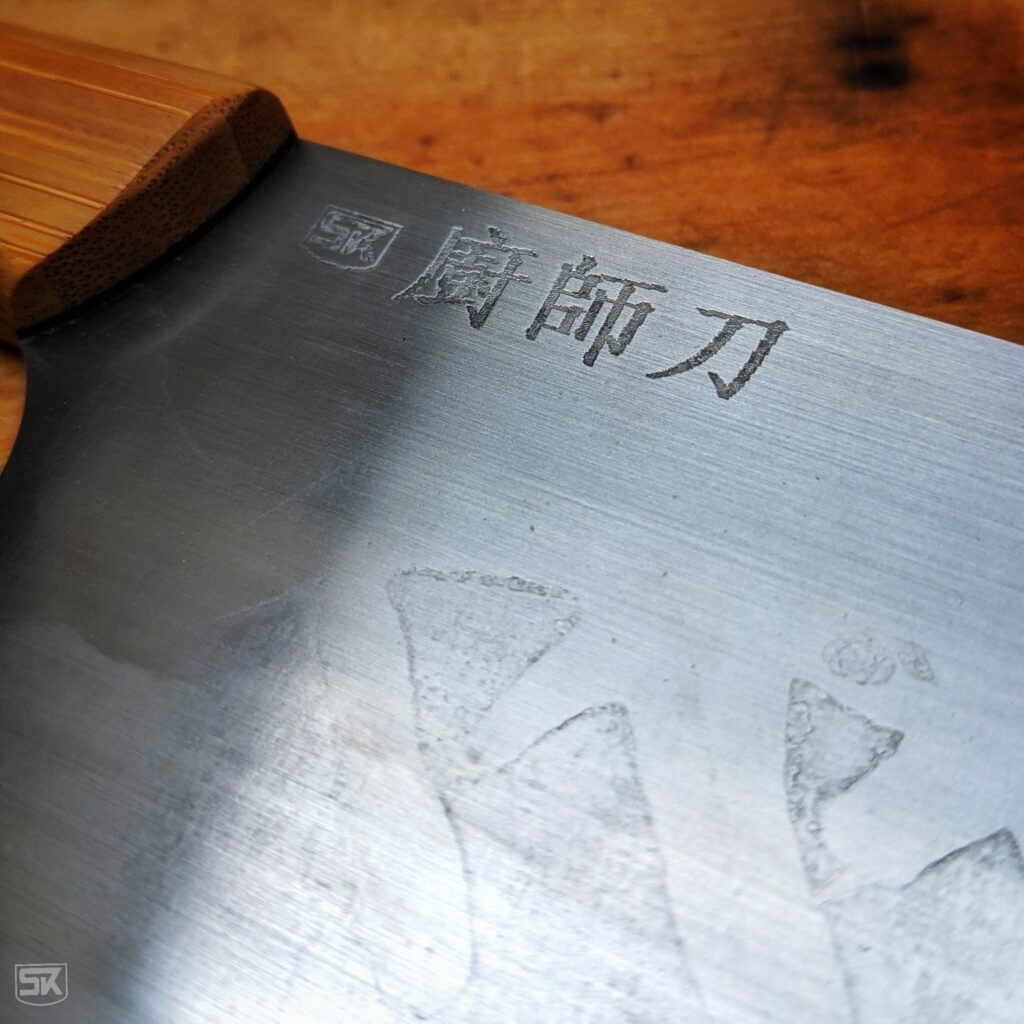
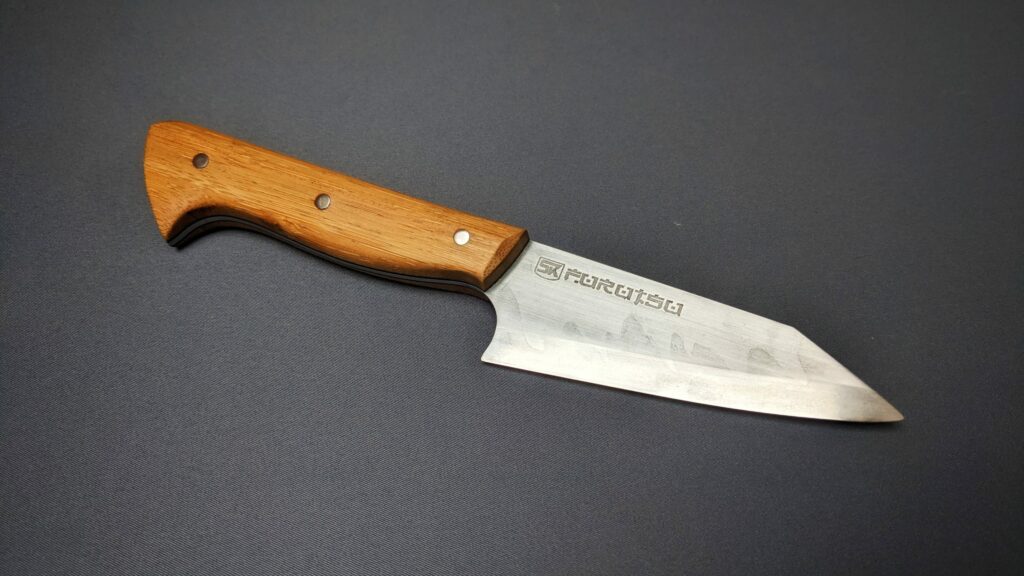
I have recently finished more kitchen knives. I worked on another Japan-style Furutsu petty knife and a Chinese chef’s knife.

I used 2 mm O1 steel for these knives as this gives a good mix of stability, flexibility and thin enough to be highly sharpened. O1 is my favorite steel to work with.

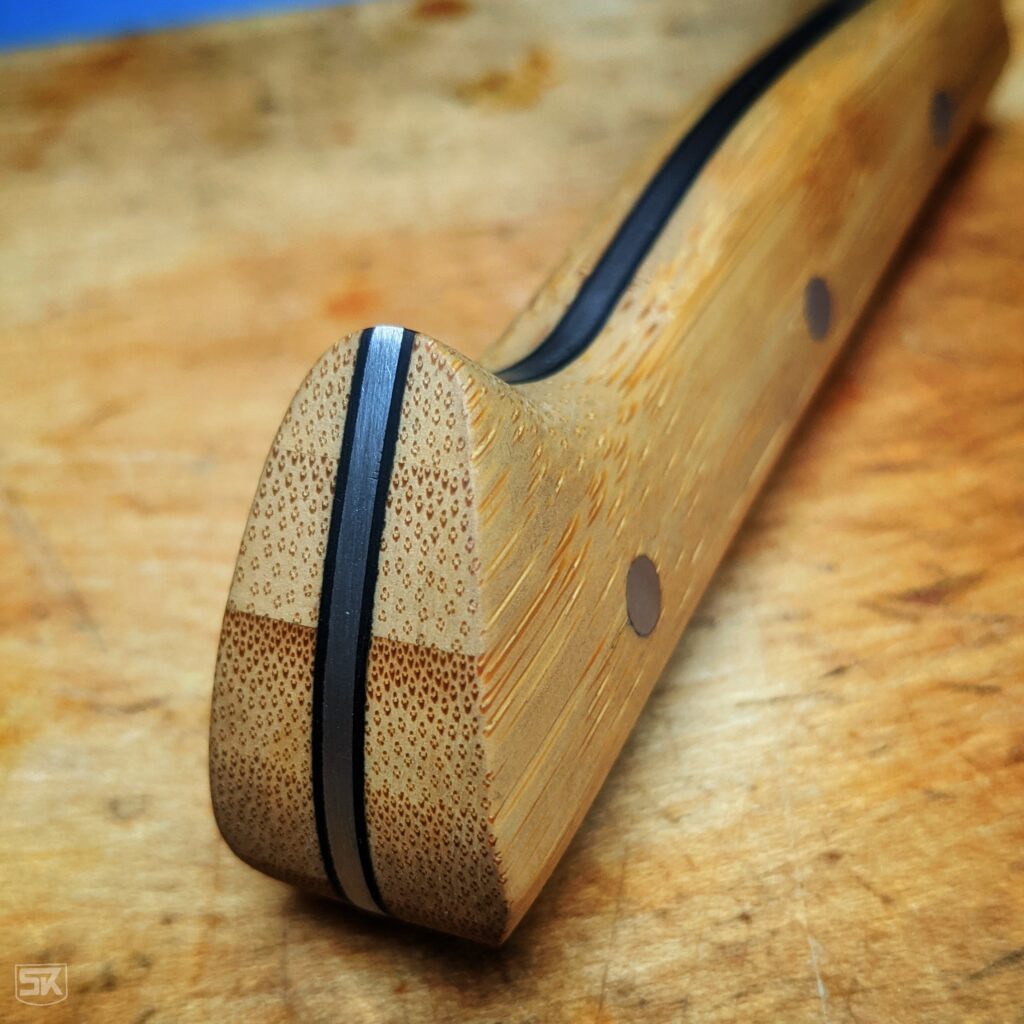
On my last order of handle material, I changed the supplier and checked out some of his materials. I found that he offered bamboo handle scales and as I already planned to do Asian-style knives I found them to fit perfectly and got two sets. The bamboo is not a solid block but more layered or stacked. I still like it a lot.

My first tries to add a Hamon

I always try to learn something new – this time I wanted to experiment with creating selective hardness in the blades and a Hamon. A Hamon is a wavy line between the hardened part of the blade – the cutting edge – and the spine of the blade, where the steel stays softer. The advantage is, that the hardened blade is supported by a softer part of the blade which results in a more stable knife – and to be honest: it looks just super cool.

To create the Hamon I prepared the blades as usual and then I created a mix of ash and clay. The recipe for the exact mixtures is a secret that is passed from generation to generation in our family. The clay is left to dry. Then the blade is heated together with the clay mantle and hardened in the oil.

After hardening the clay is removed and the blade is tempered and then hand sanded to the desired grit and then etched in ferric chloride, then sanded again. I repeated the etching and sanding process multiple times to reach the desired look.

For my first try I am very happy with the result. Must be due to the secret clay recipe of our family 🙂
A knifemakers course at Simply-Knives

I work on my own in my tiny workshop, that is what I usually do. But when a friend of mine called and told me that he knows somebody who would love to learn how to make a knife, I thought: why not give it a try. I had no idea what to charge for that, as I wouldn’t do it for the money anyway. So I just said a bit more than the material for a knife would cost.

So I met Arne – an eighteen-year-old guy, polite, friendly, and respectful – and very eager to learn the skills needed to make a knife. And what matters most: the ability to listen and learn.

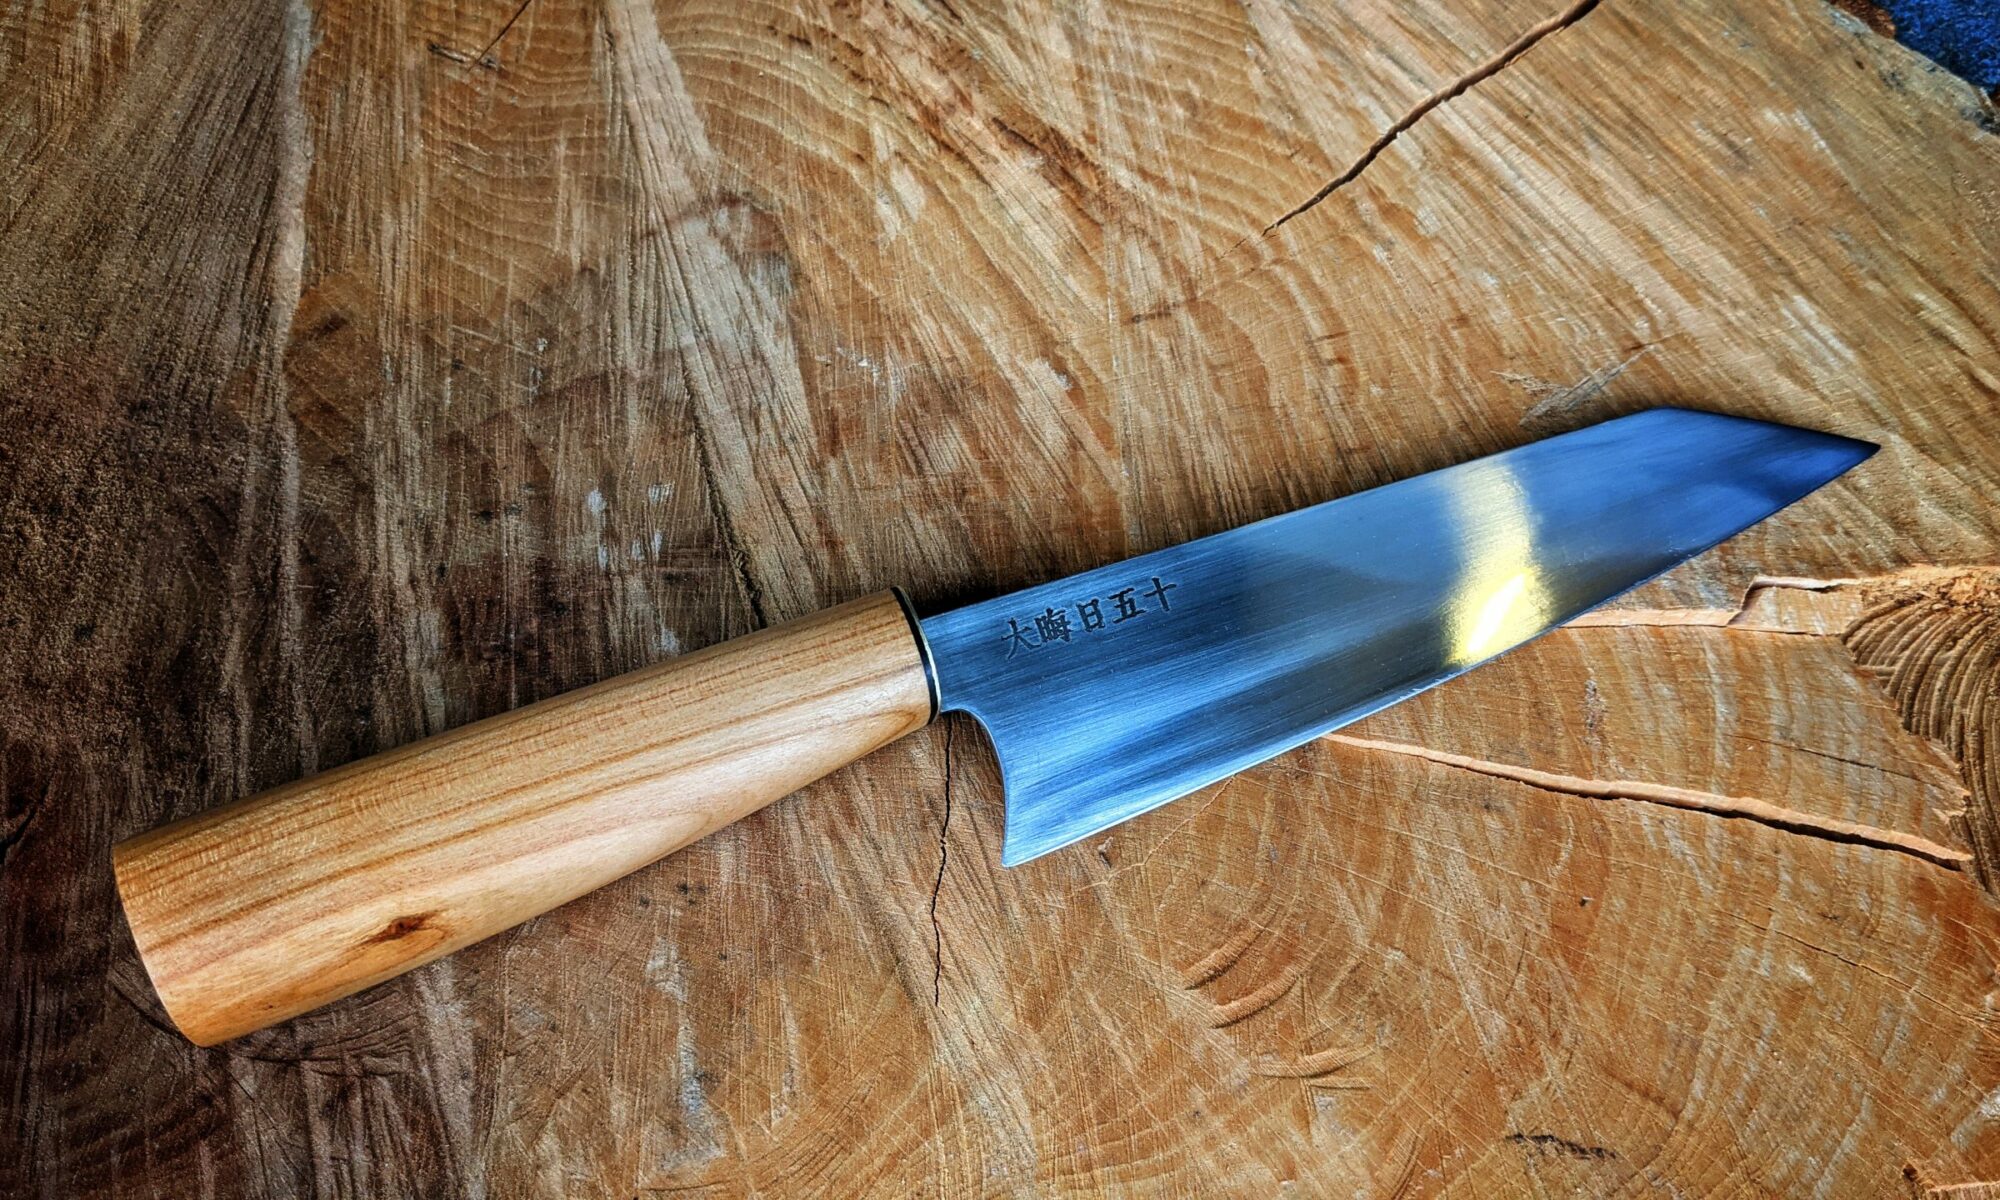
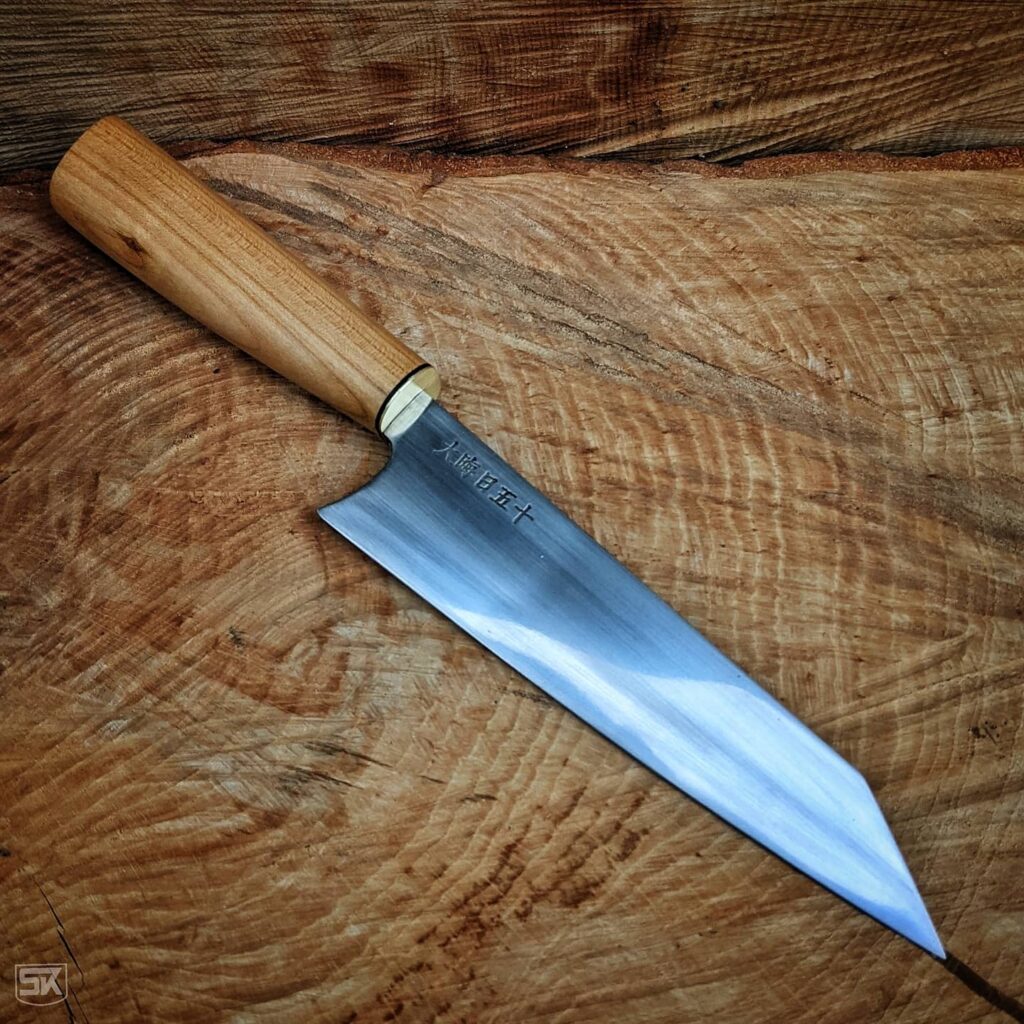
He wanted to do a Santoku-style kitchen knife, similar to the chef’s knife I made. But he absolutely wanted to do a hidden tang knife – no matter how much I said that this would mean a lot more and complicated work for his first knife. But as he wants to give it a try we absolutely followed his decision.

We drafted his blade on a piece of paper on his first visit and I just added some tips on ergonomics and basic needs of a good cutting blade. Then I asked him to transfer that drawing onto the computer.

On his next visit I helped him modify some details on the computer, printed out his design and he transferred the cutout paper stencil to the 2 mm O1 steel.

Then we started with the first “big machinery” ok, just my handy little angle grinder – not so big machinery. Arne cut out the steel blade while I showed him some tricks and tweaks on how to get convex and concave cuts done right.

I let him do all the steps himself, only the ones that had the potential to ruin the knife I just showed him how I do it.

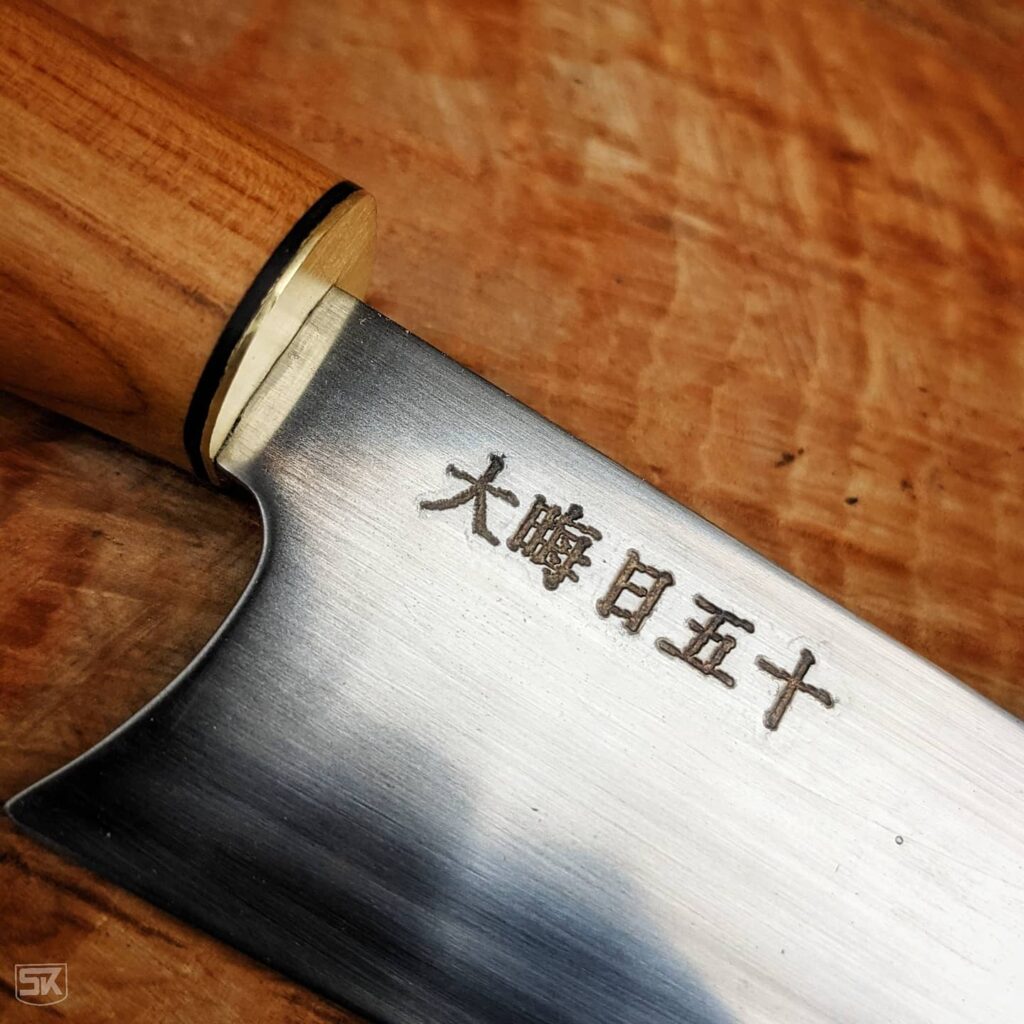
For the handle material he got some nice cherry wood and for the front plate (guard/bolster part) I had a nice brass and paper micarta piece left from a previous project. We tried a new technique to slot the handle for the hidden tang: We drilled a hole into the handle and only had the bolster with a tight-fitting slot around the blade. The hole was filled up with epoxy during assembly and the plate serves as a nice-looking cap.

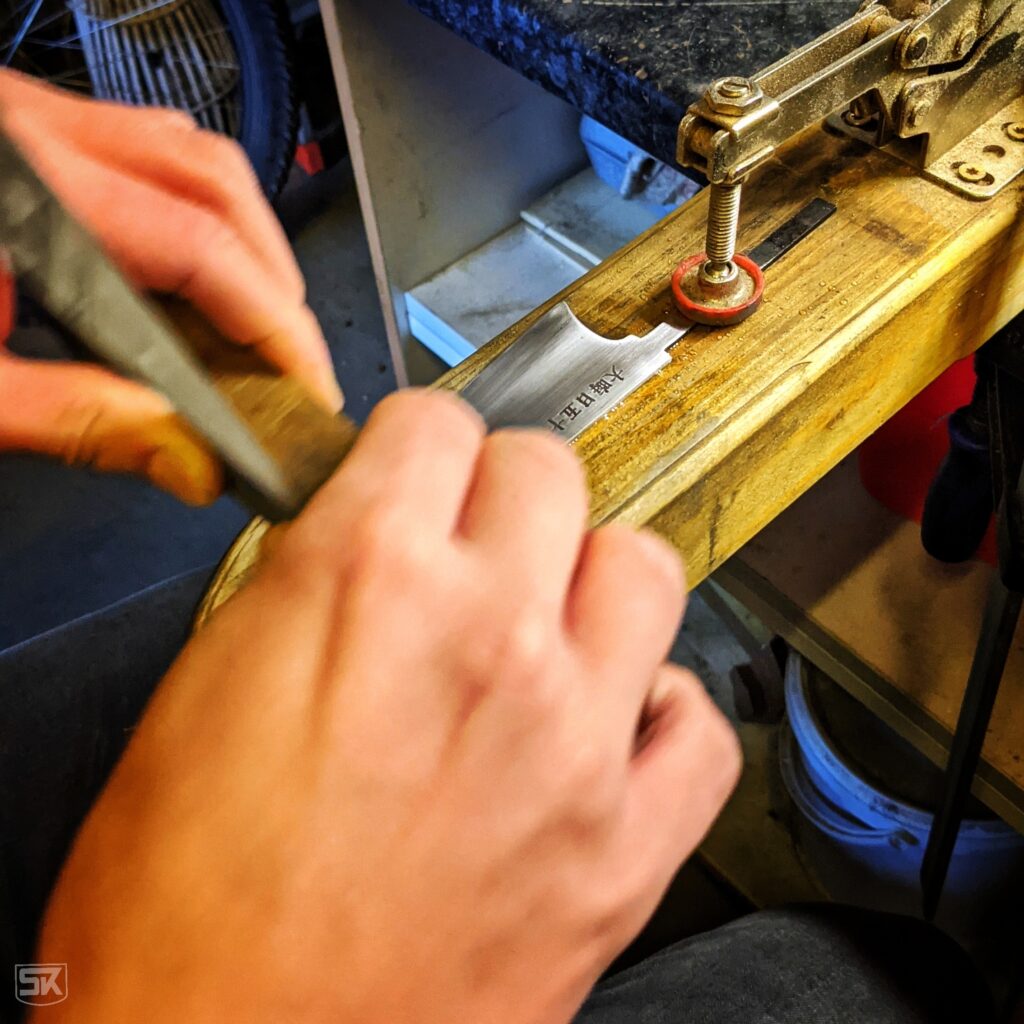
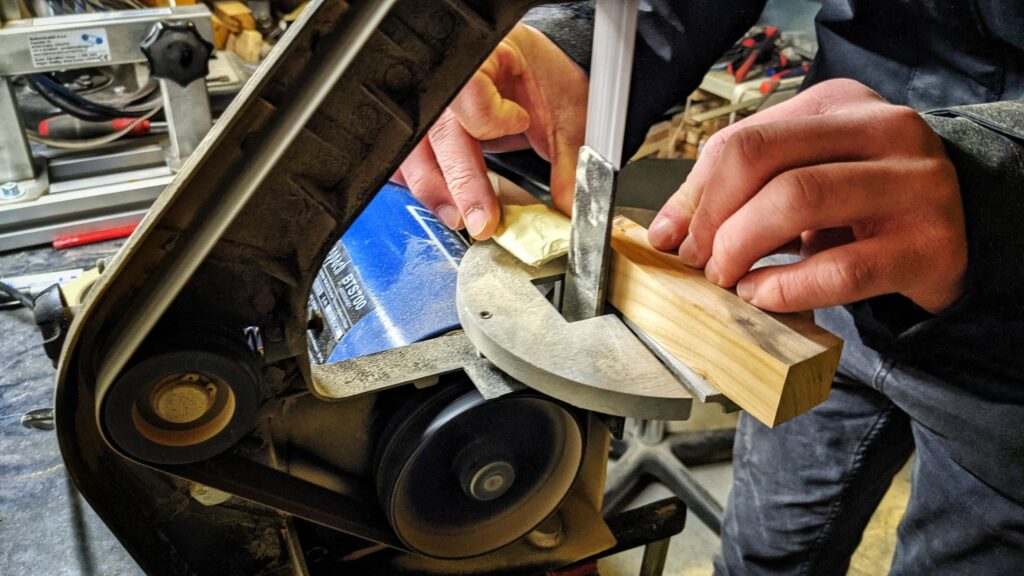
My student Arne shaping the form of the handle

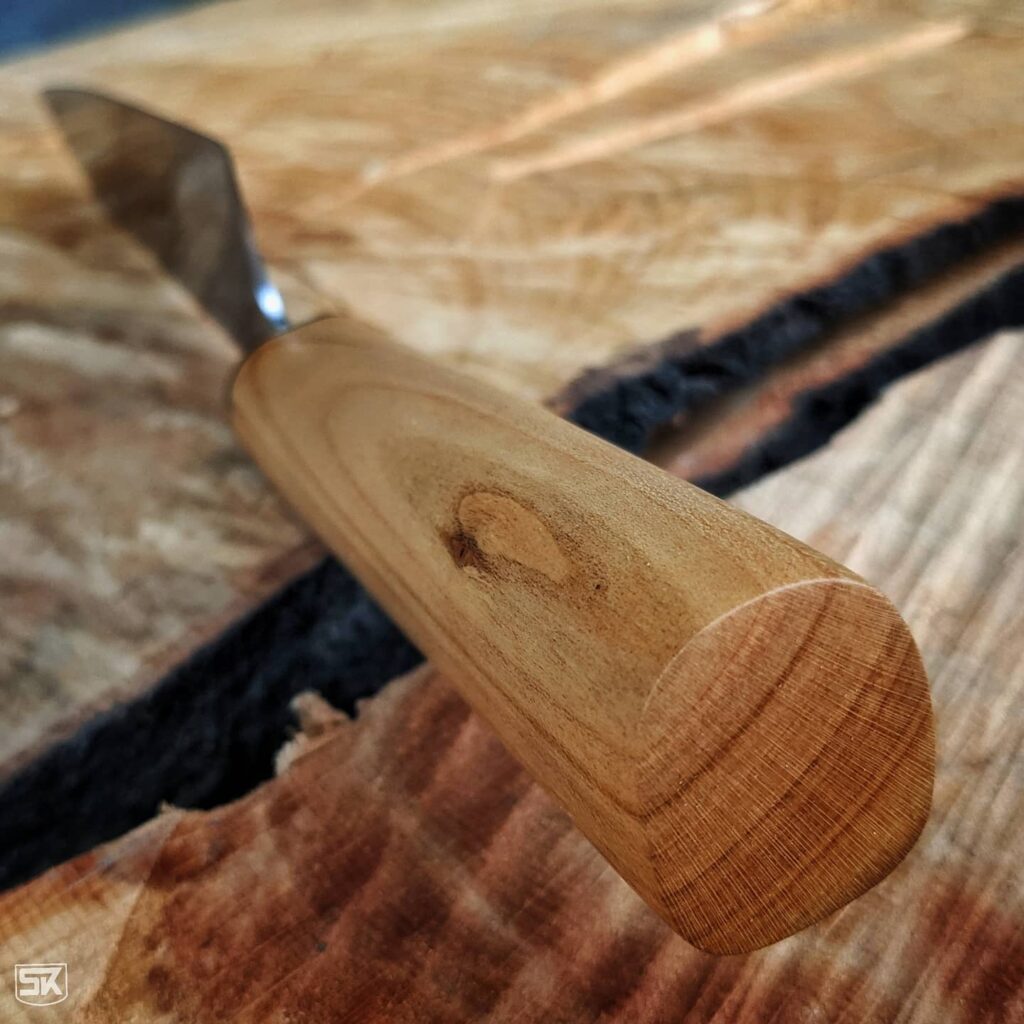
The last thing to do was shaping the handle roughly with the band saw then going through rough grinding and finally hand sanding the wood into shape. The cherry wood is nice to hand sand to a satin shiny finish and the last step was to treat the handle well with Linseed oil varnish.

Arne did really good and the final product looks awesome. He can be really proud of his work and the knife which is a present for his father.

All photos with kind permission of Arne. Work was always with full compliance to Corona regulations