Different liner material: Felt

I was looking for a different material I can use for liners. I constantly use liners in the handles between the handle scales and the blade on full tang knives and between the guard and the handle on hidden tang knives.

I usually use Micarta I make out of resin and paper and was looking for other ideas and came up with some felt my kids use for handicrafts. So I gave it a try and made some simple tests:
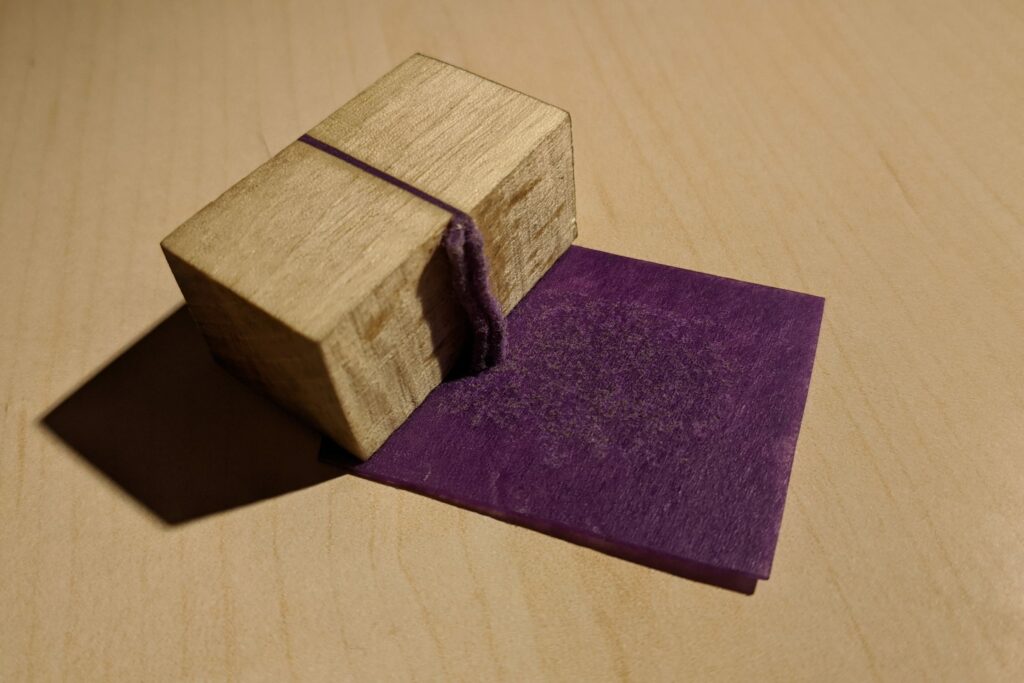
felt as liner material in knife making
First tests with felt as liner material

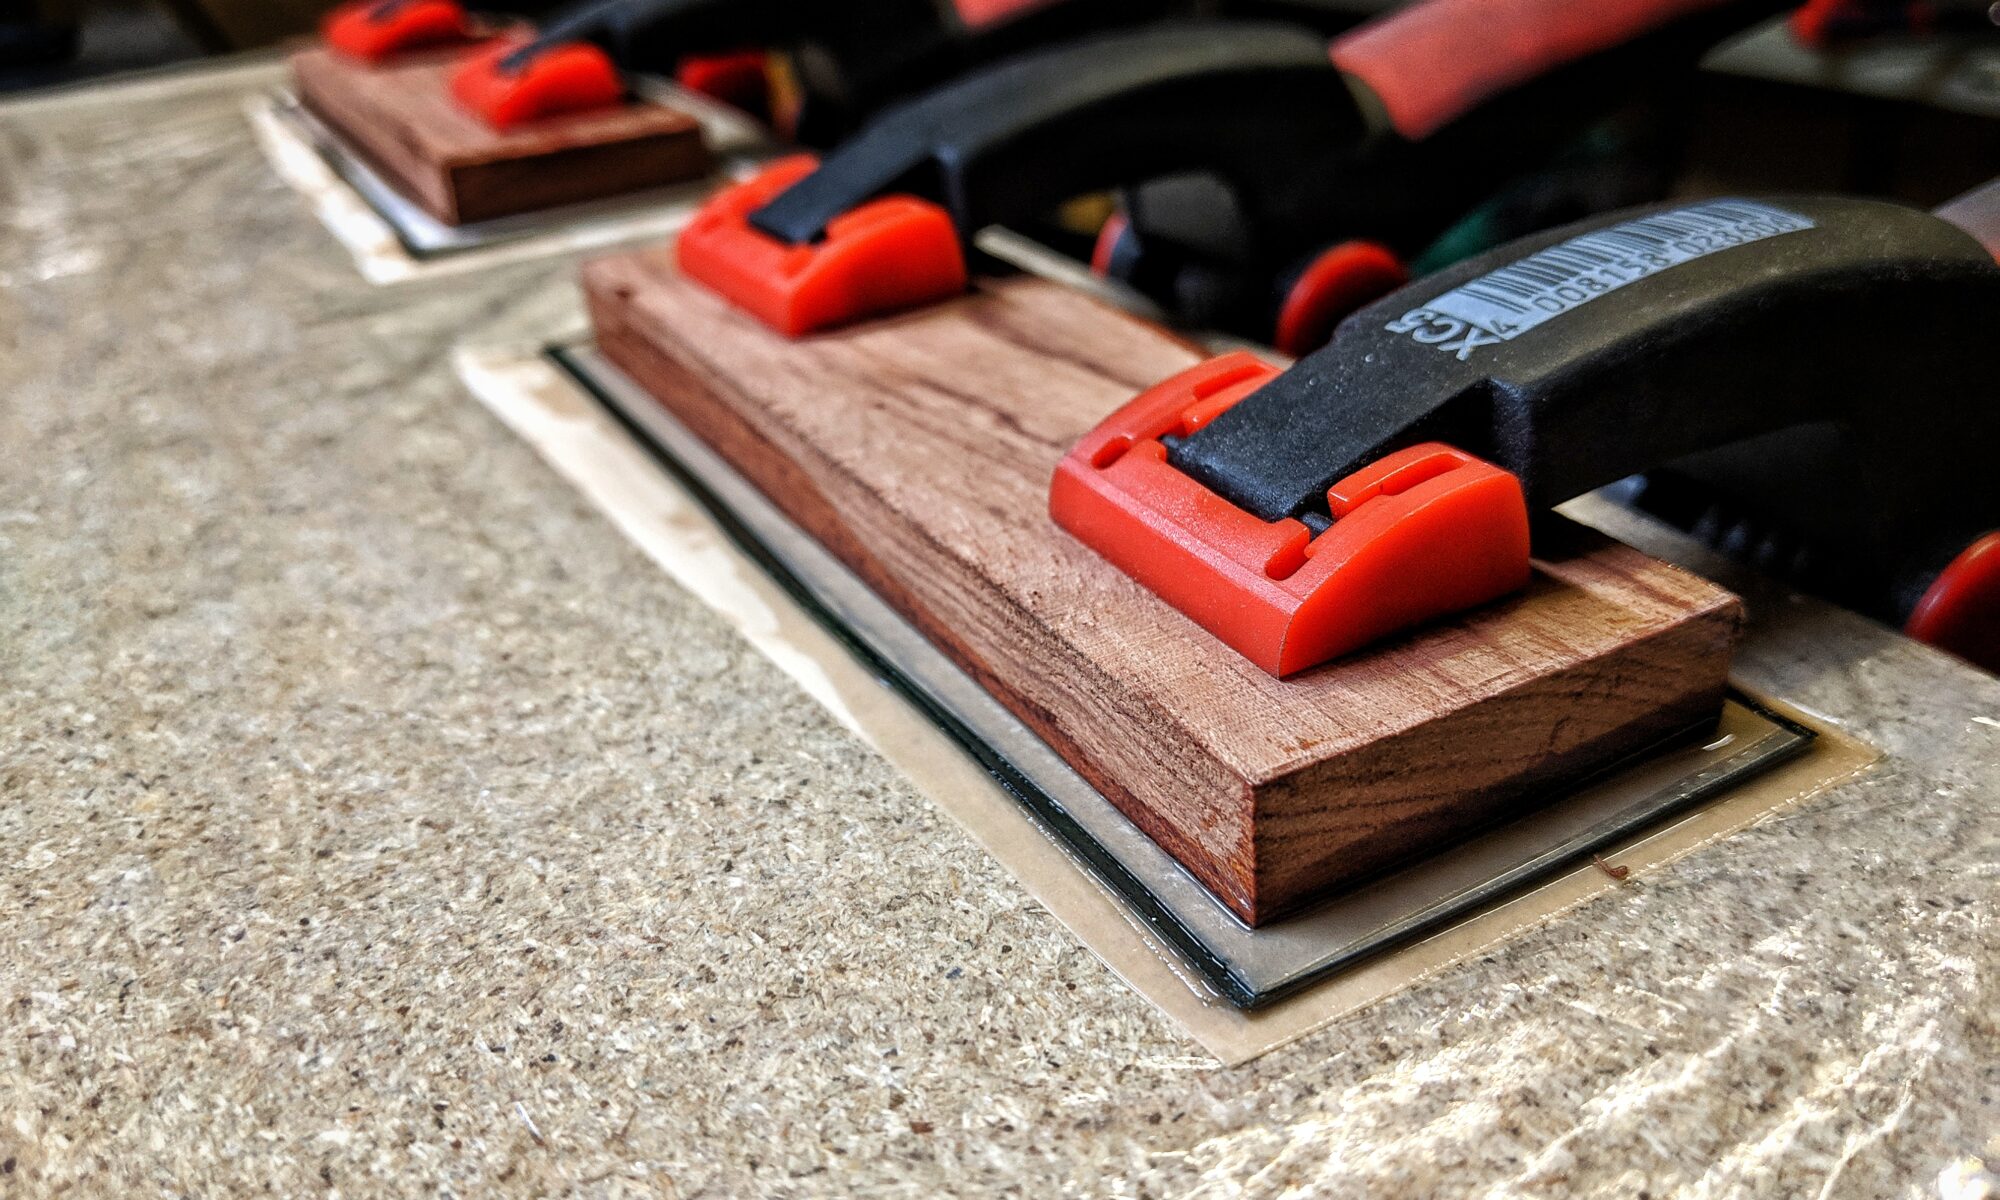
I brushed a good amount of epoxy resin on the felt and pressed one between two pieces of scrap wood and the other one I just pressed flat and let both experiments rest for 24 hours. This long wait is just because I use a very slow hardening epoxy.

After removing the clamps I cut out the flat piece with scissors. The wood pieces I sanded flat on 3 of 4 sides to simulate the effect when I use them as liners on a knife handle.

I made some stress tests with the wood pieces trying to break them apart but they are solid and well bonded to the surrounding wood. I wasn’t able to break them apart with a realistic amount of force.

Conclusion

There are some advantages to felt. First of all, it is thicker and the layers needed to reach a certain thickness is clearly lower, this might save some time. Second, the darkening effect when the material is soaked in resin is not as extreme as when using paper so I can better predict the resulting color.

As a disadvantage I have to check if there are air bubbles left in the material. You can see the effect of air bubbles in the flat piece in the picture above – the brighter part in the middle results from tiny air bubbles.

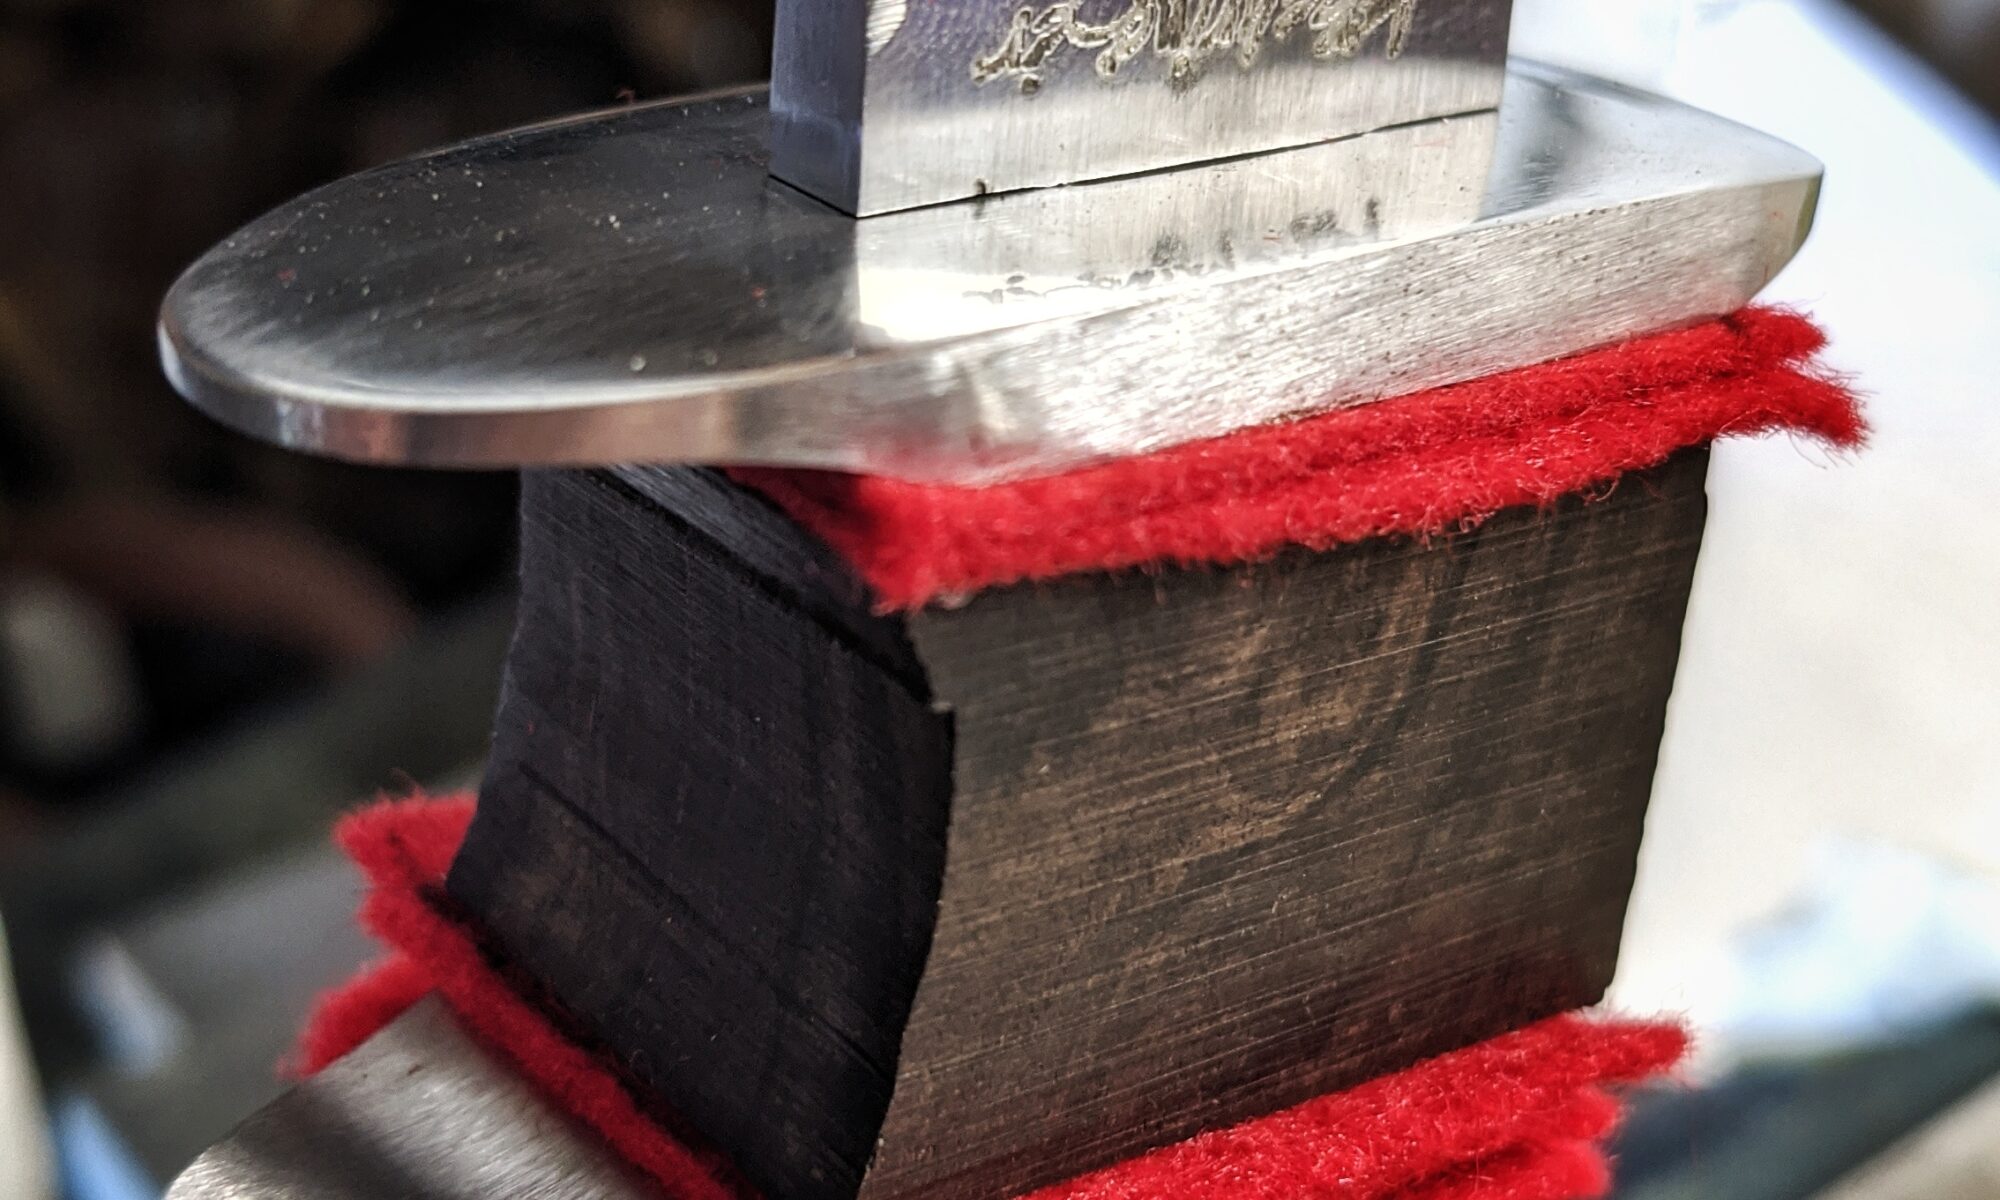
The top picture shows how I fit a Kukri III that I am working on while dry fitting the pieces of felt between the different parts of the handle. Pictures of the finished built Kukri III will follow.
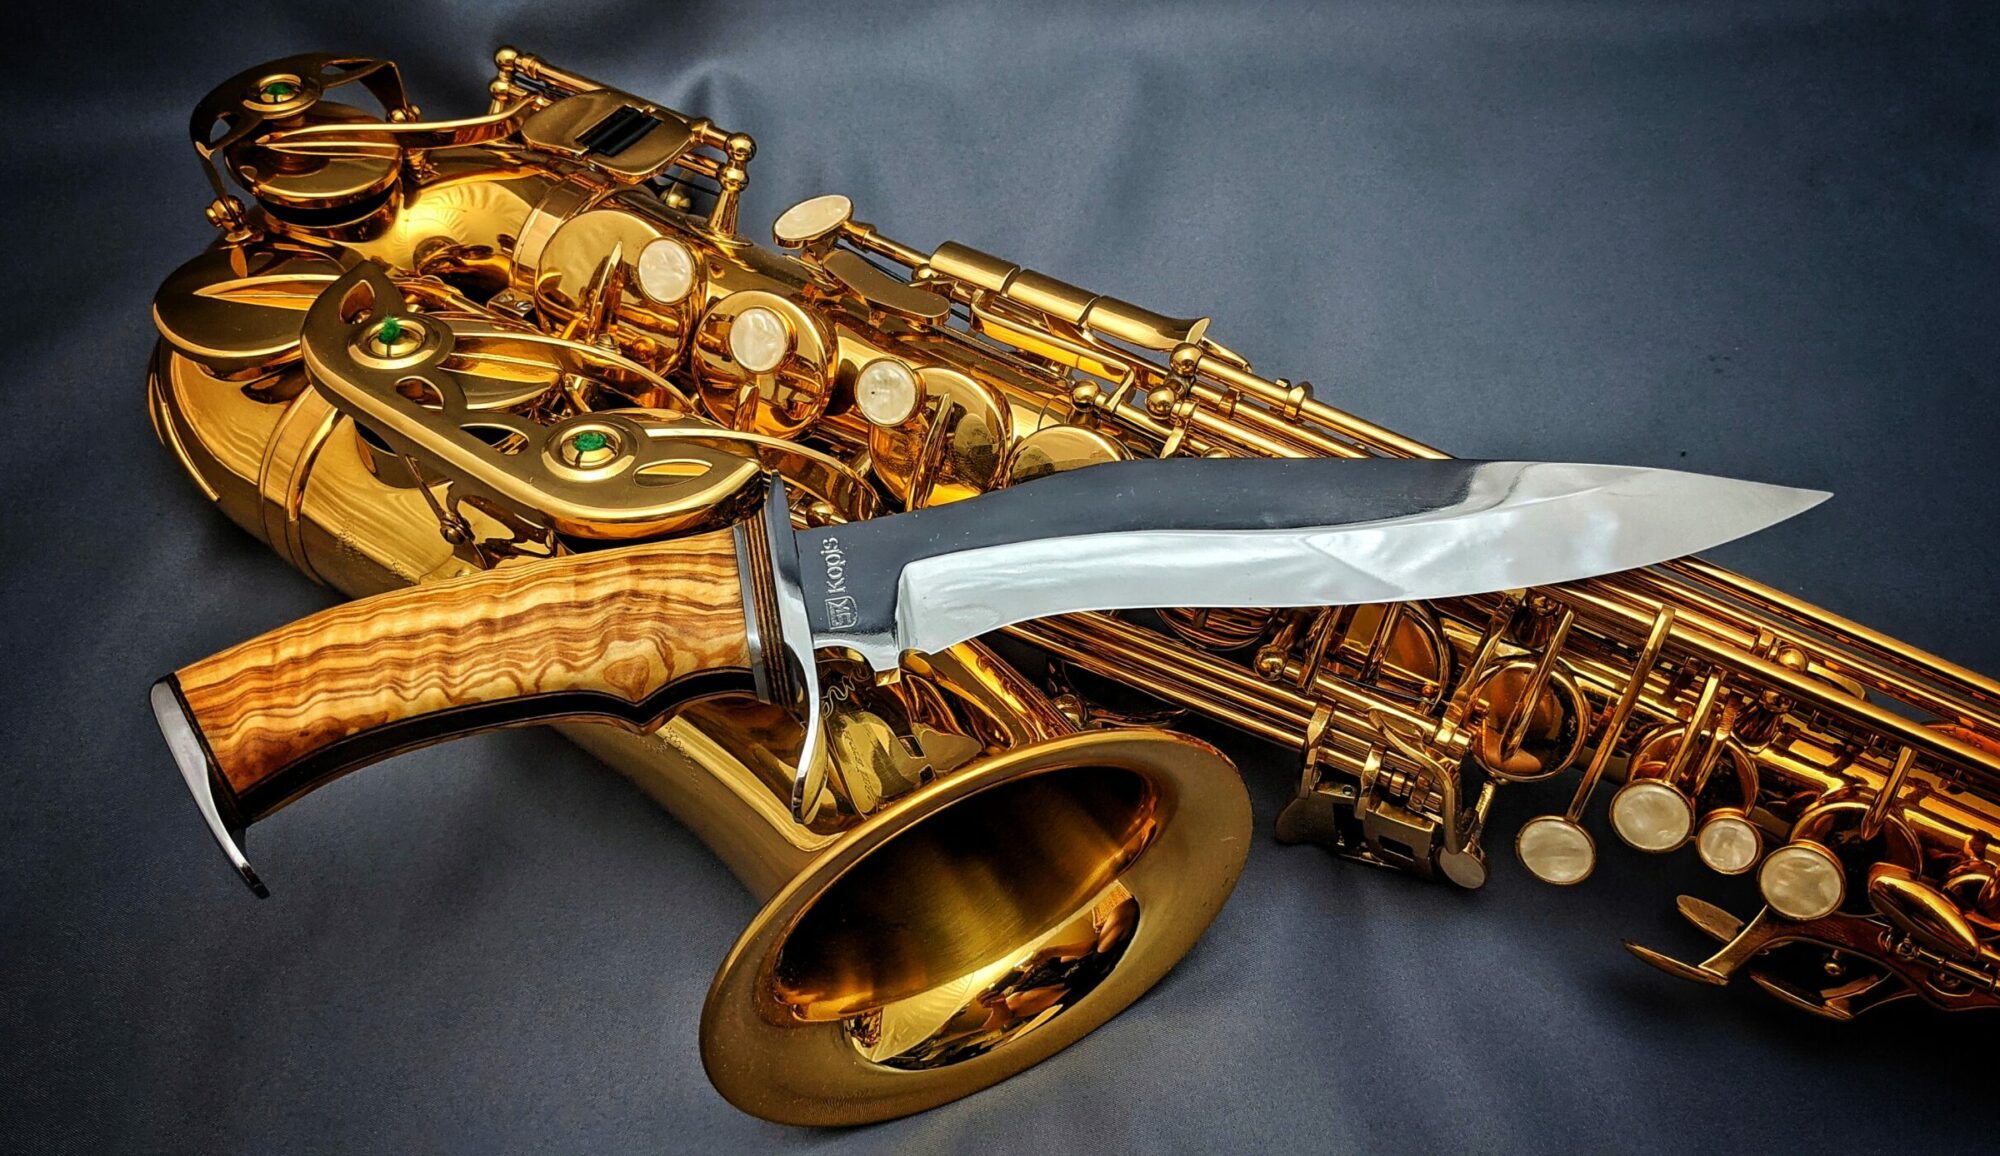
Building my own tools: Leather pen and stitch punch

I started working on a leather sheath for a current project. A new craft I try to learn is leather punching. For this i needed to transfer a draft from paper onto the leather and used a metal pin I had. The pin was not very durable and a small part of the tip broke off. Also the tip was not very smooth (like a good pencil is) from the beginning.

So I thought about how to make a perfect tool for me – and who said selfmade tools should not look beautiful? Also I needed a durable tool to punch through up to three layers of leather to transfer the stitches through all layers. So I needed to make a tool for that, too.

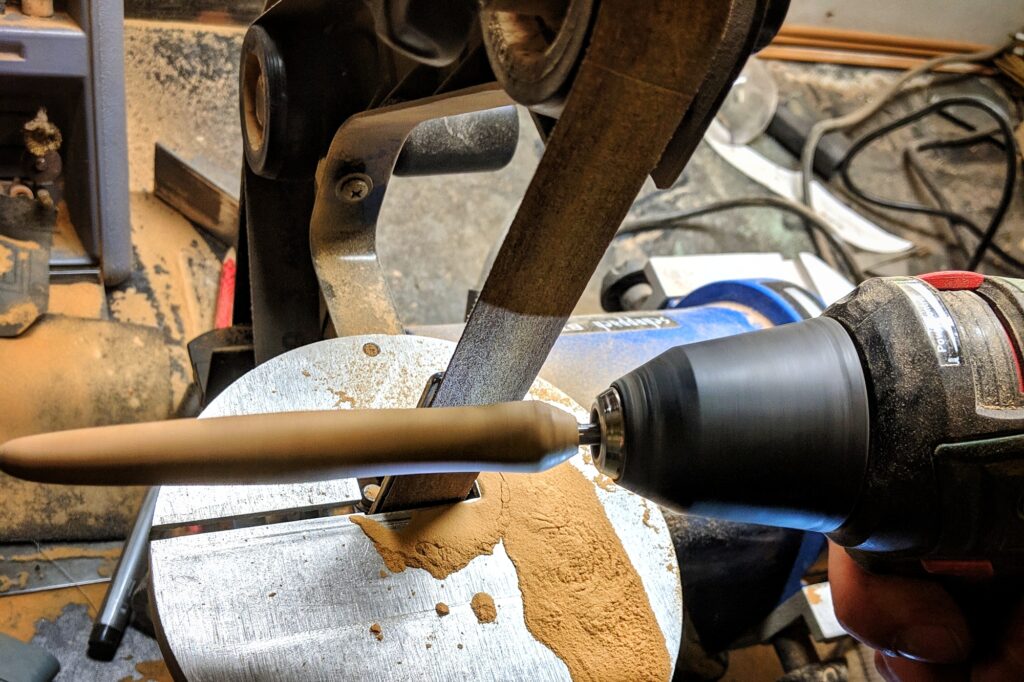
I cut off some 5 mm and 6 mm round steel rods and put them into my cordless hand drill. I put the tip against the running belt sander and so i got a perfect round tip. One of them I did a bit longer and sharper. The other one i rounded of like the tip of a used pencil.

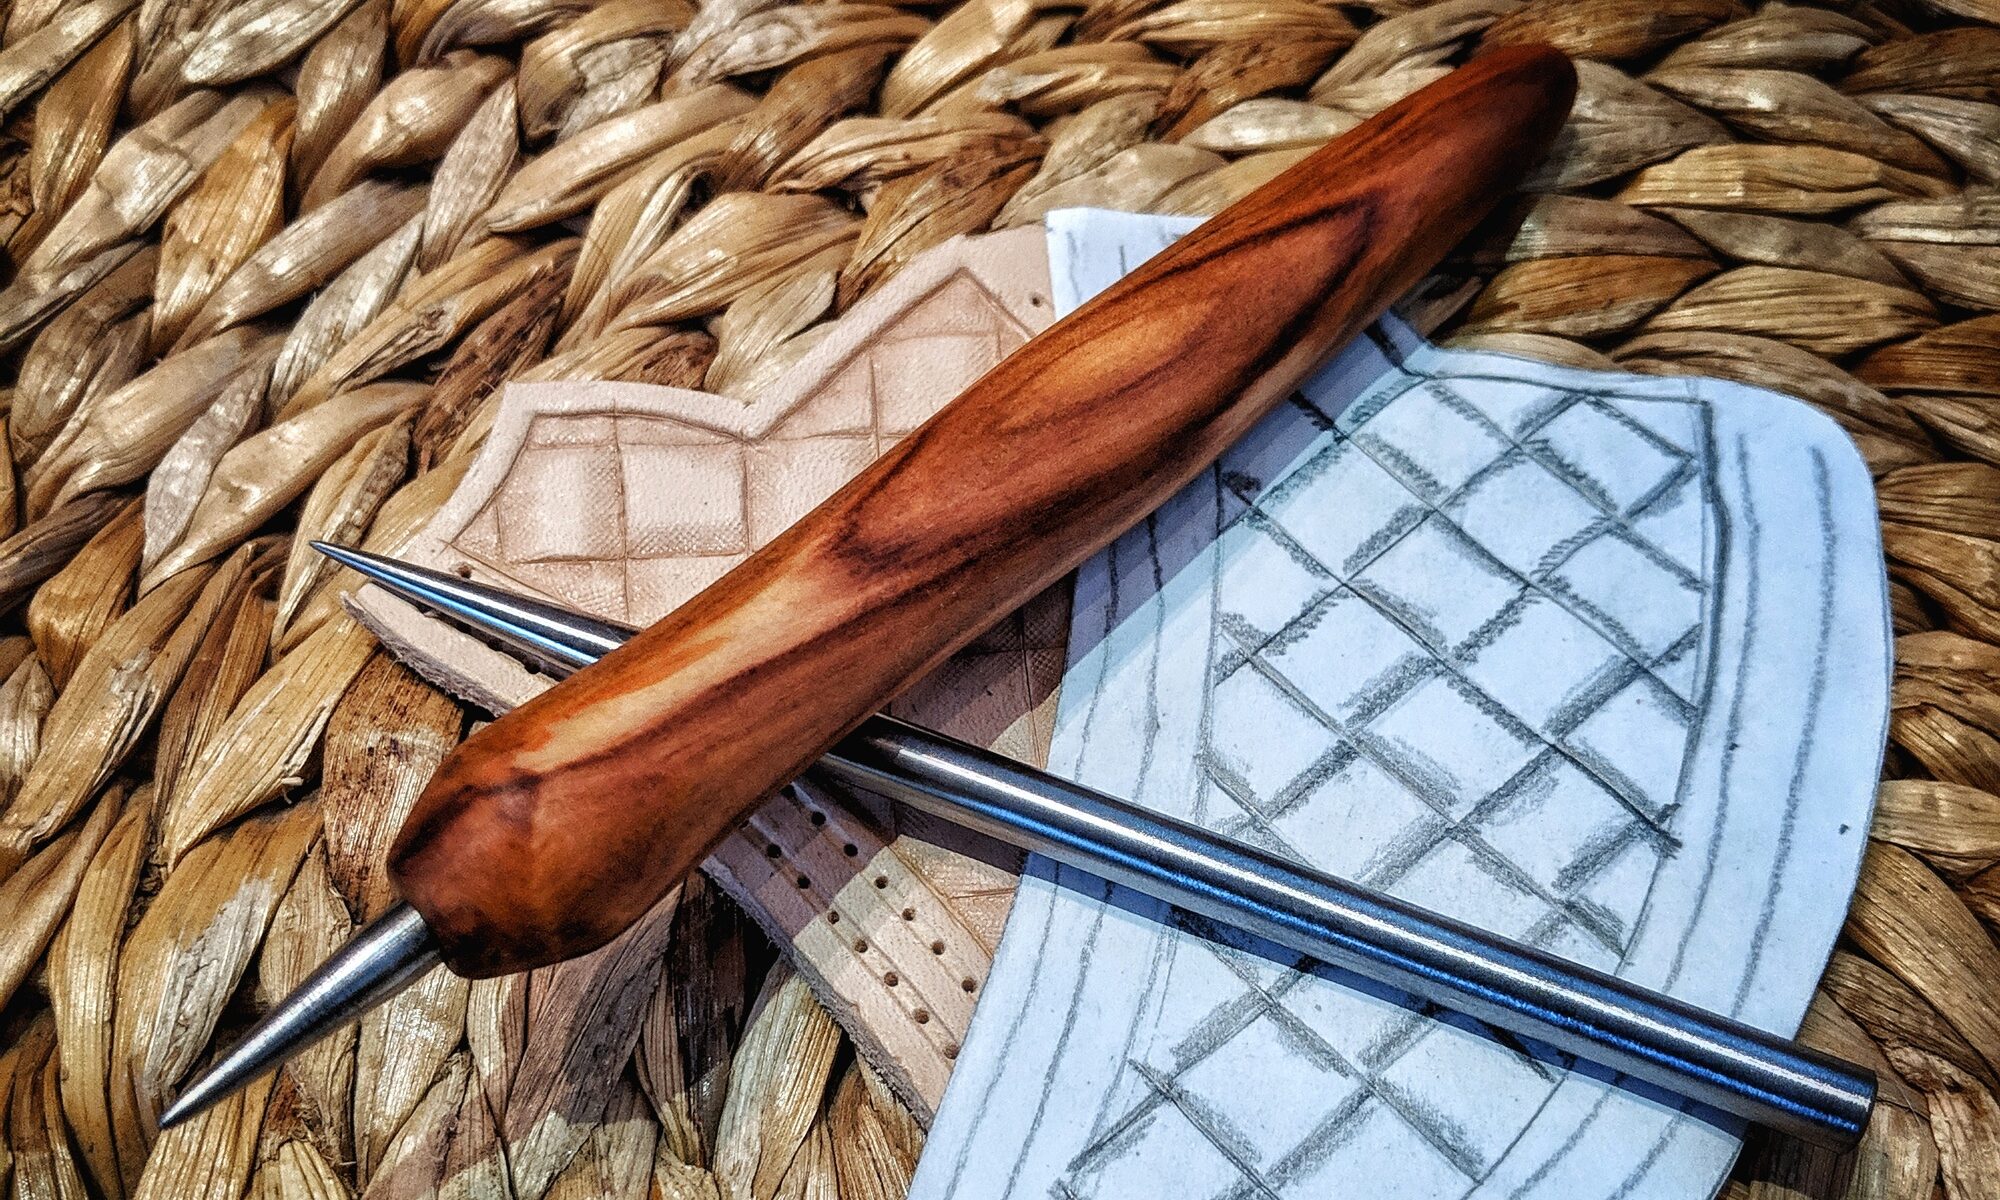
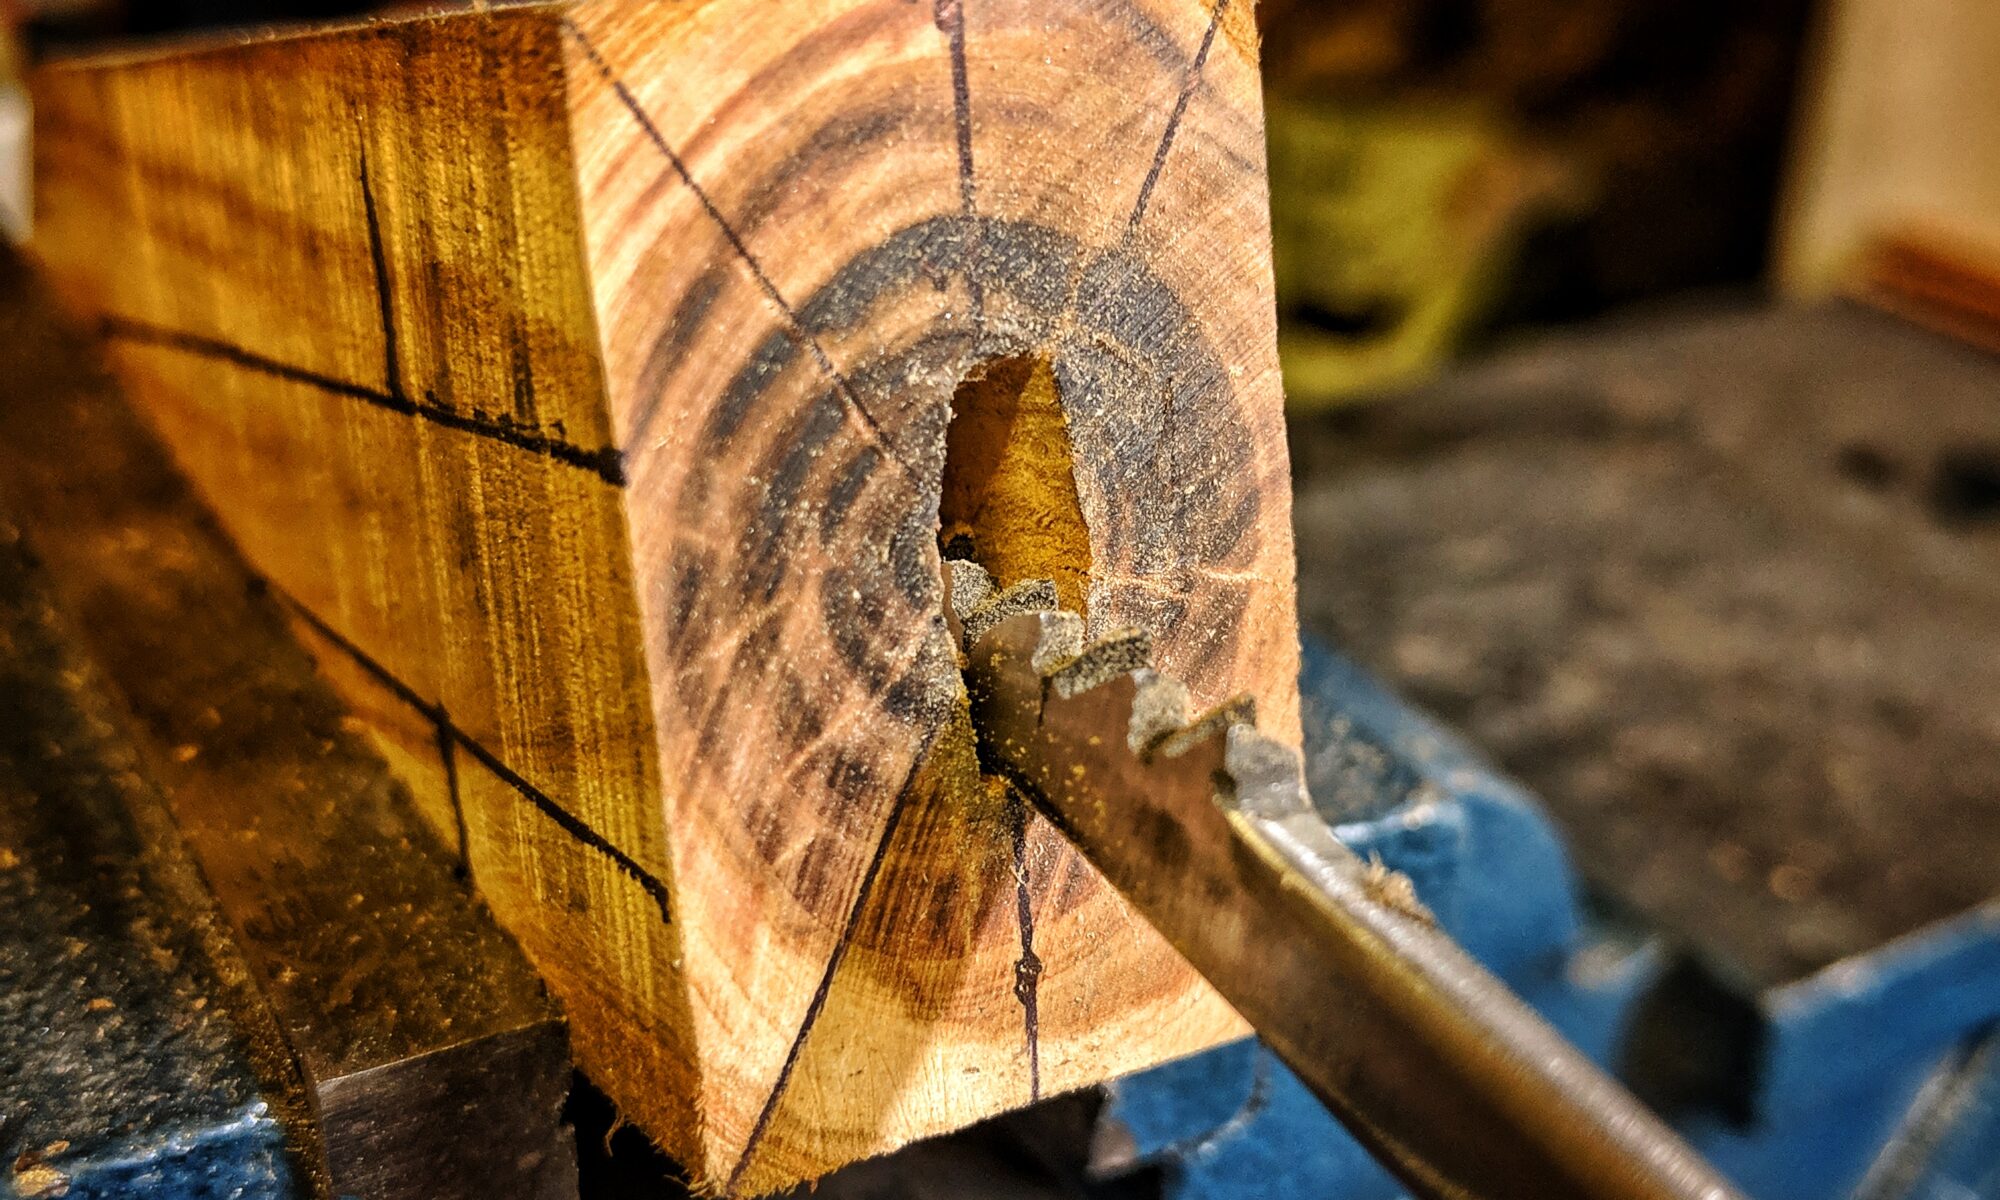
For the pencil tip I wanted to have a wooden handle. I had a bit of apple wood scrap laying around and so I cut myself a 15 by 15 mm wood bar, drilled a 5 mm hole into the top and stuck the metal pin inside. This way i could mount the wooden handle into the hand drill too – and back to the belt sander. That is what I call the poor man version of a wood turning machine. The result looks great and i have a perfectly round and ergonomic handle for the steel pin.

I hardened the tips of both tools (yes: before mounting the pencil tip to the woode handle) and polished the oil scales off afterwards. Then I hammered the pencil tip into the handle.

Finally I treated the handle with linseed oil varnish to expose the beautiful pattern of the apple wood.