Just for me, a sheath for my recurved Bowie

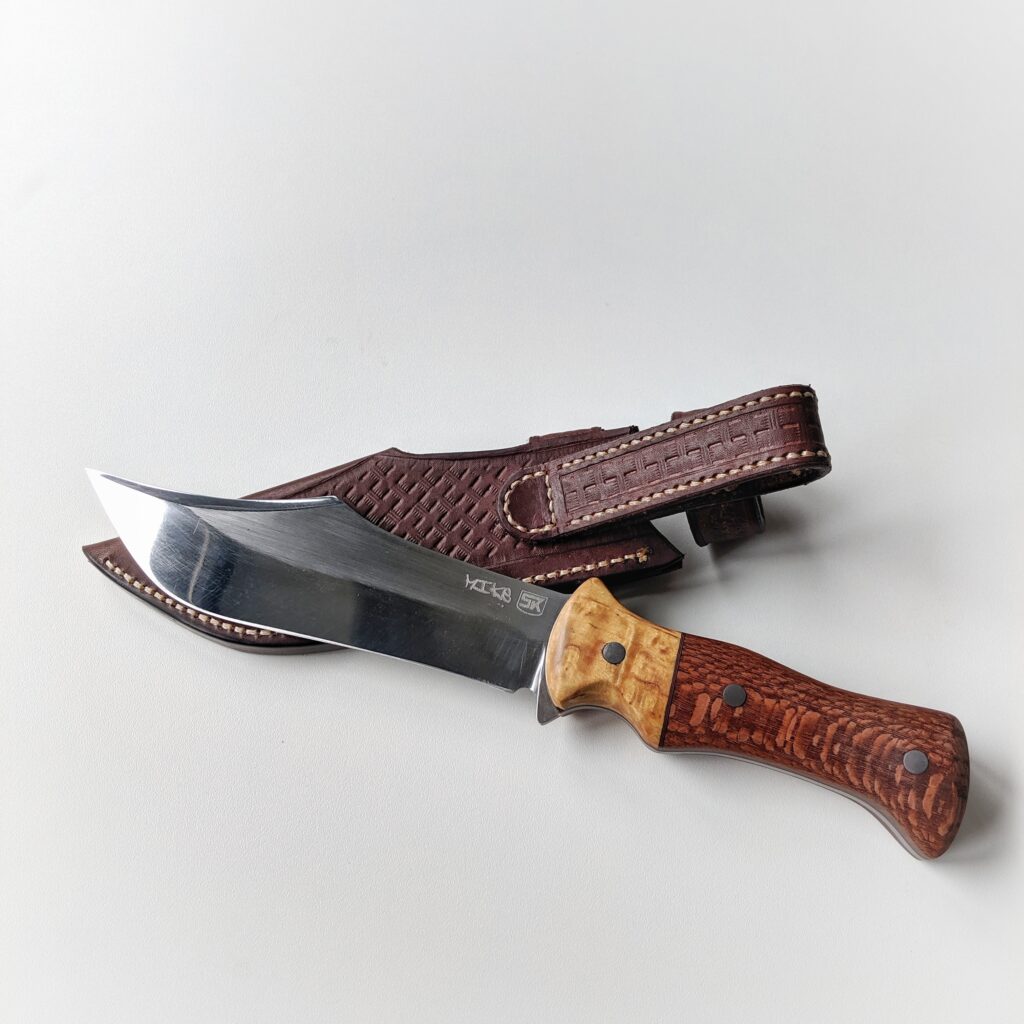
After doing all the leatherwork for the knives of my friends and family and having my Bowie Knife on my table in front of me I felt it was about time to do something for my knife too.

These projects I do for myself are the best chance to try out more things and take higher risks just because if I fail it is just my decision if I am happy with the result anyway or if I have to start over and have all the time for doing so.

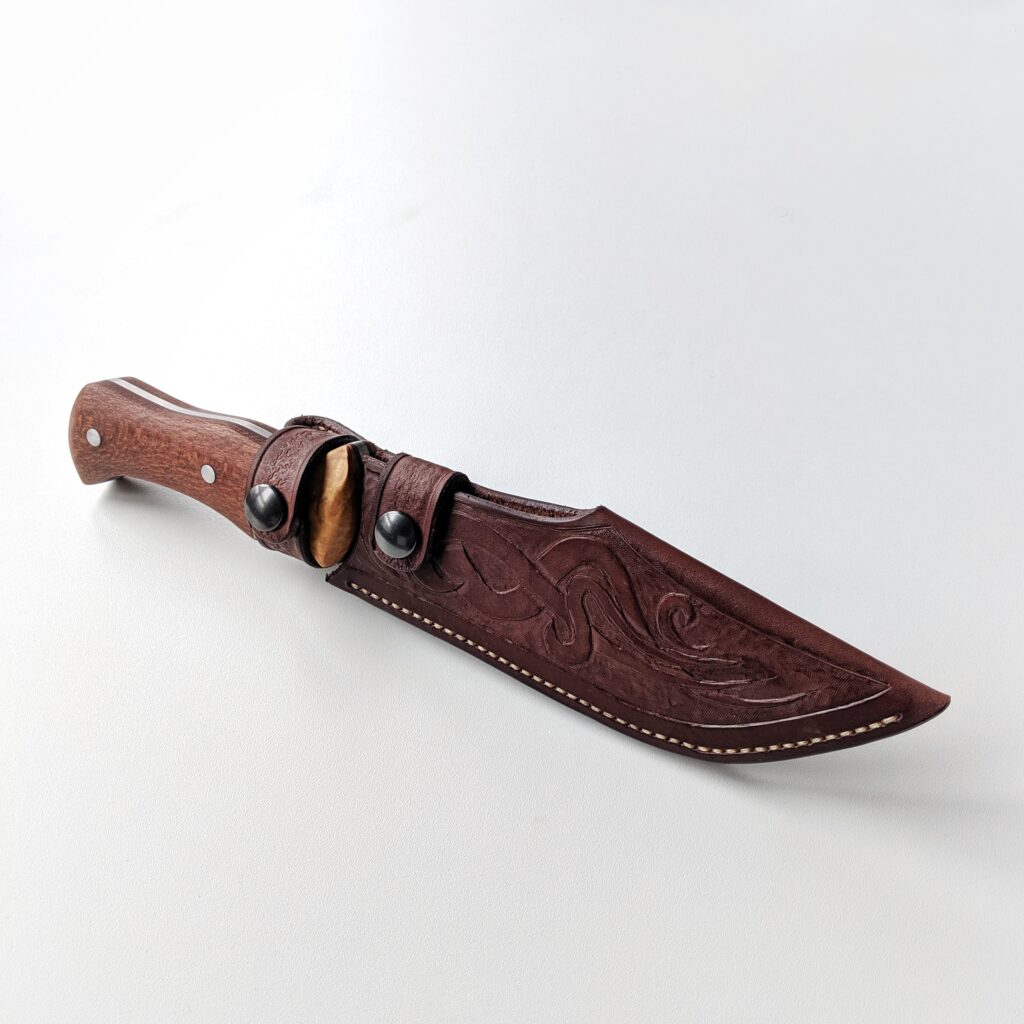
I don’t want to dive too deep in the steps of making the sheath, as they are the same as on the other knives before. Most complicated about this type of sheaths I make is the order of the steps – when to dye, when to stitch what, when to glue and when to polish. I lately got a routine so I do not have to overthink the whole process every time.

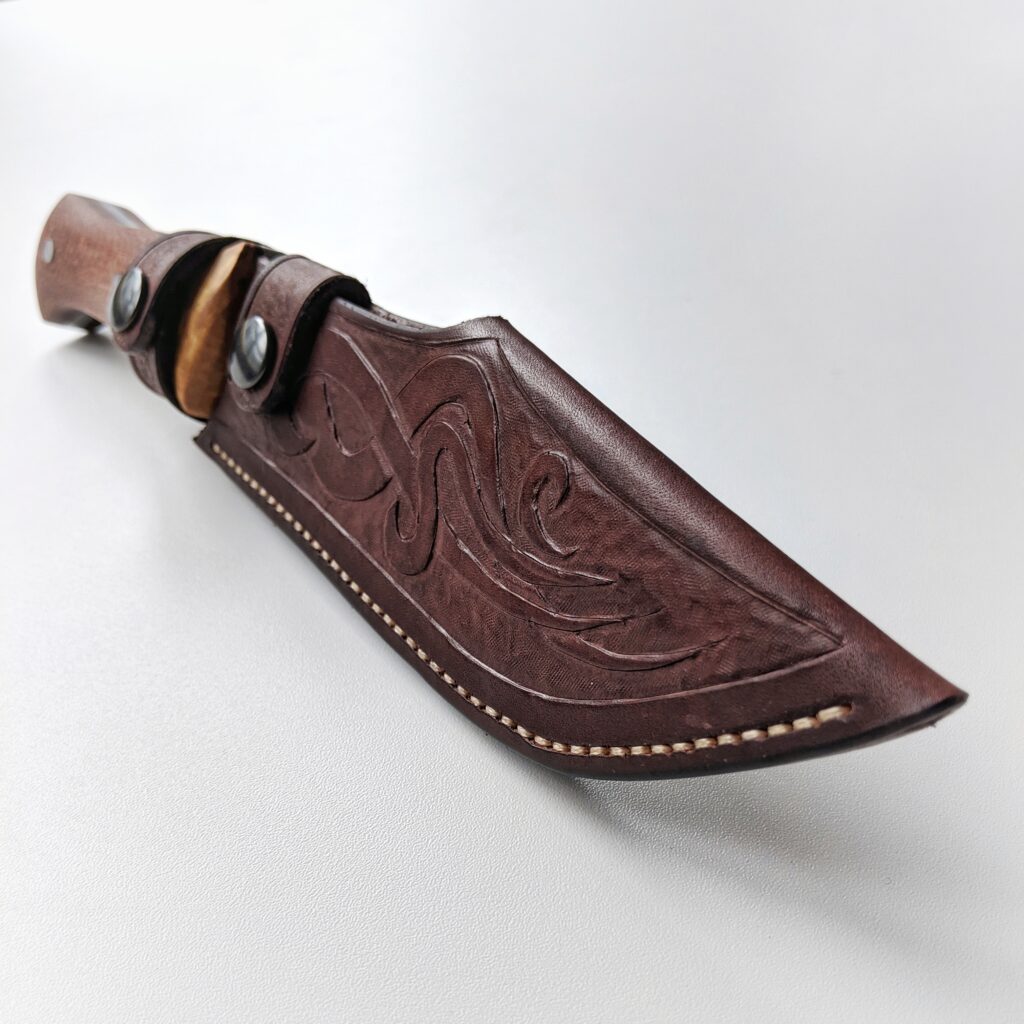
I wanted to try out doing some leather carving where precision really counts just to check the limits. As this would be a sheath for my knife I chose my initials “AB” for the front and some leather punches for the back.

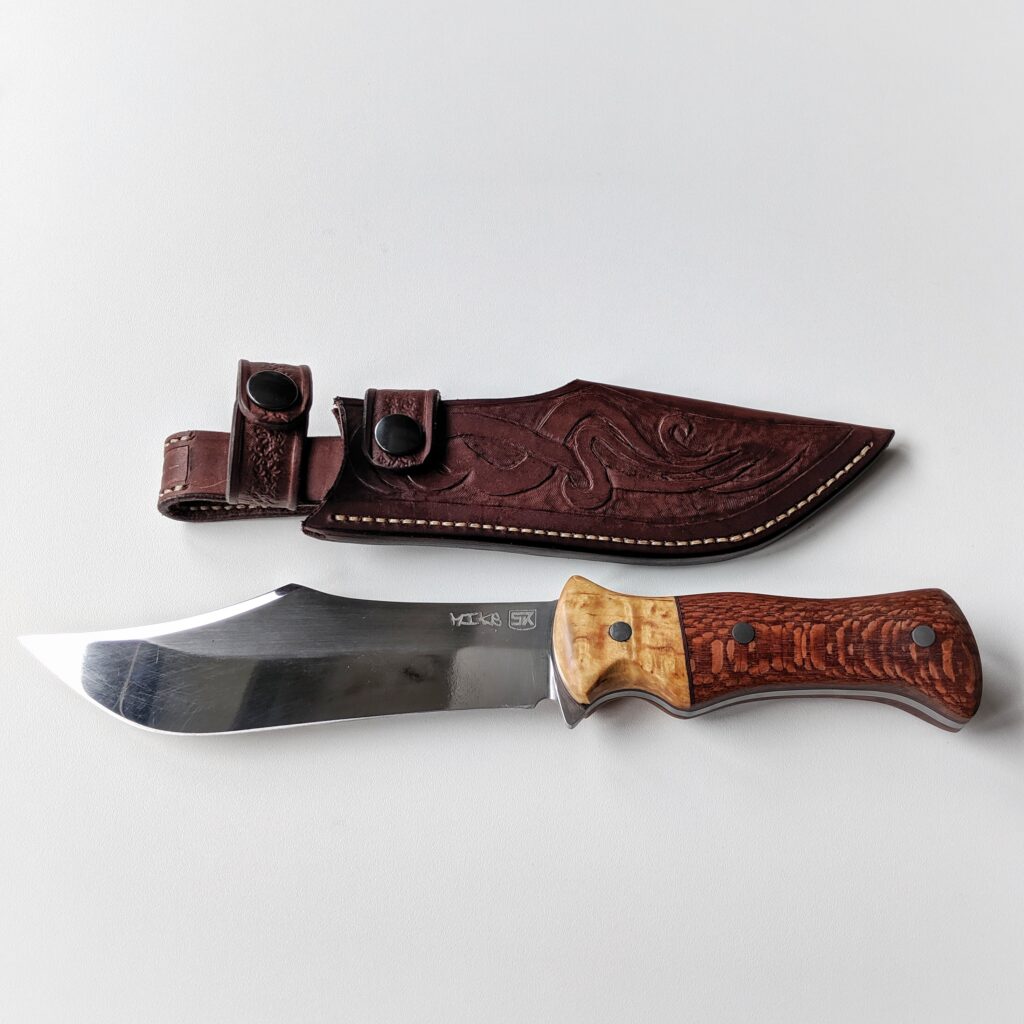
The biggest failure on this project was, that the secondary strap, that closes the open part of the sheath at the spine of the blade, was on the wrong side of the body of the sheath. I just made a mistake while designing the form and cutting it out mirrored. I have made a virtue of necessity and cut it off in favor of a separate strap that I sewed on the back of the sheath together with the belt loop.

As I said on the last post about the sheath for the knife of my brother I liked the result of the decorative stitching and on this new project wanted to take it a step further. I lined every strap and the belt loop with a stitching line that only serves for decorative purposes. What I also wanted to try was using a really white thread to put more contrast on the sheath between the black dye and white stitching. And yes I wanted to dye the sheath black like on the Kukri III.

Knife sheaths, when you learn new things there is lots of new work

As if working with steel and wood is not enough I had to learn to work with leather to make appropriate sheaths for my knives. That also means I have to go back and make some sheaths for the knives I already made and as I needed a gift for my brother’s birthday what might be better than making a sheath for him first?

This time I wanted to do some custom carving on the front and I designed some snake/tattoo/tribal style ornaments on my computer. What really worked well was to scan the paper stencil I made for cutting out the paper and use that as a backdrop to get a feeling for the size and what will be visible. As I like to carve in the outside of the blade on the leather there is even less space.

After the black dyed leather of the Kukri III, I decided to go with a dark brown dye on this one. As a contrasting color for the stitching, I chose the very light brown thread again.

The next new thing was some decorative stitching on the sides of the belt loop. It came out perfectly on the brown leather and in the end, I regretted did not do it on the other straps too – next time I will do.

As the blade of the recurved bowie, just like the Kukri, gets wider at the tip of the blade I had to do a folded design again for the sheath, that is open on the straight part of the spine of the blade. There are lots of details to think about when doing such a design but I am happy with the results

What happens is, that if I learn new things this raises the standard I expect of any of my projects and they get more complex. But the final result is always worth it and I like working with leather as much as with wood and steel.

Working on a kitchen Petty Knife: The Furutsu

I liked making my Chefs Knife, the Kengata, that is heavily in use in the kitchen of my mother. I talked to her about it and how it performs and she likes its shape, the ergonomy of the handle and the superior sharpness of the blade But for some tasks the Santoku Knife style is a bit too large. Now it was her birthday, so guess what, I made a small Petty Knife.

I chose the same shape as the Kengata Santoku Chefs Knife and scaled it down to the size of a Petty Knife. I chose a 2 mm thin 01 Tool Steel for the knife as for its bigger brother.

The most difficult part was finding the correct name for this knife. I did a lot of research but was not sure what these knives might be called. Finally, it was solved by #followerpower as the Instagramer @customchopshop brought up, that these knives are called “fruit” knives in Japan. So I decided to call this blade “Furutsu”.

The whole conversation is in the comments of this post:

This was the first knife I ground from start to finish on my 2 x 72″ belt grinder. That thing is simply insane, so much power and fun to shred steel on. No wonder the grinder is the heart of a knife makers workshop. The thing is so powerful that it eats away steel so fast that it is much easier to wreck a blade just because you touch the belt with the blade the wrong way just for the blink of an eye.

For the handle, I chose Ziricote again. I did not like the wood too much on the Santoku, just because it is so hard to work into form. It seems to clog up the grinding belts very fast. But as it should suit the Santoku Knife I went for Ziricote again. And I have to admit it is a very beautiful wood.

Petty knife: Furutsu

I made this knife as a petty knife for the Kengata Santoku I made some weeks ago. This was a gift for my mother, too. Most focus was on the profile of the blade to make it similar to the large chef’s knife. The handle is a bit thinner than on the Santoku, as the knife should be more nimble to work with and match the smaller blade. I used the same stell, a 2mm thin 01-tool steel.

My blogpost how I made this knife.

Continue reading “Petty knife: Furutsu”