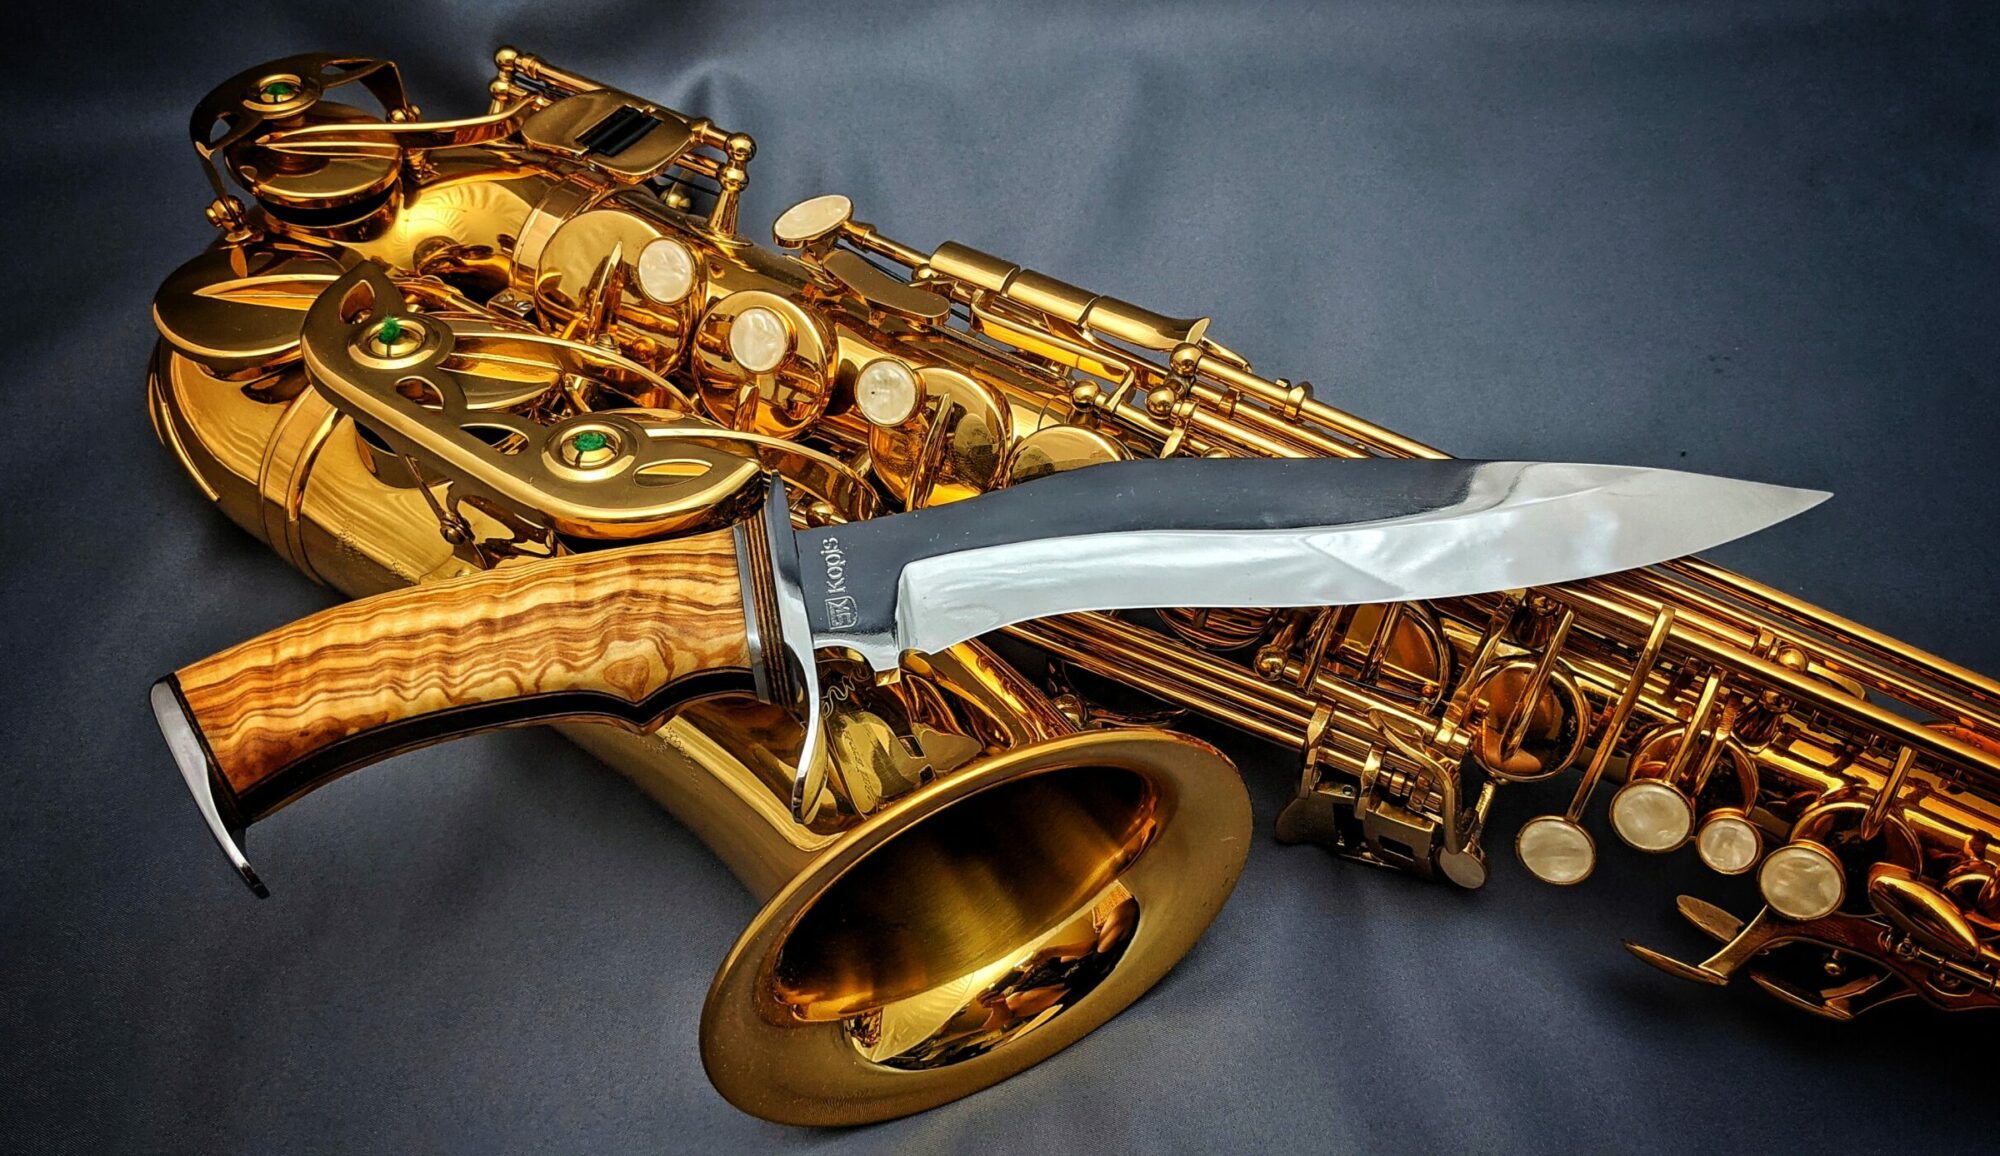
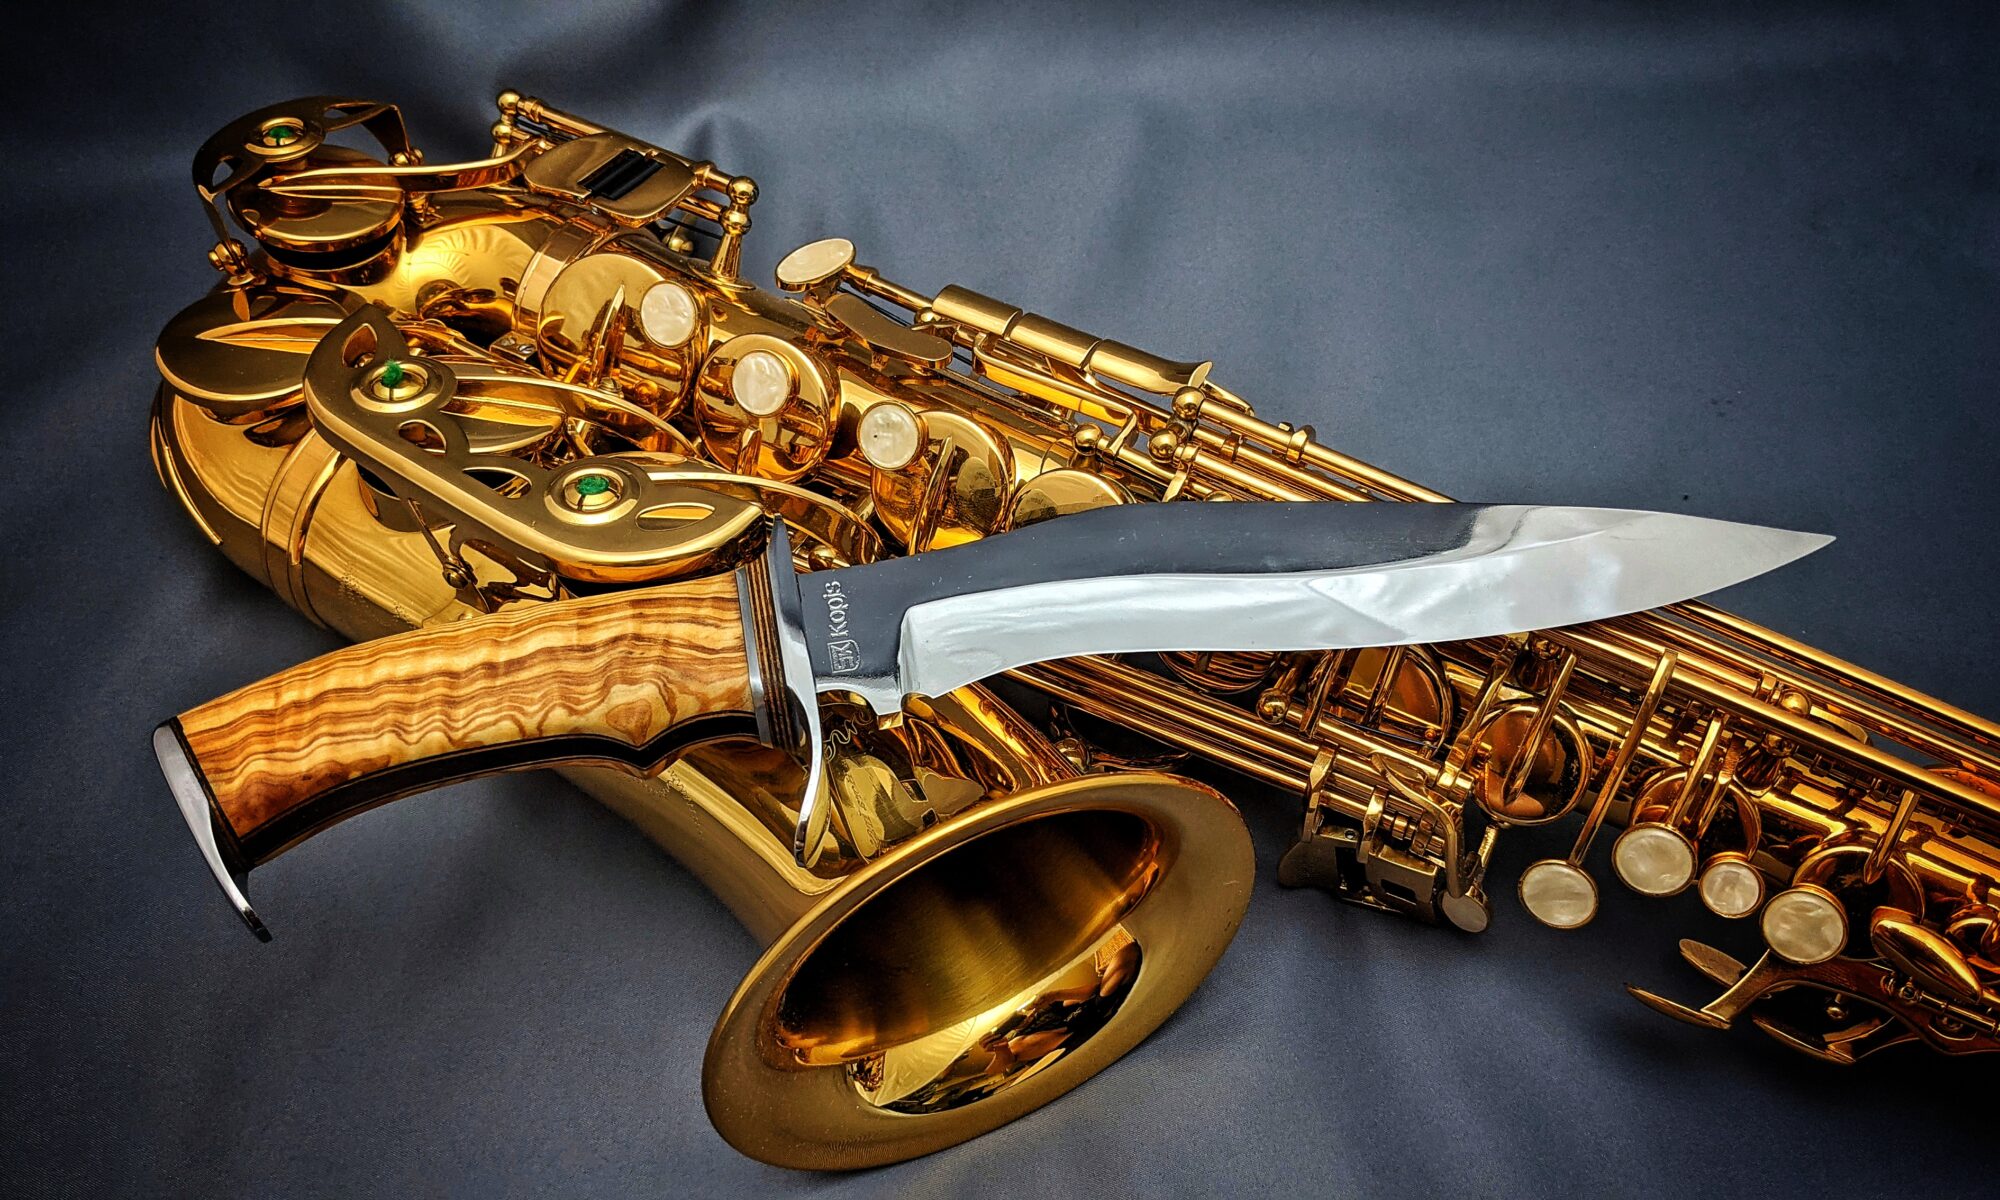
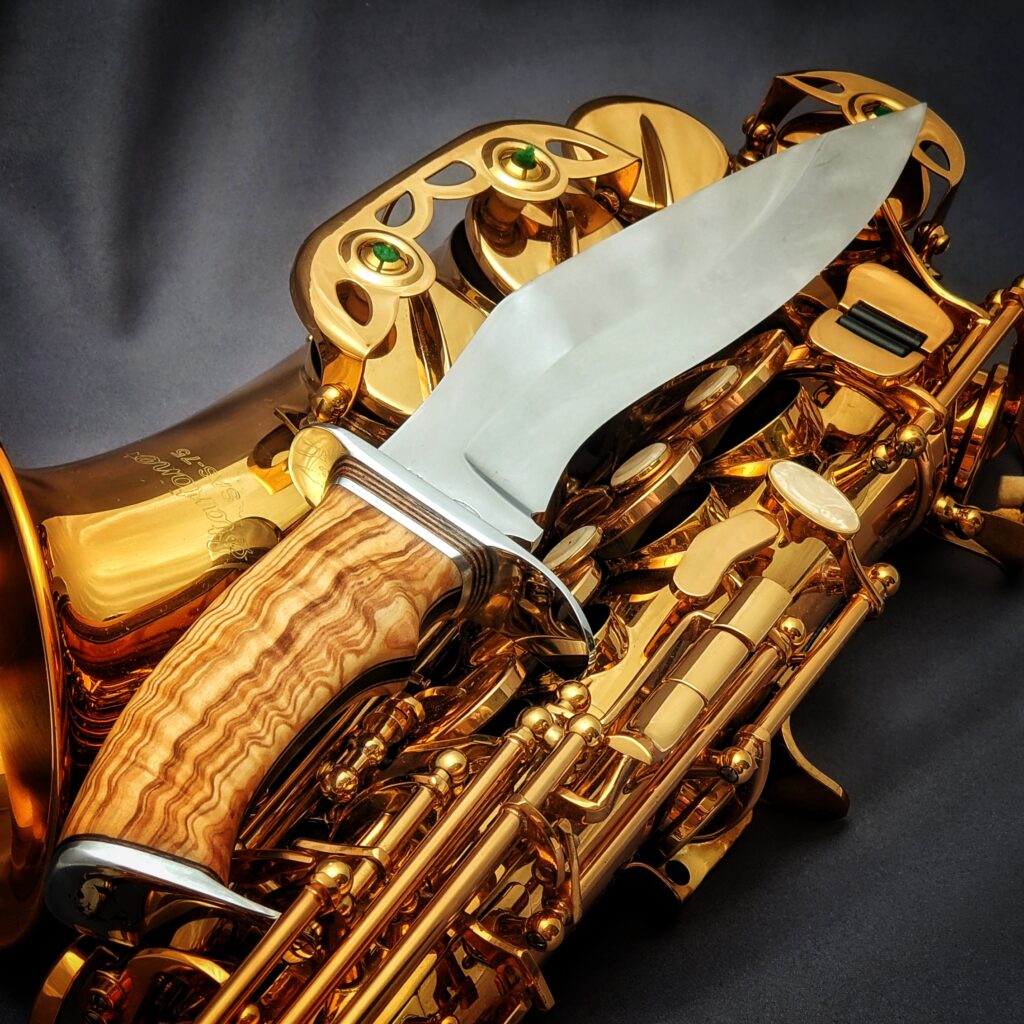
With every knife I made I learned one or two new things. With this Kopis build, I aimed for: “let’s try what I can do at max without limits” and trying all the stuff I had on my list for future builds.
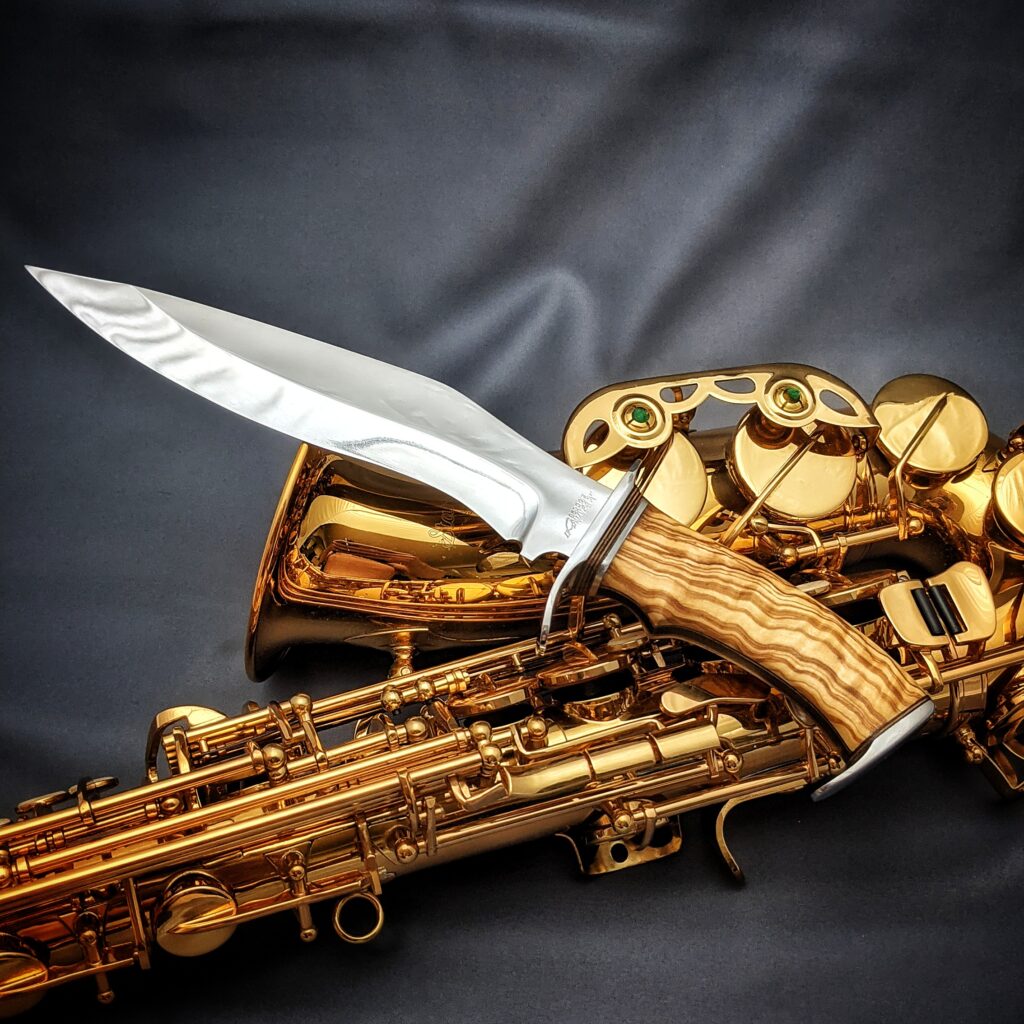
I had seen some ancient Kopis swords in pictures and similar to the Kukri III I wanted to make a smaller knife version of it. Again I also decided to give it a modern look. The blade was designed and I pushed myself to even try a hollow grind, freehand on a big recurved blade – yeah, why not try something easier first? It came out a bit uneven and I hoped to compensate for that during hand-sanding. As this knife should become my actual masterpiece I was expecting hours of hand-sanding anyway.
The handle should be also a new technique and I chose to do a frame handle I never did before. As Kopis swords are from ancient greece, I found nice curly olive wood to fit pretty well. As a contrast, the frame should be done out of ebony wood and some veneer liners. The handle itself would consist out of 12 parts that had to fit perfectly to get the final flush results. Everything was sanded on a flat surface to have perfectly flat sides.
I brought the blade to an 800 grit surface pre-heat treatment. I mixed my top-secret special Hamon creating Japanese ancient clay (my grand grandfathers preserved the secret mixture for generations) with water and brought my signature pattern on the blade and let it dry overnight.
The blade – ground to a thin hollow grind – plus the clay for selective hardening led to a serious issue after I dunked the glowing steel into the oil. The steel hardened nicely but I had a really serious warp in the blade – or to better describe it: The edge was wobbly like corrugated sheet metal. No way I could straighten that – only option: reshape the blade. Fortunately the blade was wide enough, even a bit wider than initially designed. And after some more hours of hand-sanding i had a blade that looked better than before.
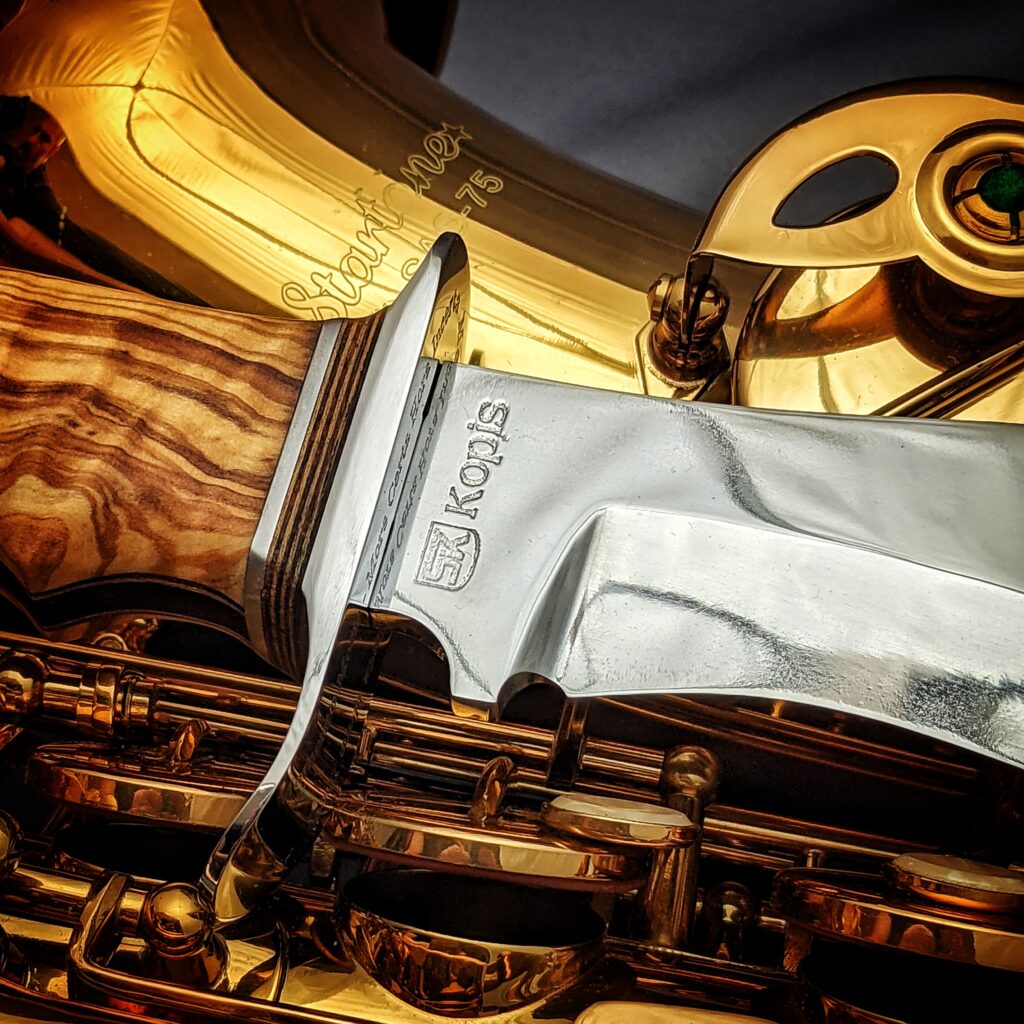
I also needed to work on the guard piece – also a first-timer: I needed to hot form some steel. I needed more bend than I could archive by just taking away material. And I needed a suiting tailpiece for the handle too, that resembles the form of the front guard.
The blade went up the grit scale from 80, 120, 180 up to 1200 and then on the polishing wheel as I wanted blade, guard, and tailpiece at a perfect nice mirror finish.
I wanted to try something special and etch ornaments or something with meaning into it for the front guard. I went for the Latin words: “Memento Moris – Mors Certa Hora Incerta”. Translated that means “Remember that you are mortal – Death is certain, the time is uncertain”. First I thought about some more etching on the blade but I do not want to overdo the whole piece – especially after I already put so many hours into this knife. But these words are perfect for a knife.
So finally it was time to glue all up and move on the handle shaping. The tailpiece would be the last and glued on in a separate step. Handle shaping went pretty smooth but then I discovered one of the hardest challenges. The tang sticks out from the bottom of the handle And I need to get all the surface around it perfectly flat. That alone took some hours of scratching tiny parts of wood off, just with the tip of the file. I will need to come up with a better idea if I do this kind of handle again – Probably, that I can take the handle off until final assembly.
The last step was to weld the tailpiece to the tiny tip of the tang that stuck out. I am not a welder, I am far from good. So I managed to weld the two pieces but did not manage to get it perfectly and so that it is invisible after grinding, sanding, and polishing the bottom part. You can now see where the two pieces are put together. I am still thinking about trying to weld over it to close the spots – but I am hesitant as it might ruin the knife.
