
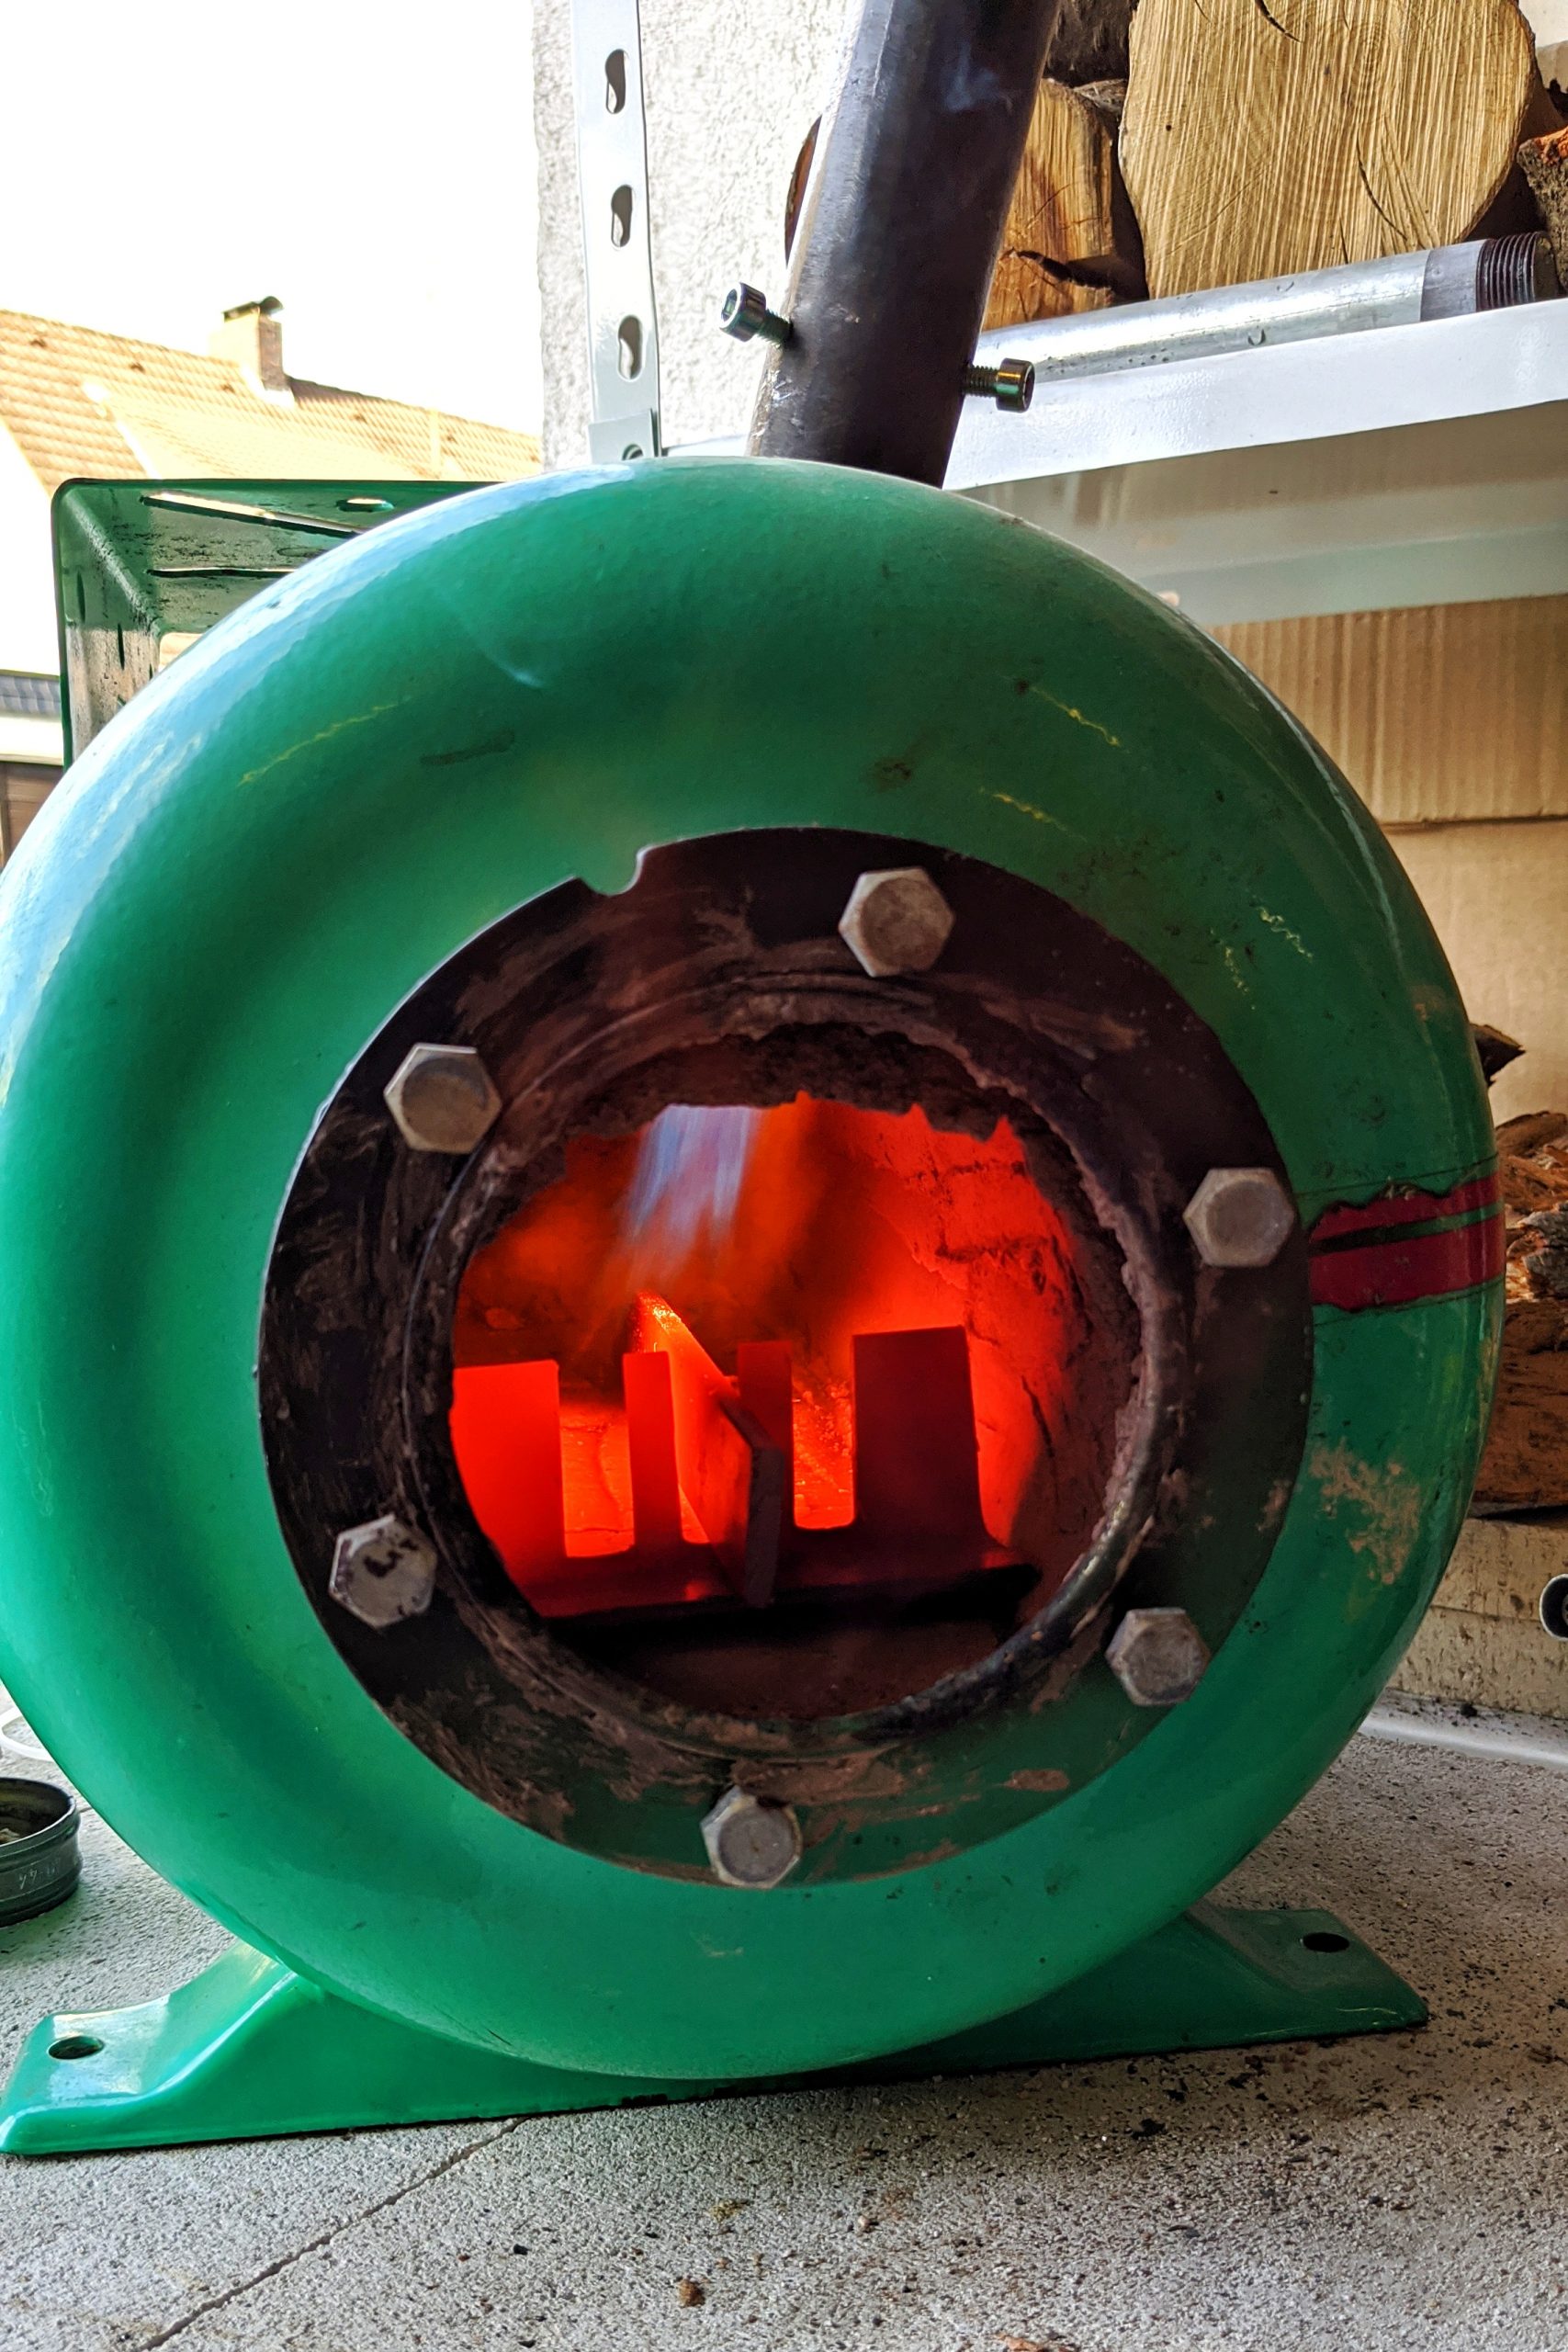
I built a new burner for my water tank forge. The first one I built had serious airflow problems and with too much gas it tended to blow out its own flame. So the generated heat was limited.
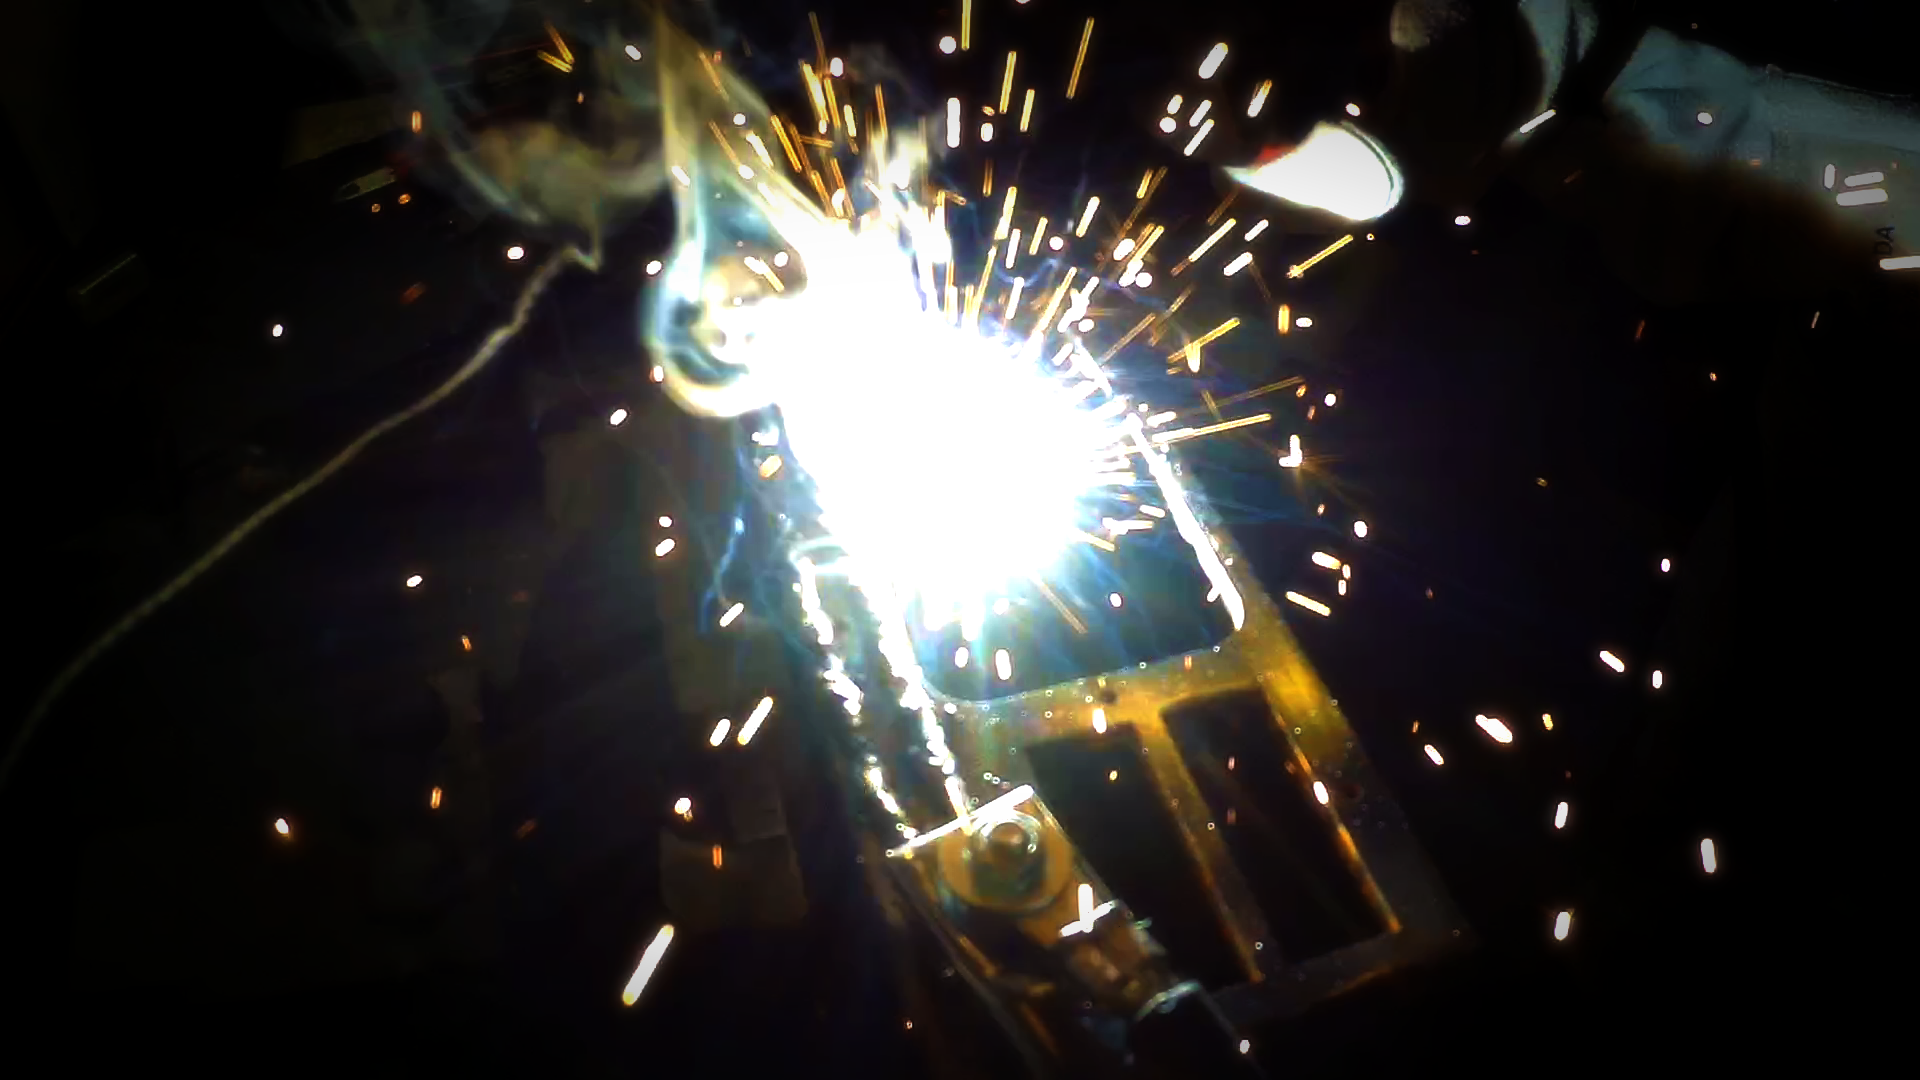
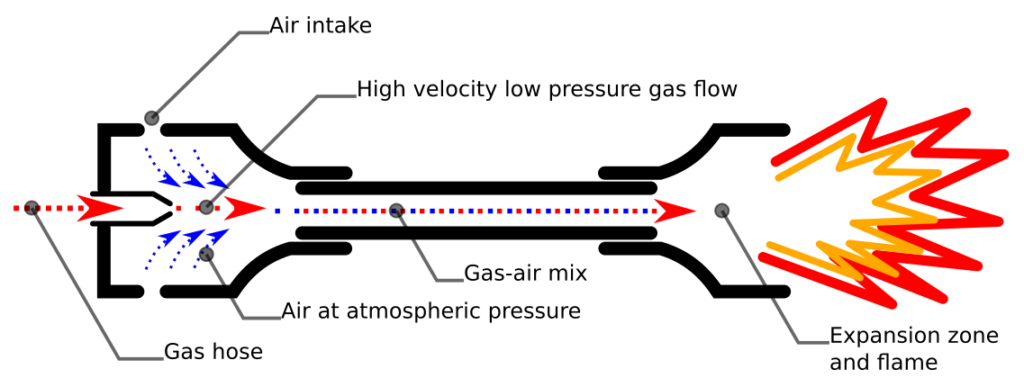
With my new welder, I was able to rebuild the whole cap. This type of burner is called a Venturi Burner. The gas flow from the nozzle pulls the air through a pipe by the sheer velocity of the movement. The air is not accelerated by an electrical fan or something, it is pushed into the pipe by atmospheric pressure. The mixture of air and gas moves fast enough to flow and mix in the pipe but the flame can not go back into the pipe.
These burners actually rely on two principles: the Bernoulli Principle and the Venturi effect.
An increase in velocity of a moving fluid results in simultaneous decrease in its pressure (and visa versa)
Bernoulli Principle
The result is that the velocity of the gas leads to a lower pressure of the gas (this is what the Bernoulli Principle says) and so the surrounding air (and so the oxygen) at atmospheric pressure is ‘entrained’ into the low-pressure gas flow to even out the difference of pressure, this is the Venturi Effect.
I bought some plumbing pipes made of iron and used a wire brush wheel on my angle grinder and a scraping disc to remove the zinc from the surface. Zinc can lead to health issues if heated and the gases are breathed in.

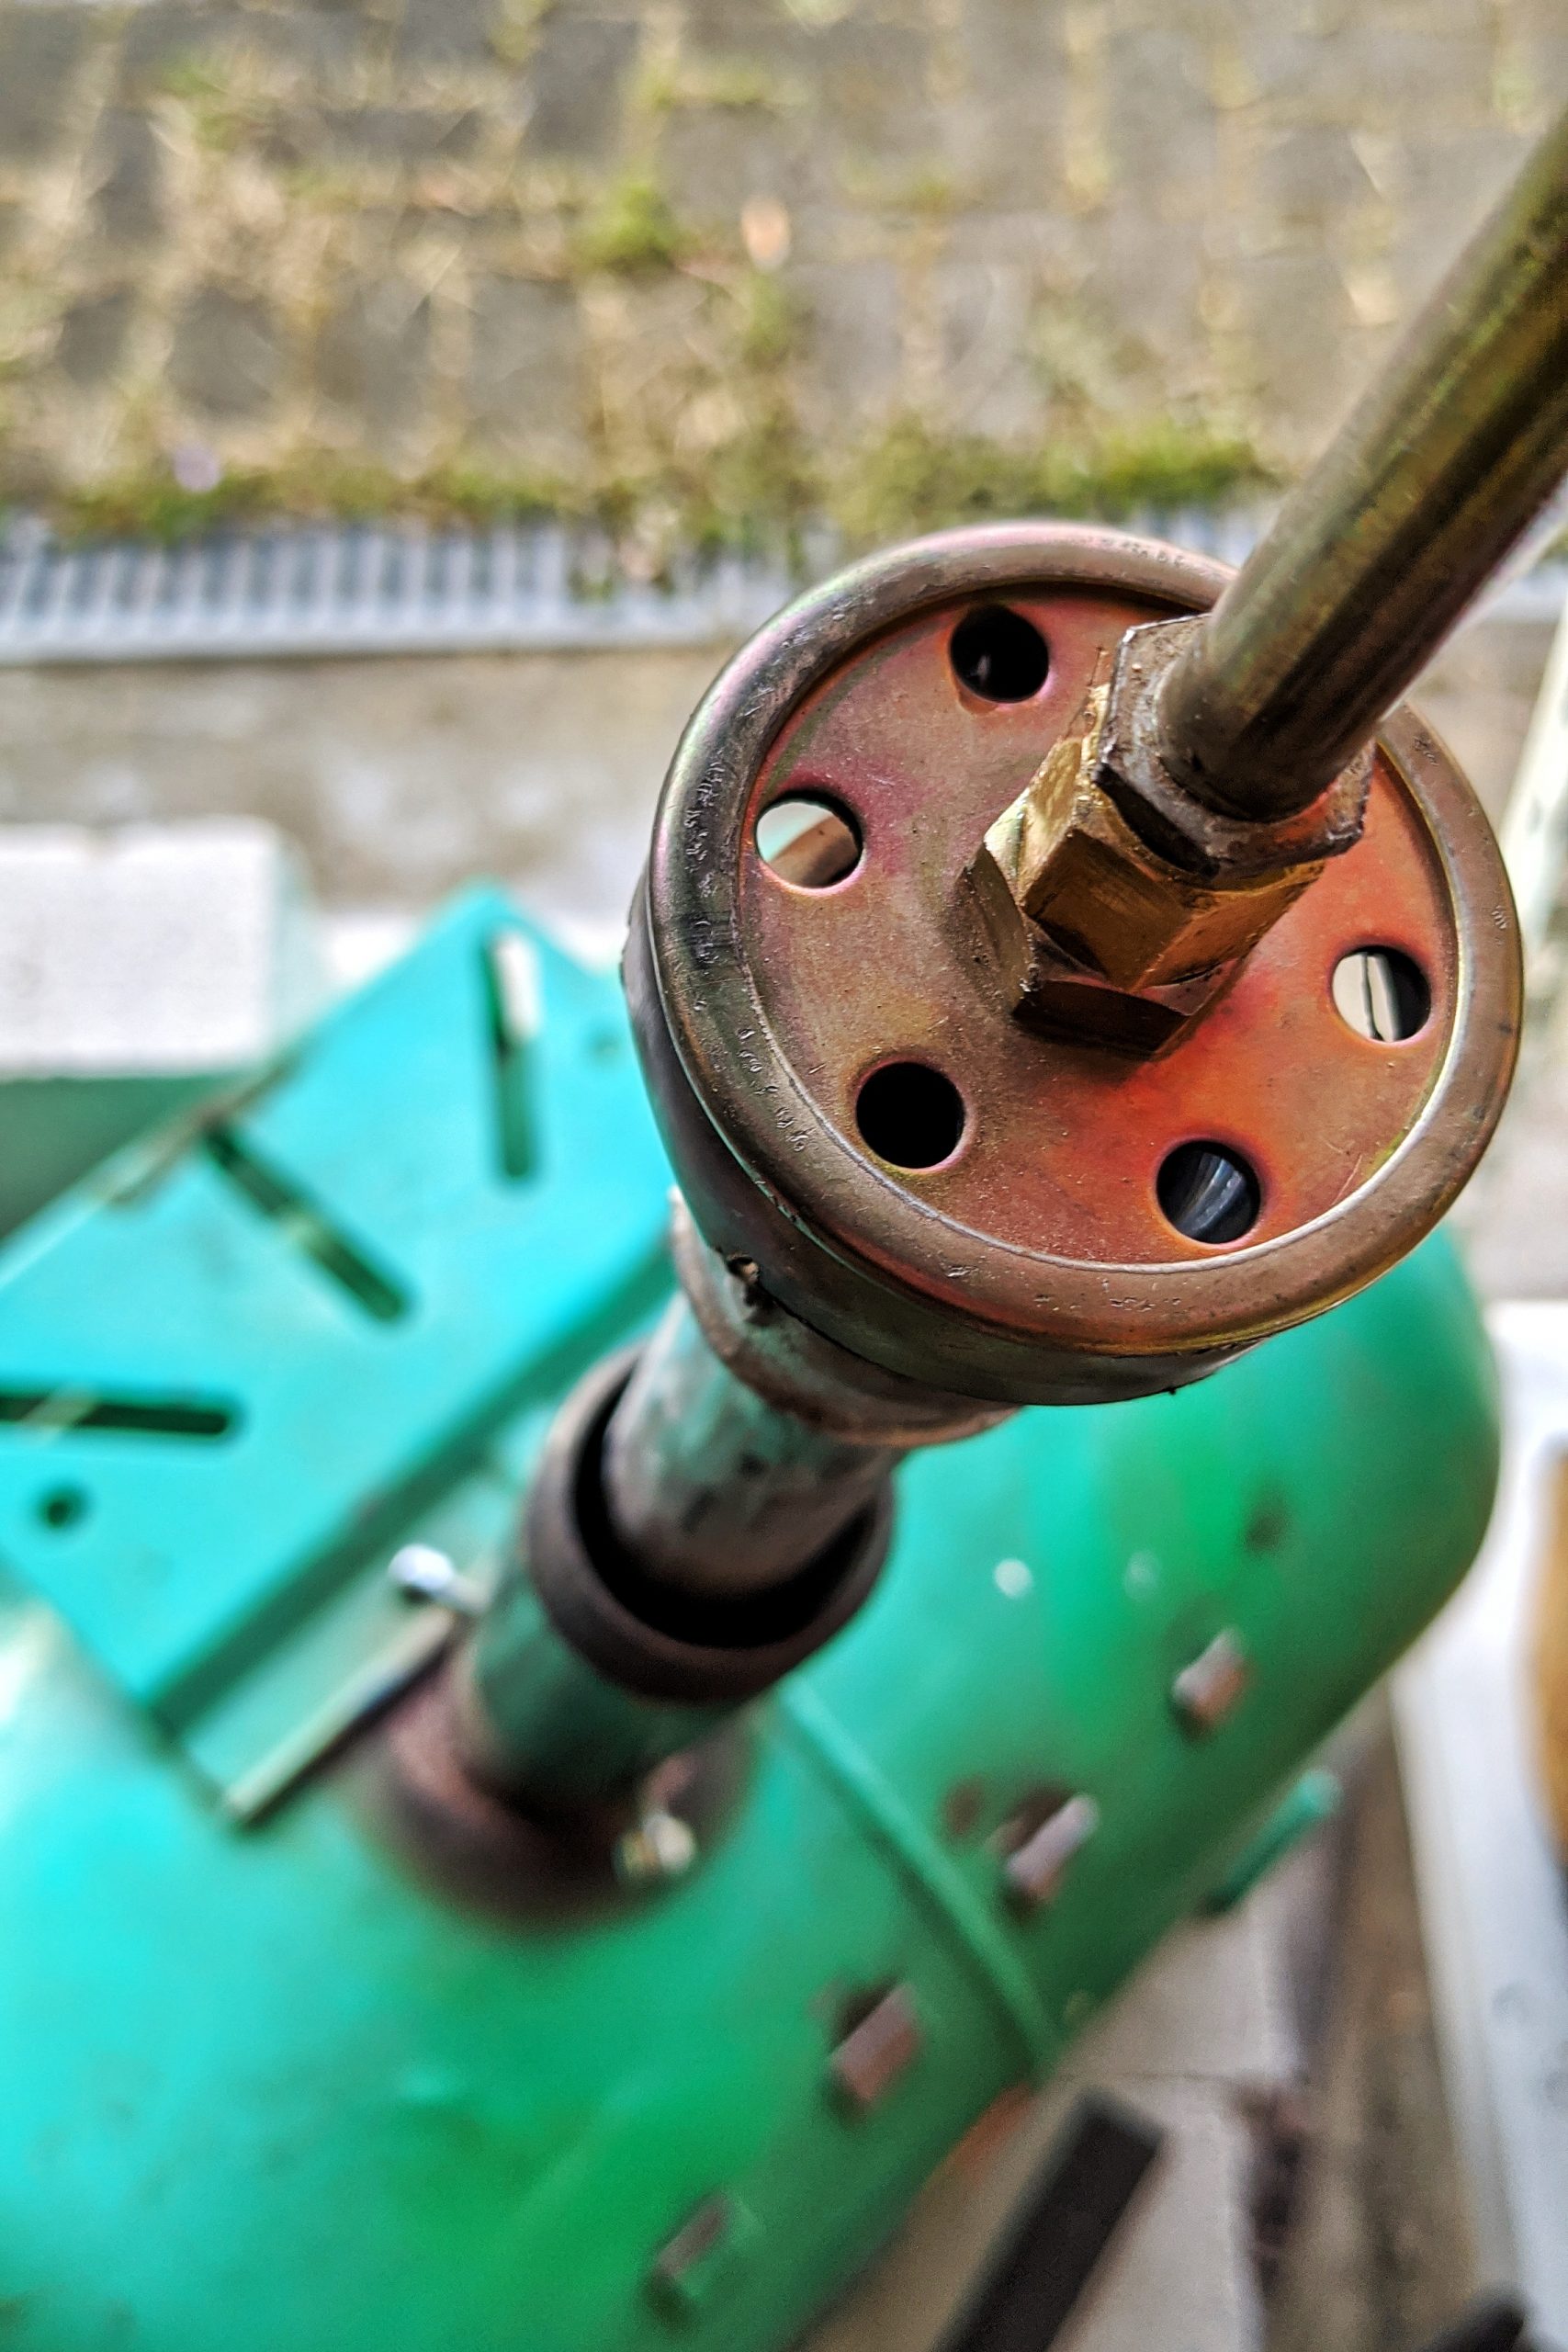
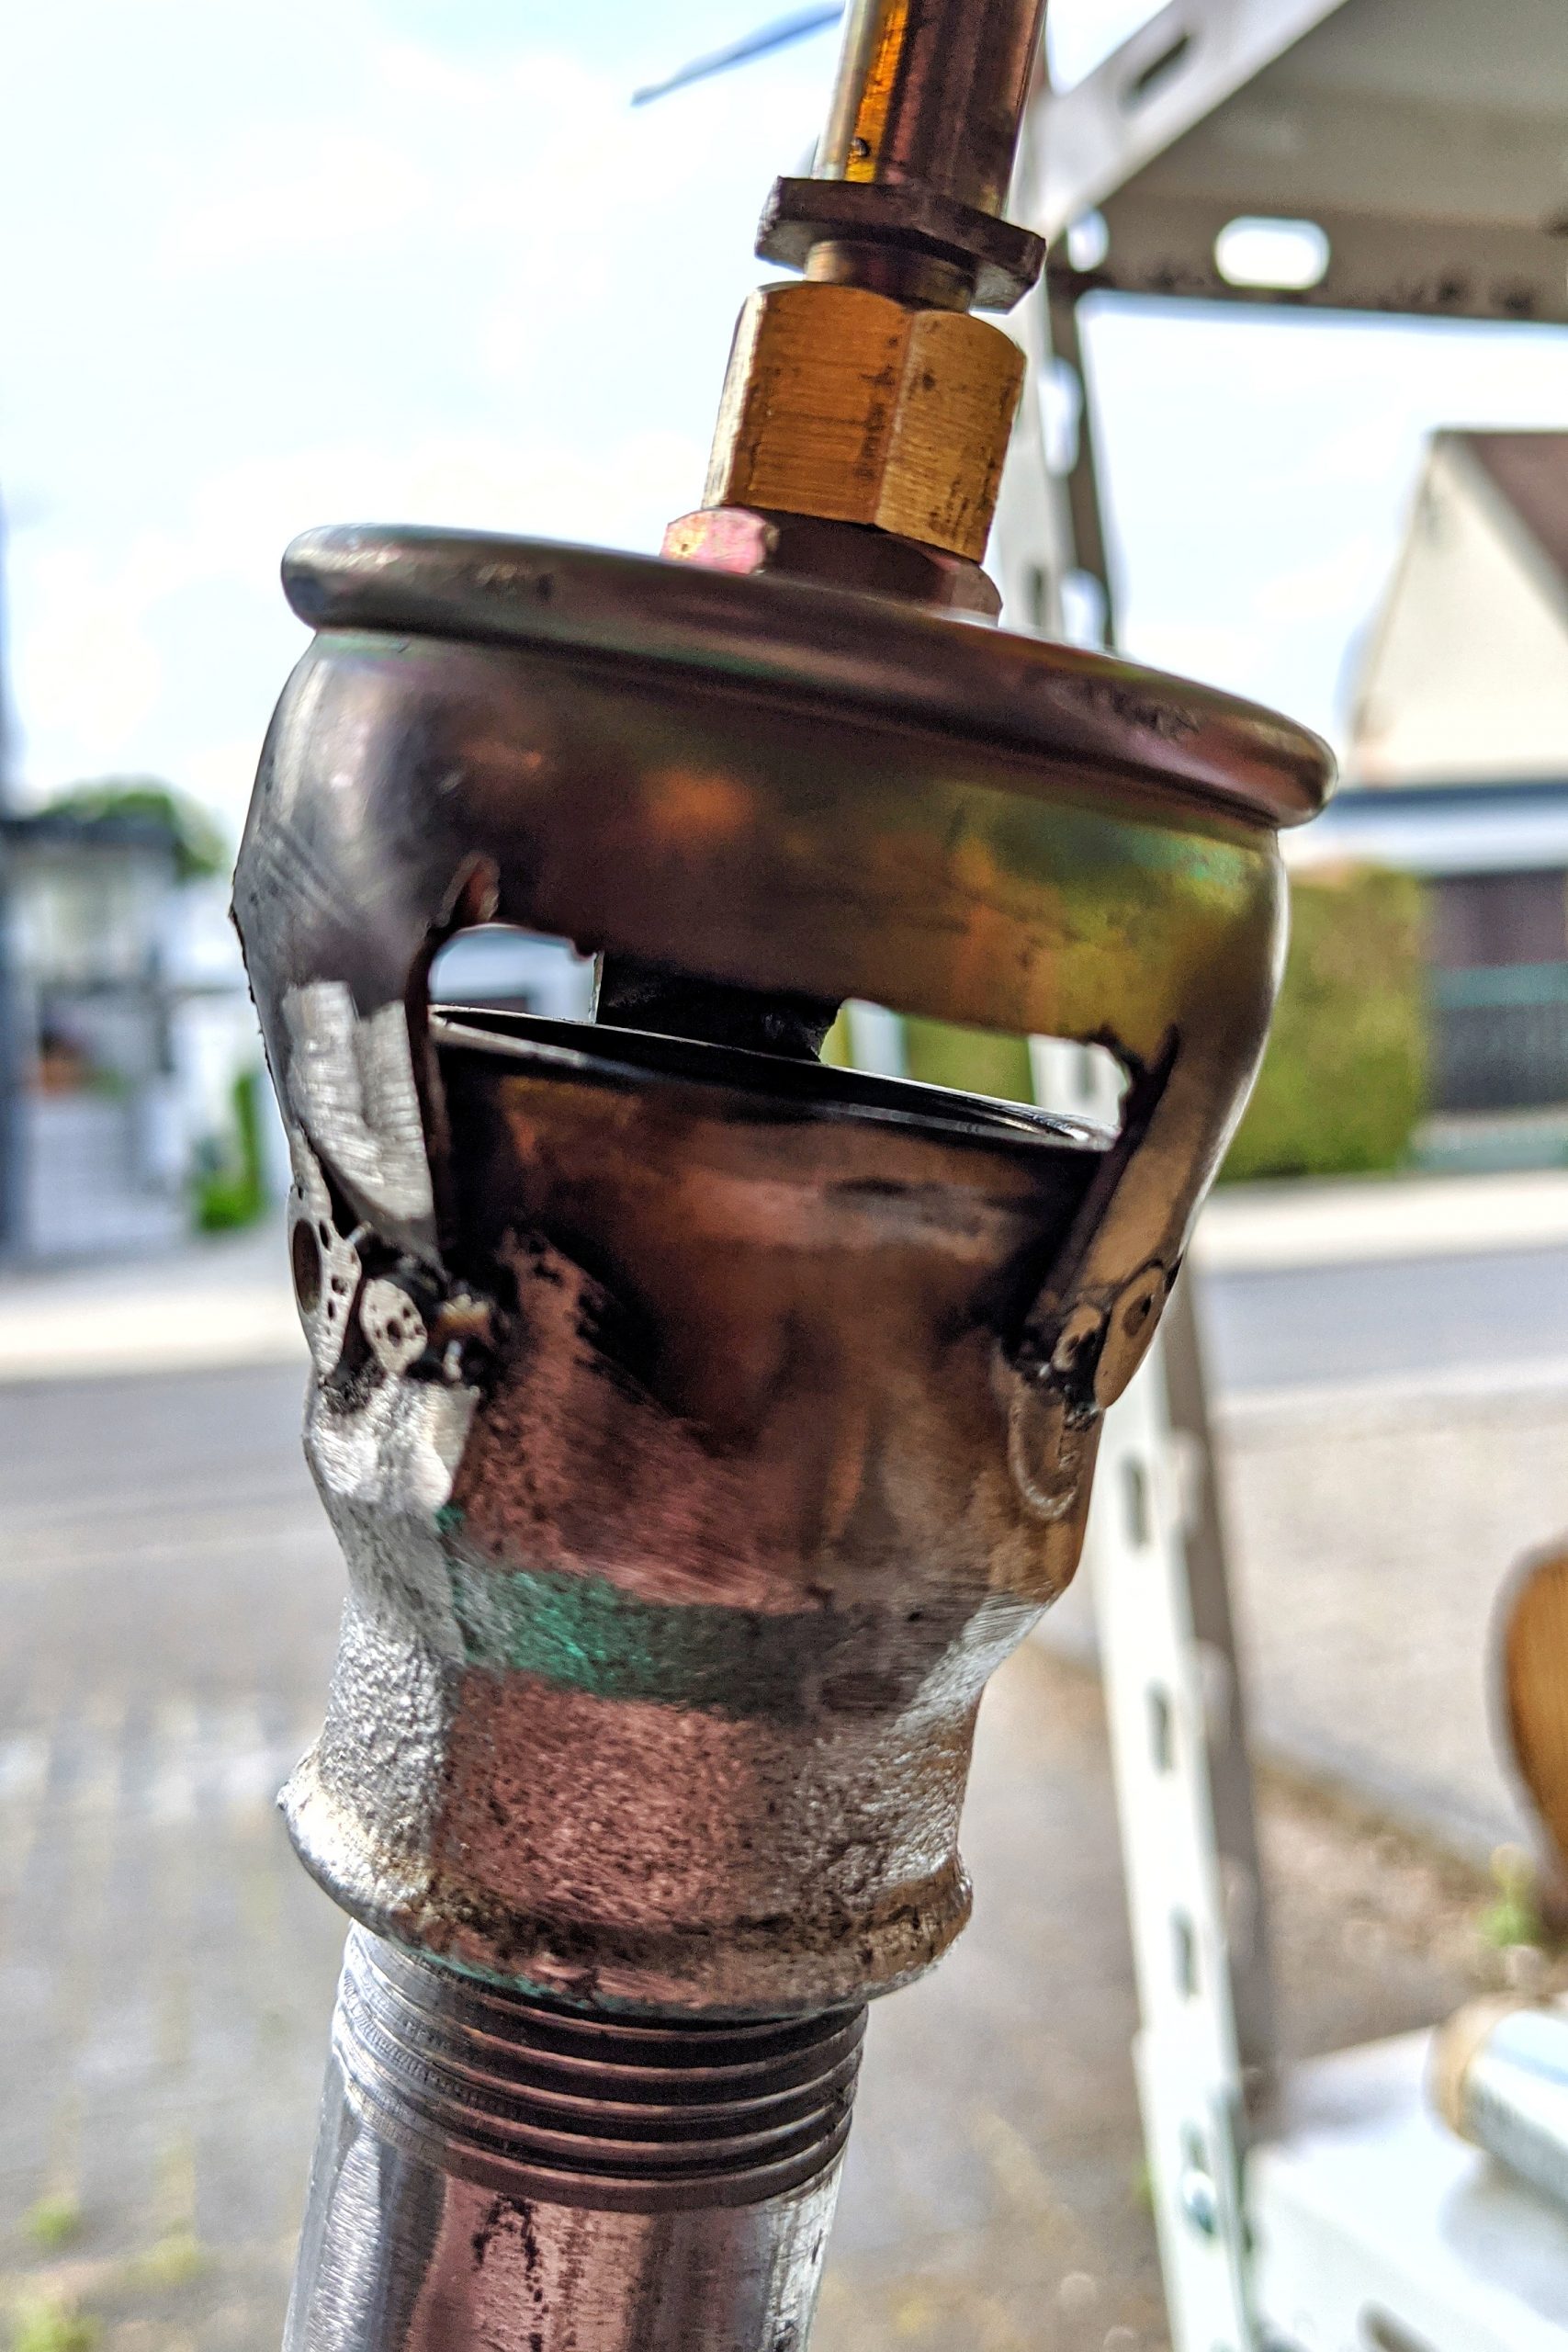
First I just held the cap near the top funnel and lit the burner to find the right distance and the right gap for the air intake. Then I welded the two parts together. The top cap is the former tip of a usual gas burner used on roofs. I just cut int into the right shape.
Yes I know it is not beautiful but a huge improvement that ads a lot of power to my forge and the flame is more stable at higher settings.