I did a sheath for the Bowie and one for the Hunter, the two knives I made as a Christmas gift for my brother and my father. I used a very thin, sloppy and colored chrome tan leather for them. The next sheath I made was for the JAMZT53 knife. This was also the first time I got the right leather (veg-tan) and did some leather carving and punching to give the sheath a nice looking surface.
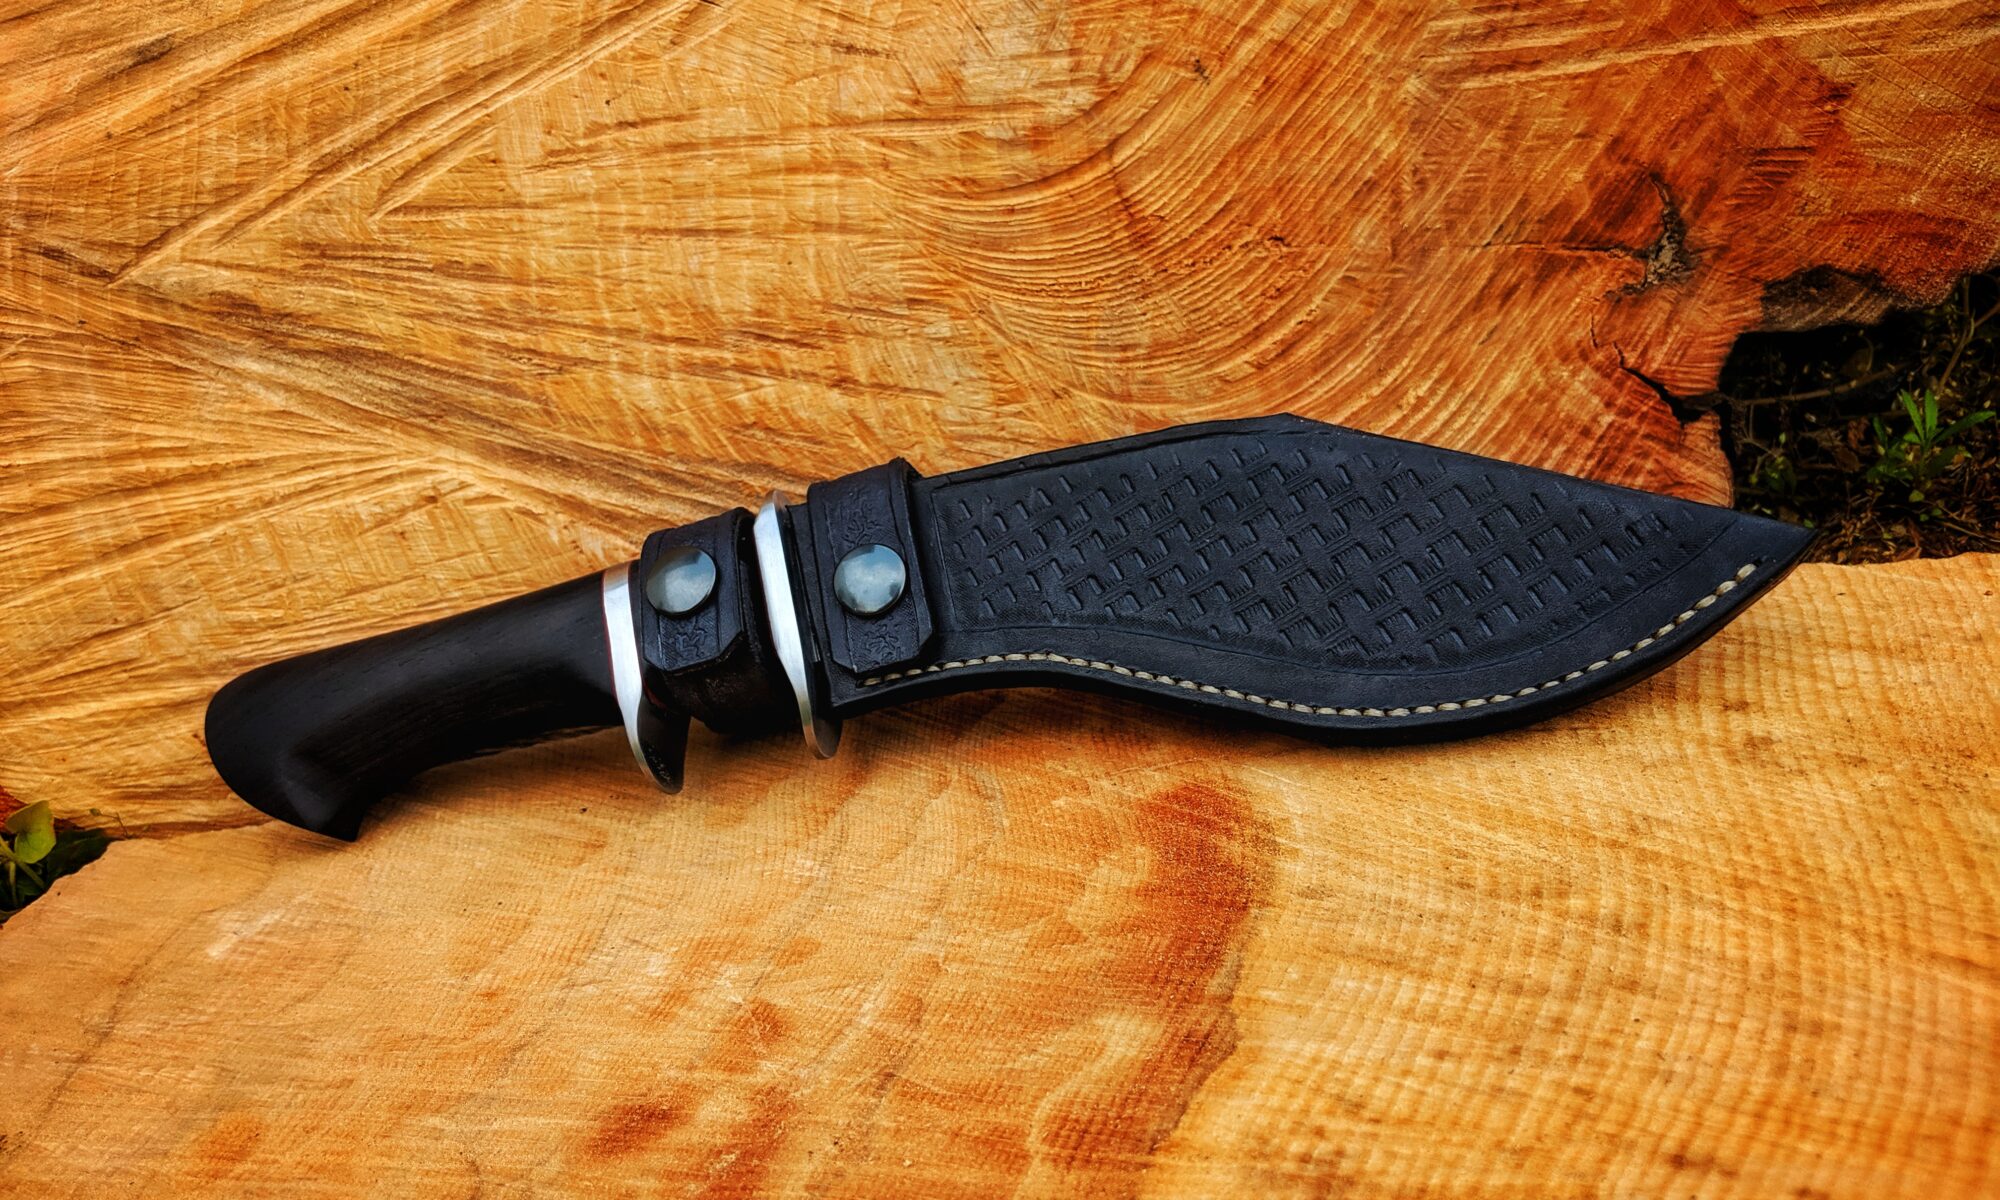
Now I just finished the Kukri III and wanted to make a sheath that suits the quality of the knife of my customer and friend Joe. The last time I bought a pretty small piece of leather where the needed sheath parts fit barely on to. Now I looked for a supplier of bigger leather pieces to work with and I found one pretty close to where I live. They are a supplier of professional saddlery stuff. I ordered one square meter and a tube of leather glue.
Unfortunately, the delivery service went pretty rough with my package so that the tube of glue was damaged and some glue spilled into the package. Fortunately, the leather was not affected. But the tube was damaged. I wrote the supplier an E-Mail. Professional as they are I promptly got send a new tube of glue and a kind E-Mail where they said sorry.
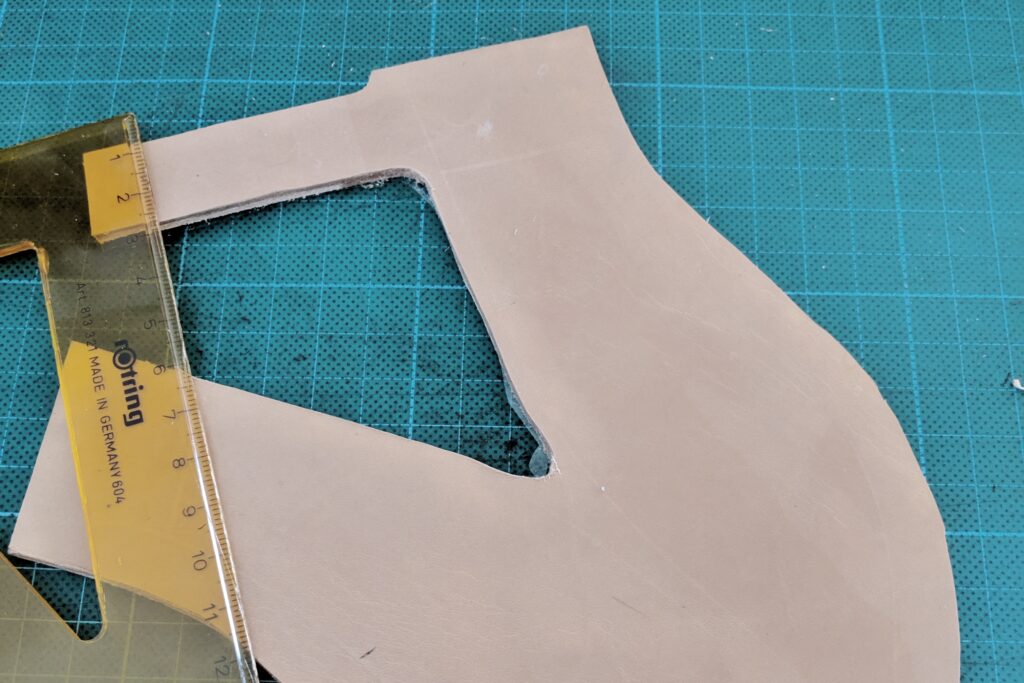
The main problem with sheaths for Kukri knives is that the blade is wider at the tip, so I needed to make a form where the blade would slide in easily but would stay in the sheath safely when carried on the belt. I did a similar form for the Bowie of my brother.
The second important thing to think about ist what to make in which order. If you don’t think that to the end, then you can not fasten for example the push buttons later.
But first I had to do the leather punching. I tried all the steps out by making a little sheath for my first “Signature” knife. I just wanted to make a little different pattern for the Kukri and the sheath would also get dyed black to suit the ebony wood handle.
One thing I learned from the little test sheath was: Put tape on the back of the leather before making the leather wet and punching it. This prevents the leather from stretching. A tip I found in one of the plethoras of YouTube Vids I watched about leather works. I did not do this on the little sheath and It stretched about 2 centimeters (!!!) in one direction.
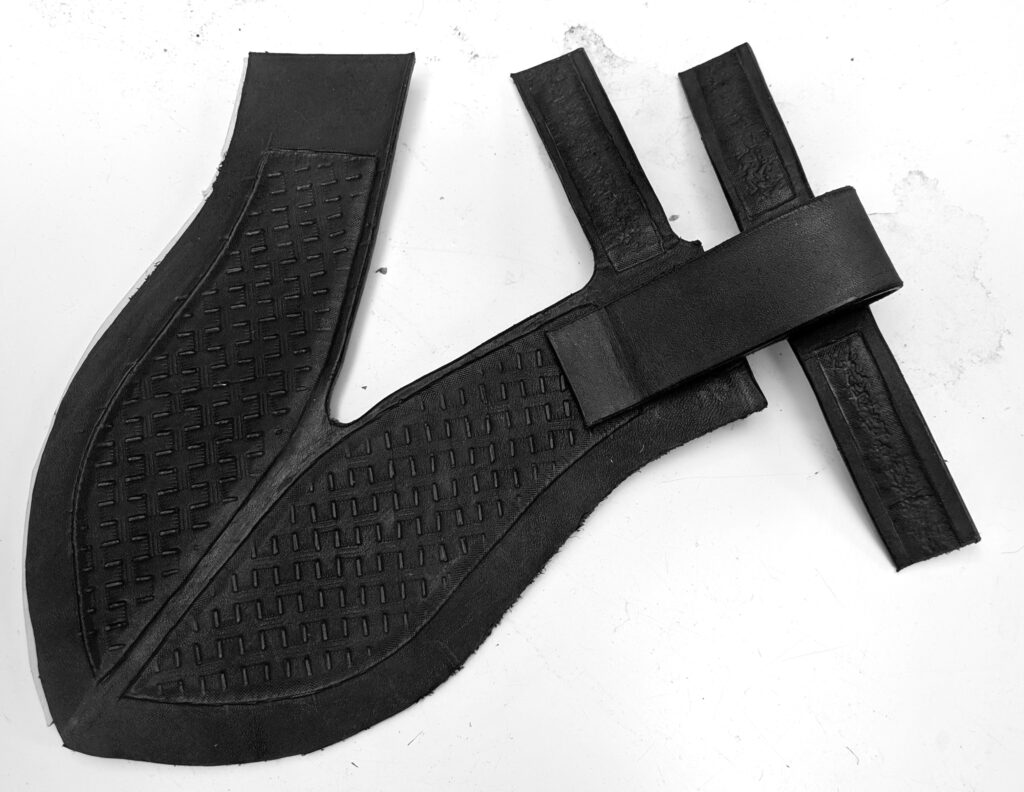
The second thing I learned: leather dye works great – on hands too. You just have a look at it and everything is stained – and it soaks through sponges in no time. Latex gloves solved the problem. Same for the glue, it is working amazingly. Fortunately, the dye and the glue dry very fast when working with them.
Before stitching anything I glued the leather together and the bonding is very tough. The stitching ads some stability and looks great. I decided to go with accented stitching lines and chose a light color for the thread. I bought a set of hole punches but they won’t work through three layers of this thick leather – so I just used them to mark the holes and used my mini drill to put in the holes one by one.
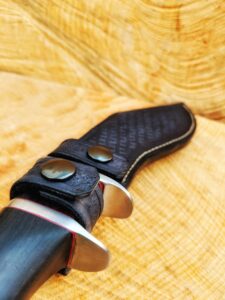
Another tough task was to fit the push buttons. They are not made for such a thick leather and so I needed to thin the leather down at the spots where I wanted them. I hammered a number of them and they got crooked before I had the right thickness of leather.
I bought some more tools like a stitching pony and an edge-beveler. The first one really helps as a third hand while stitching and the second one makes smooth rounded corners that later help when burnishing the leather edges.
The sheath has a folded part at the top of the wide part of the blade. The little sheath I did first also was folded instead of two parts stitched on top of each other. There I found out that I need to add a bit of space between the front and the back half, as the folding of the thick leather needs a bit of extra material. So I took that into account for the Kukri. That did work better but was still a bit tight. The knife now fits in like into a glove and if the leather stretches over time it will still hold the blade securely. Next time I will add some millimeters extra though.
I watched some tutorials on how to do a correct saddle stitch, not hard to do but it adds some extra durability and it looks so clean. Finally, all came together and I cut the leather straps to the correct length. I burnished all the edges that came together in the last step and treated them with beeswax. Last I treated the whole sheath with fine leather fat and I polished it. So the black color came out even better.
I posted some pictures on my Instagram account @simplyknives and my friend Joe, who I made the knife for, was very happy with the result. That is when all the hard work pays off when you hear and feel the excitement that results out of every minute that is spent into that piece of steel, wood, and leather.
