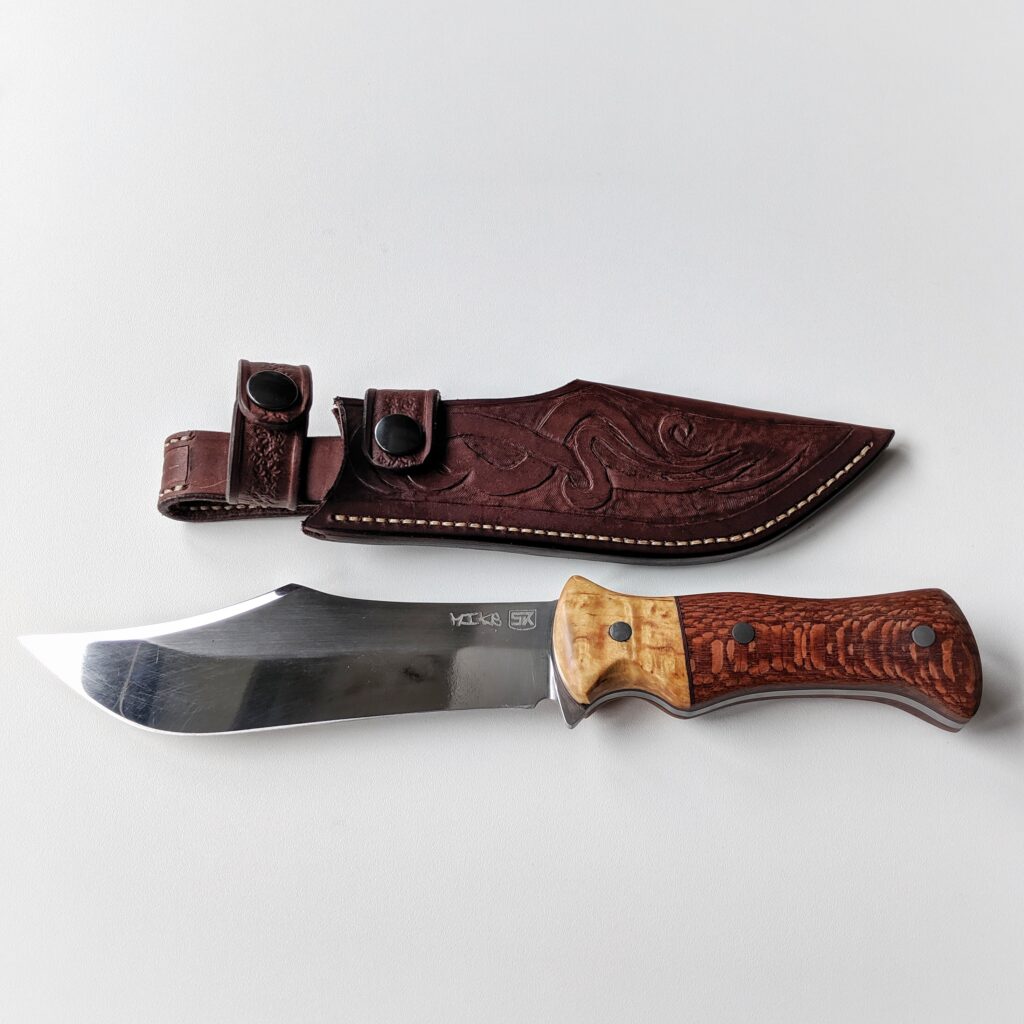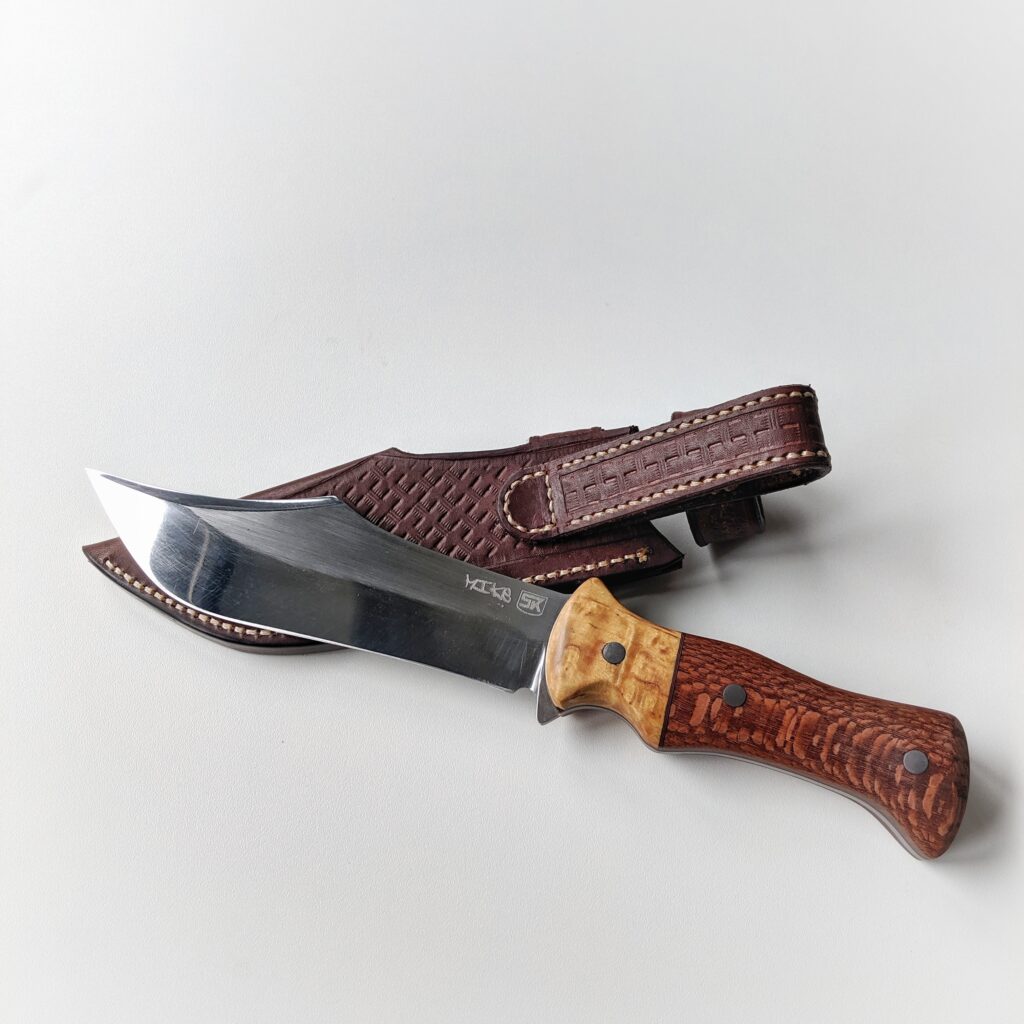

The Bowies I made till now were with wide recurved blade design. I like the form a lot but I saw a lot of knifemakers doing a very slim design for their Bowie blades. I also wanted to make a bigger knife to see how far I can go. The main challenge is not grinding a bigger blade into shape but the size of my forge and the containment of the heat treatment oil.
While I planned the new knife, my friend Joe asked me to make another knife for him. This time I should do it completely free as I like and put as much into the knife as I want. When working with and for Joe he always gives me complete creative freedom, but this time I also suggested the knife model. That was perfect timing.
I showed him the draft and he liked it. So I started with the project and got the shape into the steel. I was totally amazed when I held the rough blade in my hand for the first time. The ergonomy of the handle was on point. I don’t know if I have a good sense of handles or it is pure luck. But I like how I can grip the handle with the full fist or put the thumb on the back on the spine of the blade and up to the thumb stop.


I showed Joe pictures of the progress and I felt how he began to love the blade after he just liked it at first. He told me he would love to have a green handle. I had seen nice colored wood at a german online dealer for knife makers. And I showed him the exact piece of stabilized green poplar burl. That stuff looks like jade marble. He liked it and so I ordered it.
The piece of wood looked even better when you see it live – but it made me very nervous to cut the wood into halves. The knife would have a full tang so I needed two parts. I have had some problems getting perfect straight cuts on my bandsaw before. I practiced with some pieces of wood – and it went much better than expected. So I cut the stabilized wood in half and sanded it perfectly flat on a piece of sandpaper that lay flat on my workbench.
The wood left neon green wood dust everywhere – even more, when I started shaping the handle. My workshop looked like an alien landing zone with all the green stuff around. Good, I got my respirator.
As always I left the handle a bit thicker. A big knife like the Longbow needs a handle you can grip on.
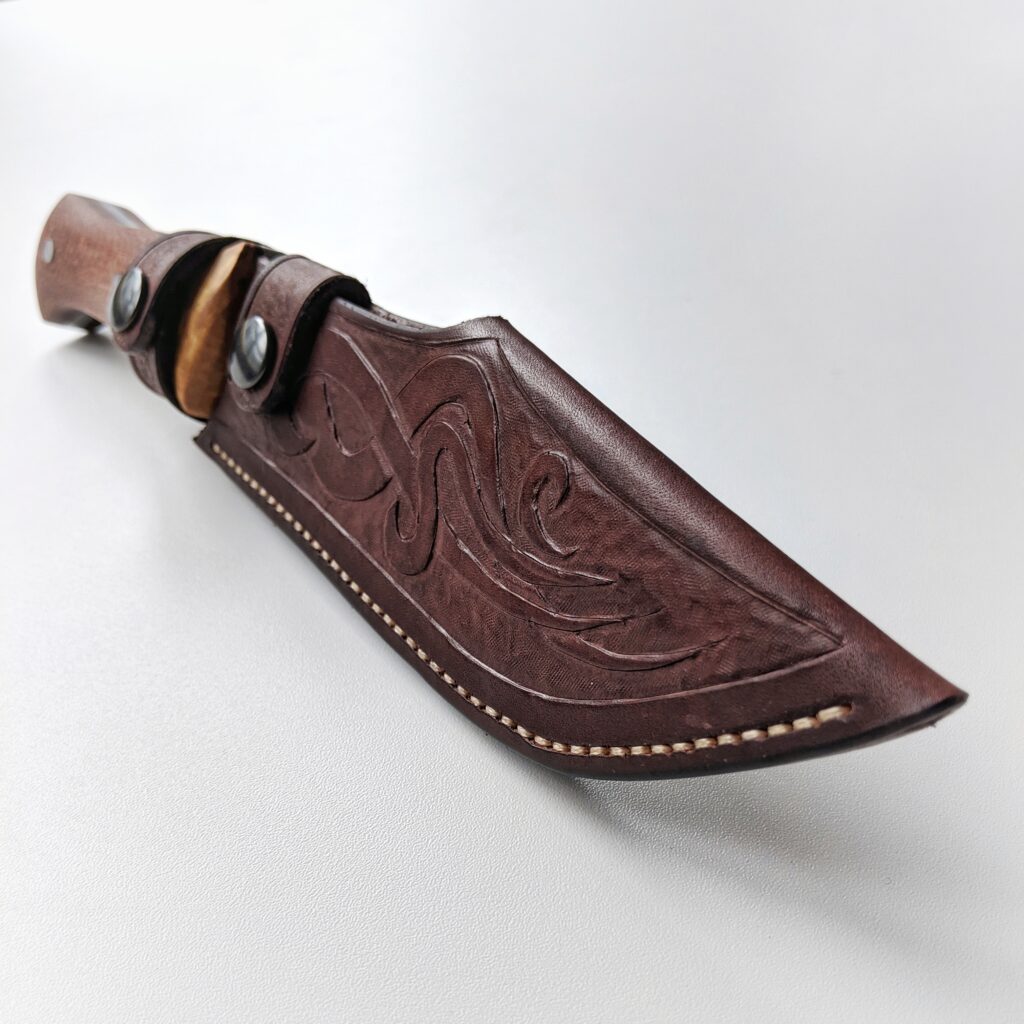
The blade is polished to a mirror finish – and I don’t know why but this went pretty good this time. Usually, I have a tough time getting all the scratches out of the wood but this went pretty easy this time.