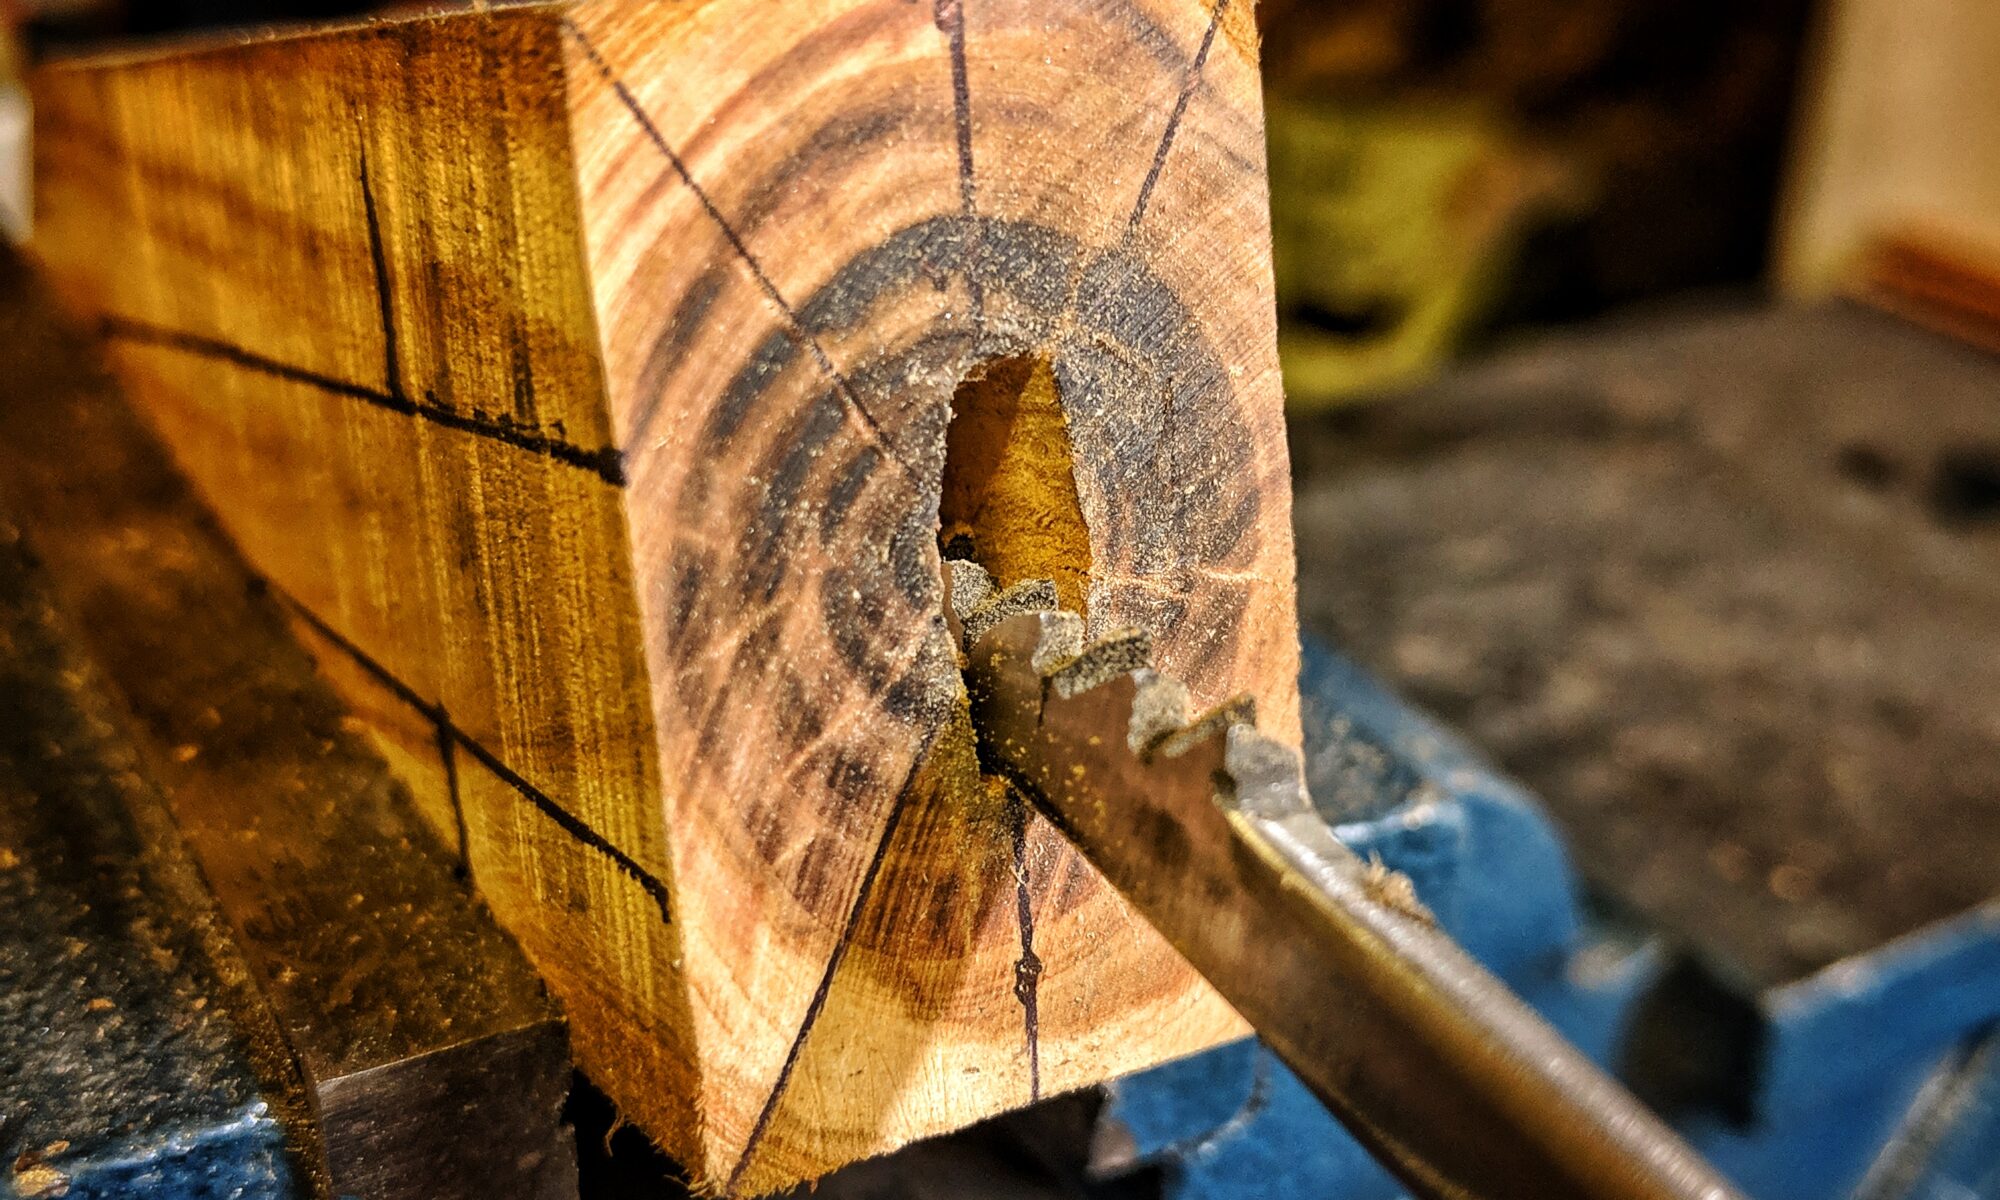
When I built my first hidden tang knife, I needed a tool to sew out the slot, where the tang would fit into the wood. As I had nothing that worked, I built one myself.
I called it a hidden tang handle saw (HTHS) as a joke on Instagram.
Making a hidden tang knife
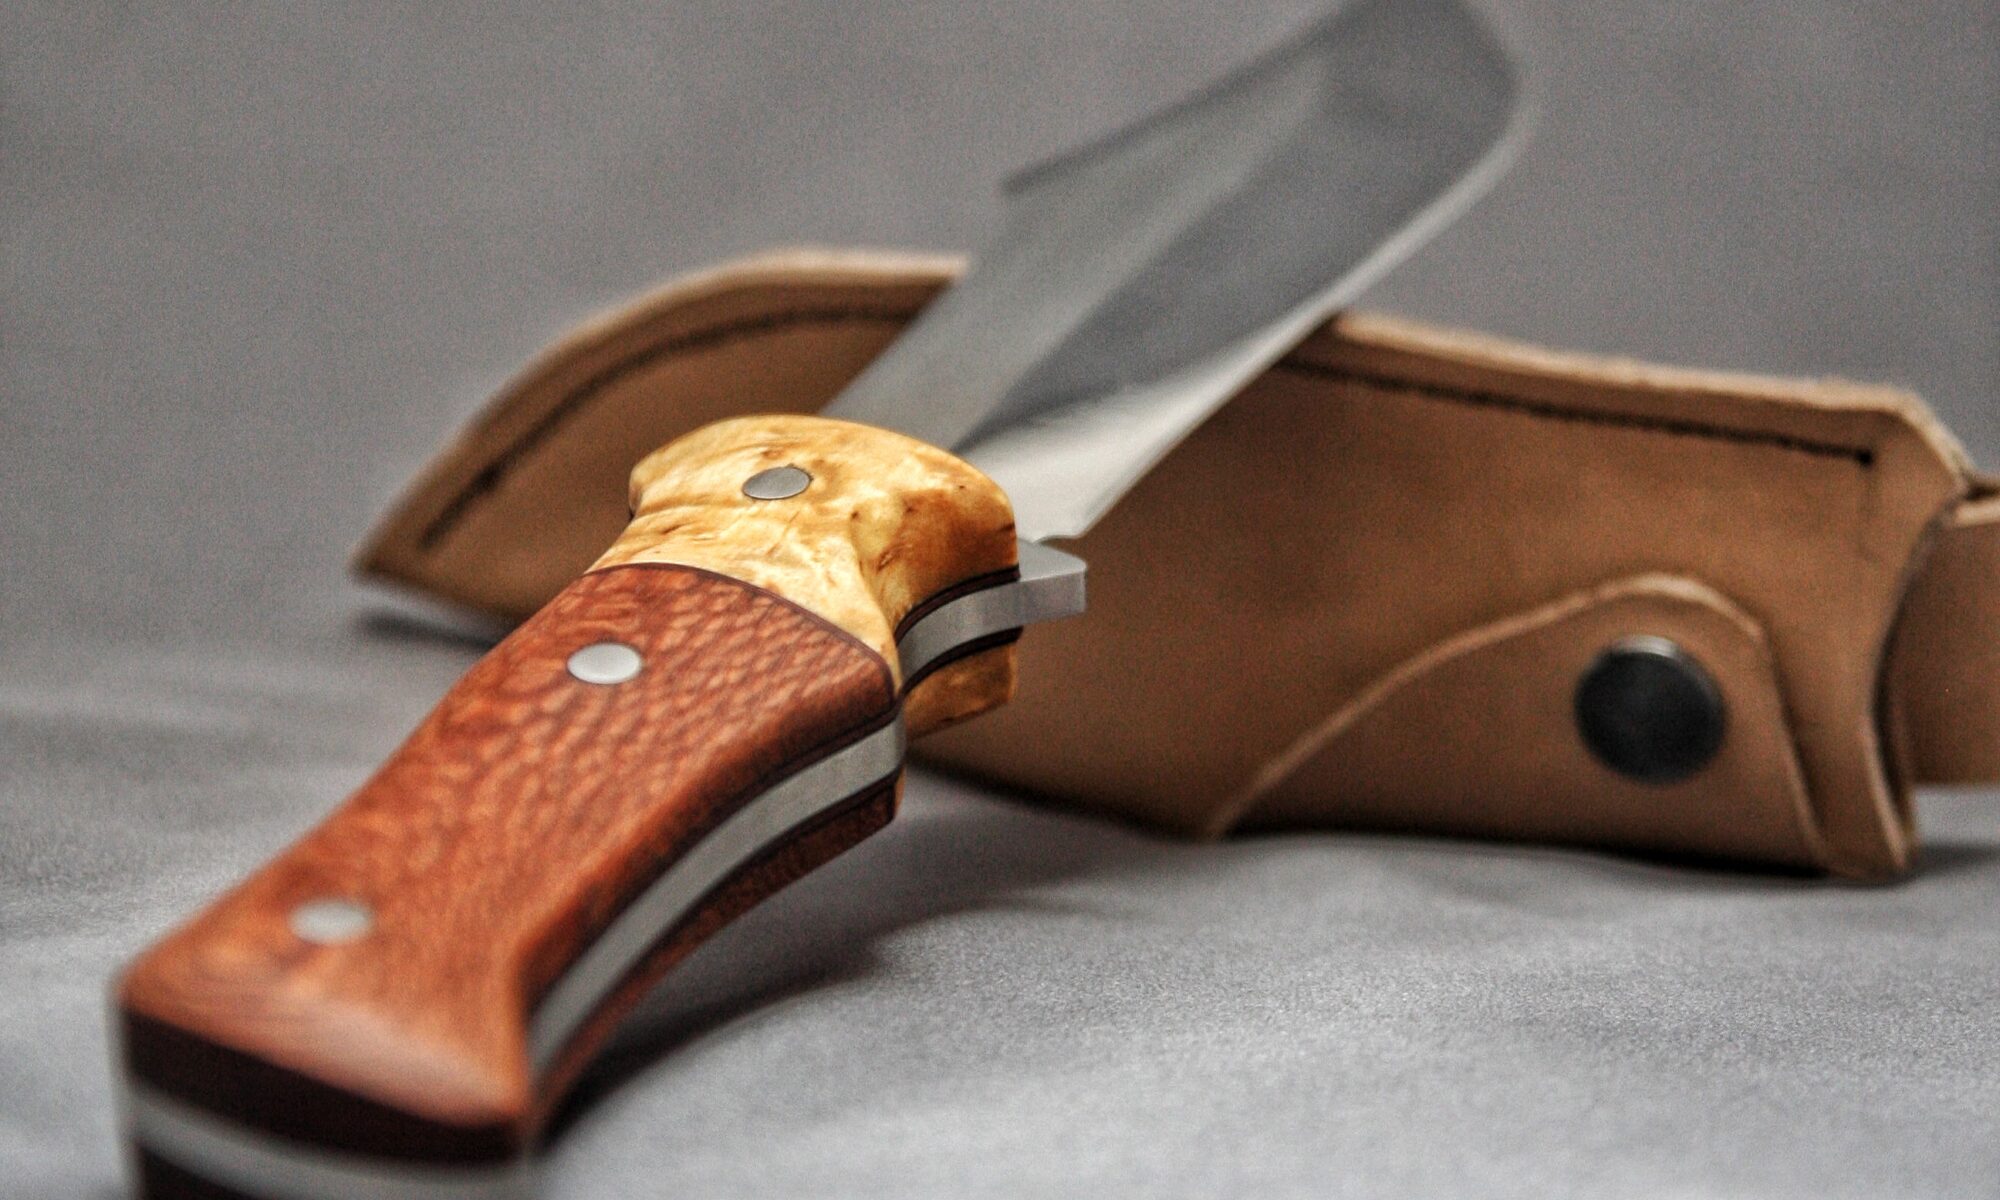
Until then I only had done full tang knives where two handle scales are glued to the sides of the blade. I had seen some videos of my favorite knifemakers how they make knives where the tang is not visible and the wood of the handle goes all around the steel that reaches inside the grip.
Continue reading “Making a hidden tang knife”How to treat your carbon steel knives
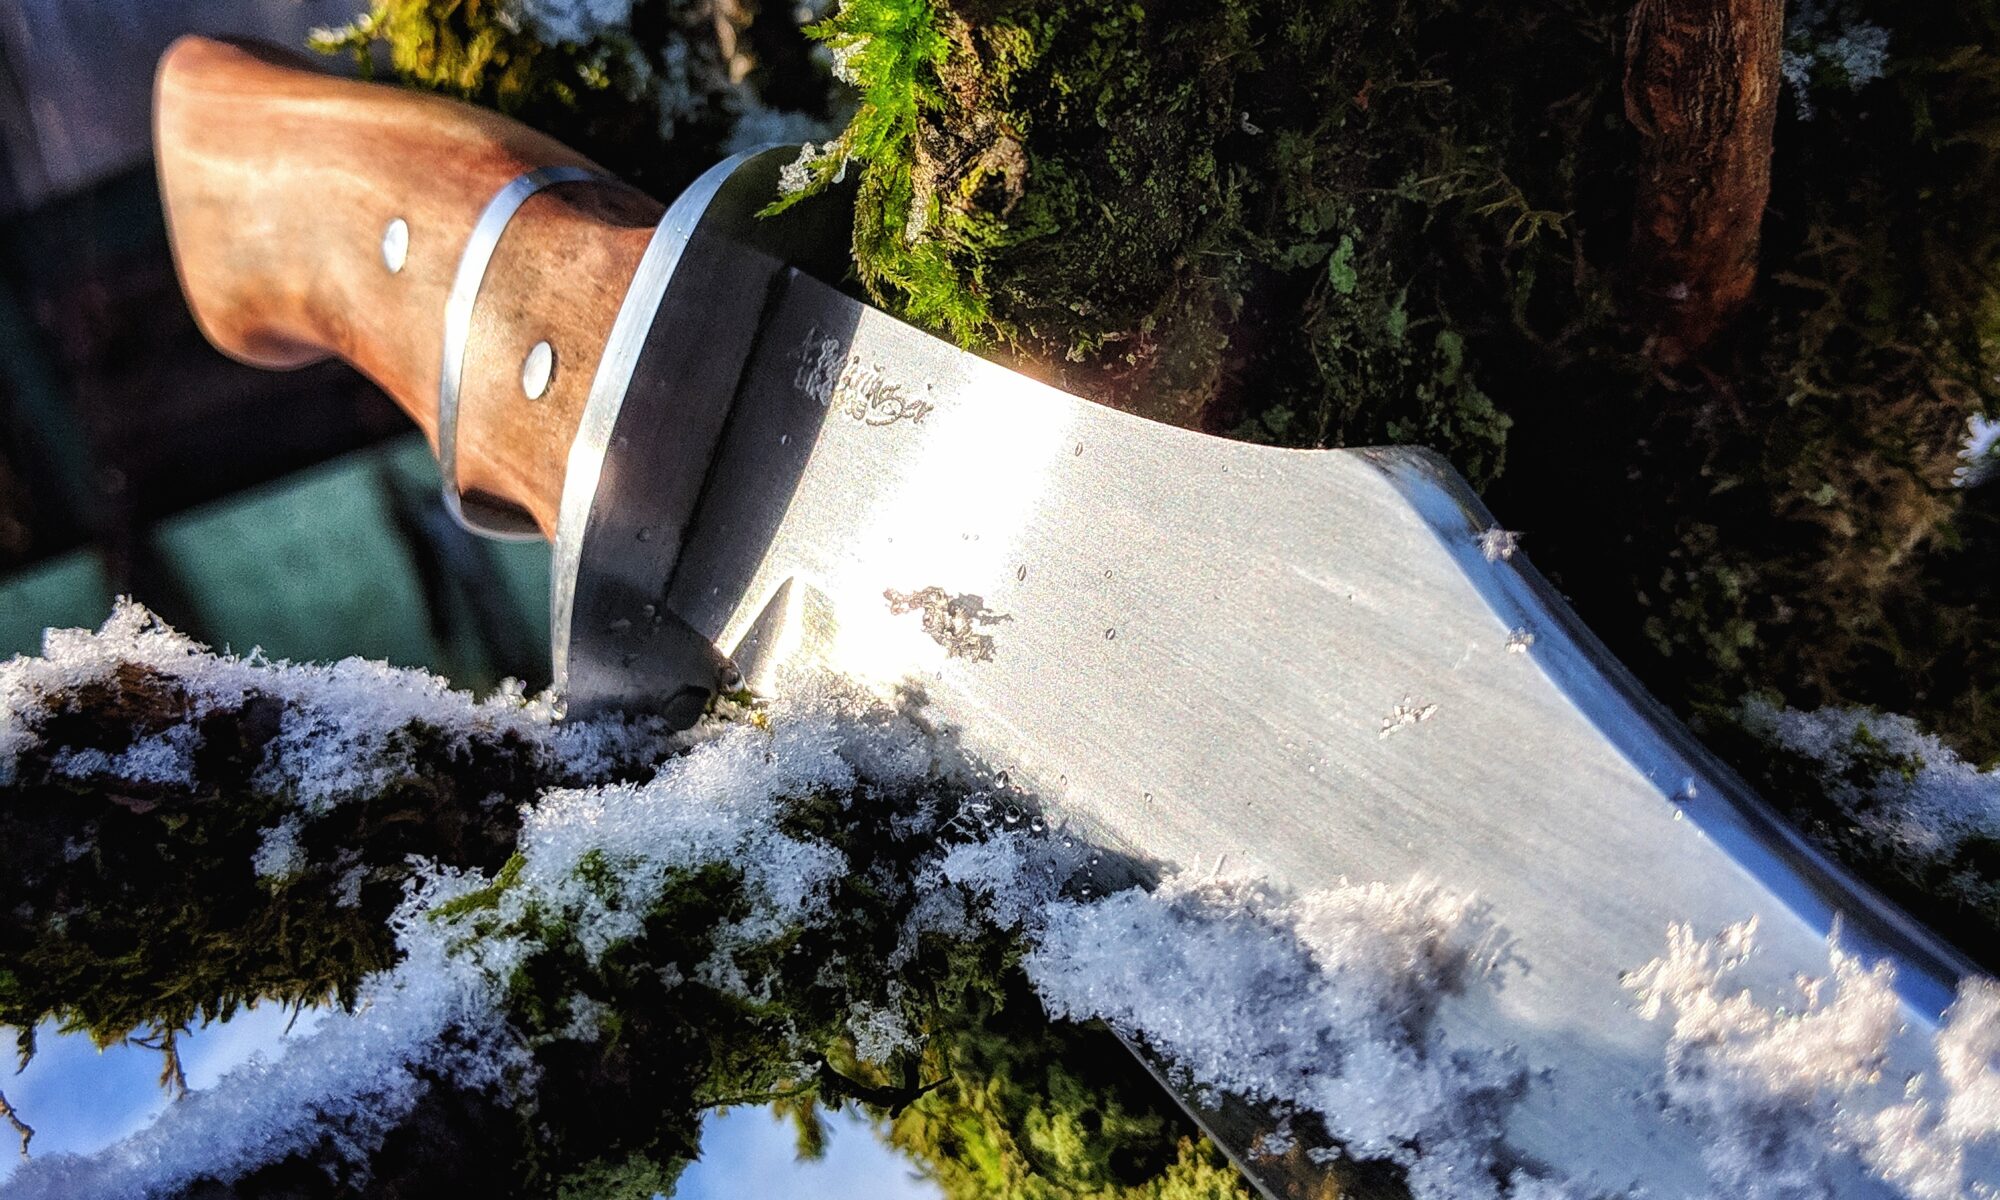
When I used my first self made kitchen knife for cooking I was a bit scared when I saw my knife afterwards. I had been cutting a lot of onions for the meal and the blade had lots of spots and stainmarks on it. I wasn’t even able to srub them off. I thought that I probably made something wrong with the knife like chosing a wrong steel or something.
Continue reading “How to treat your carbon steel knives”Markings, markings everywhere
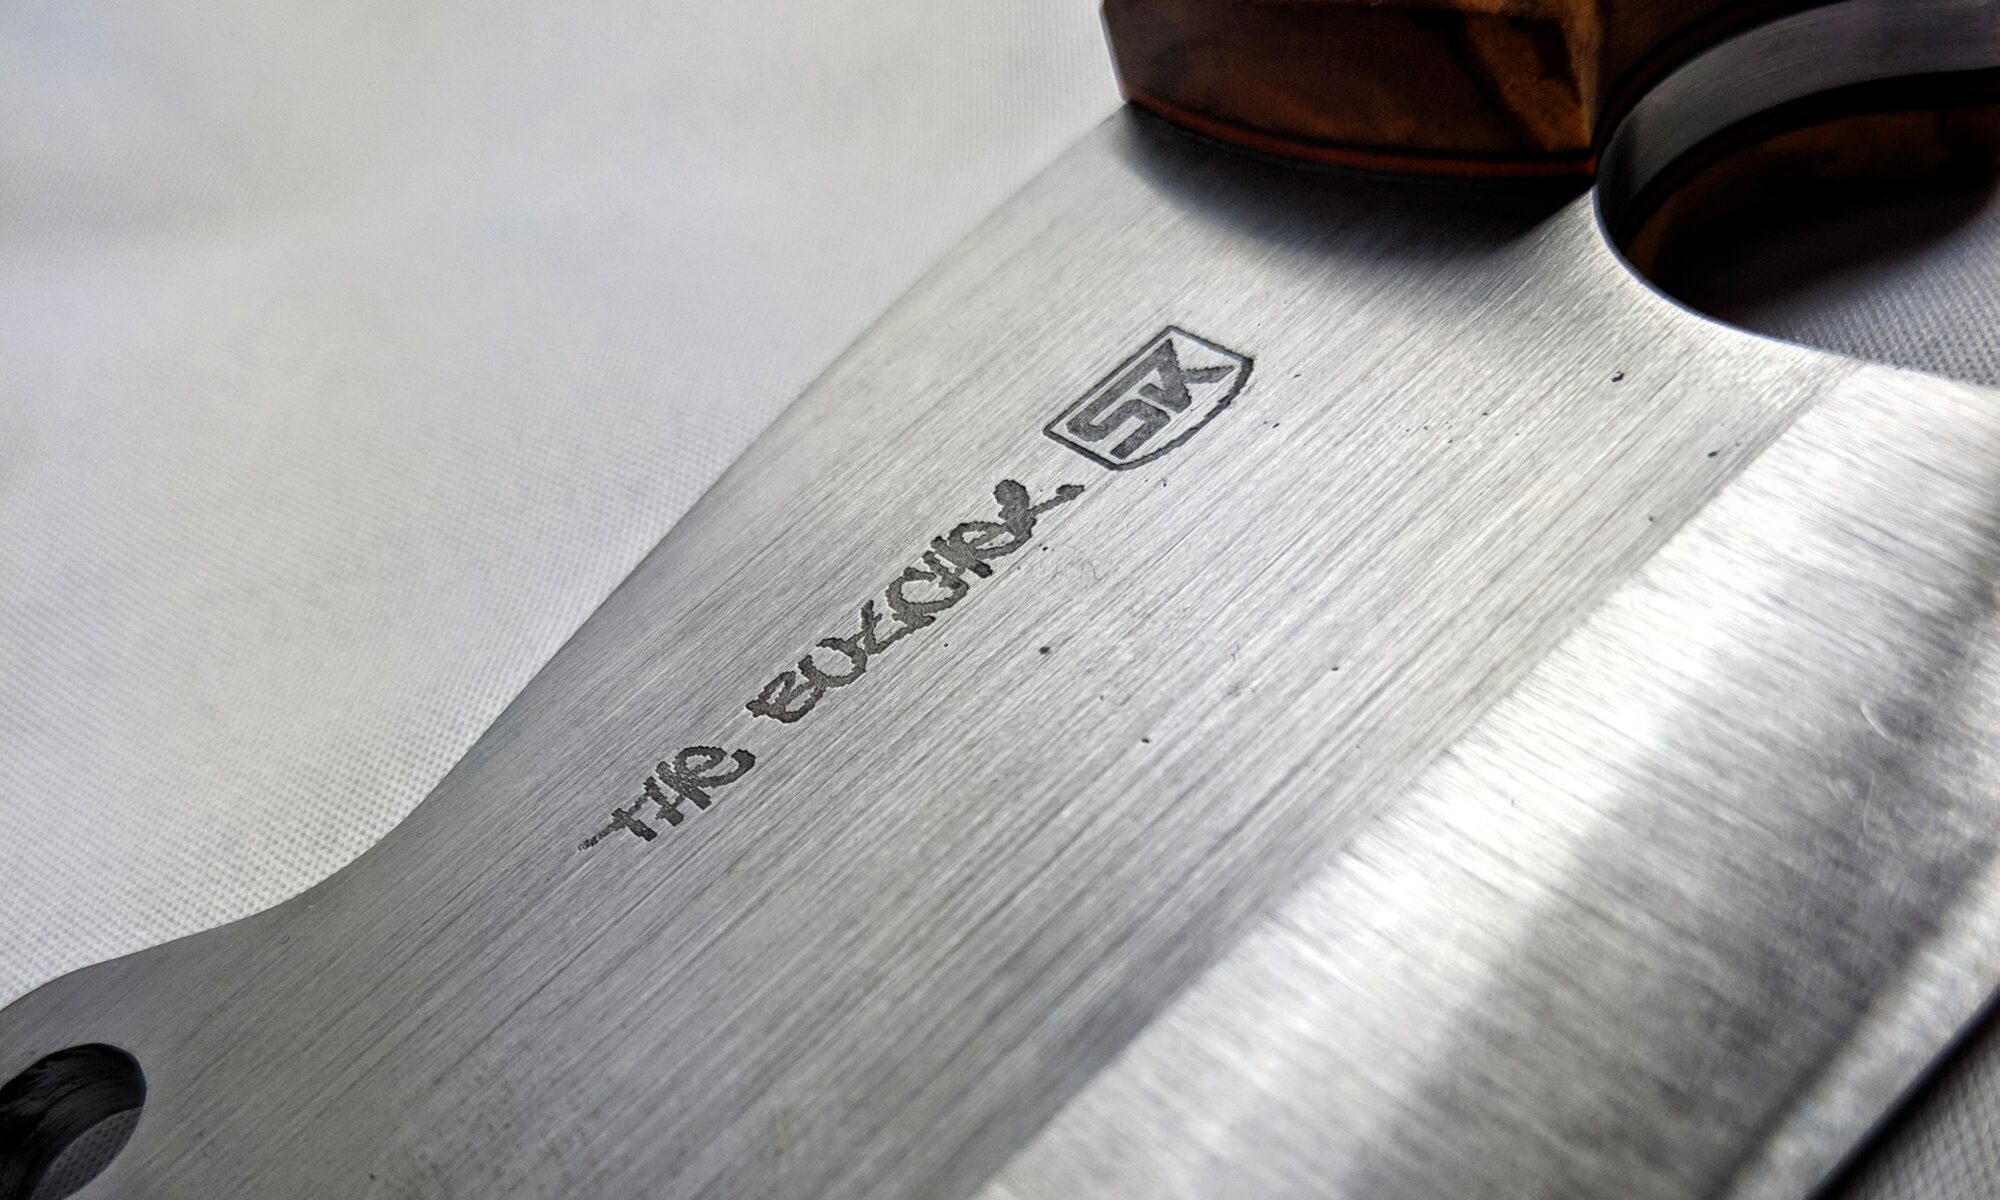
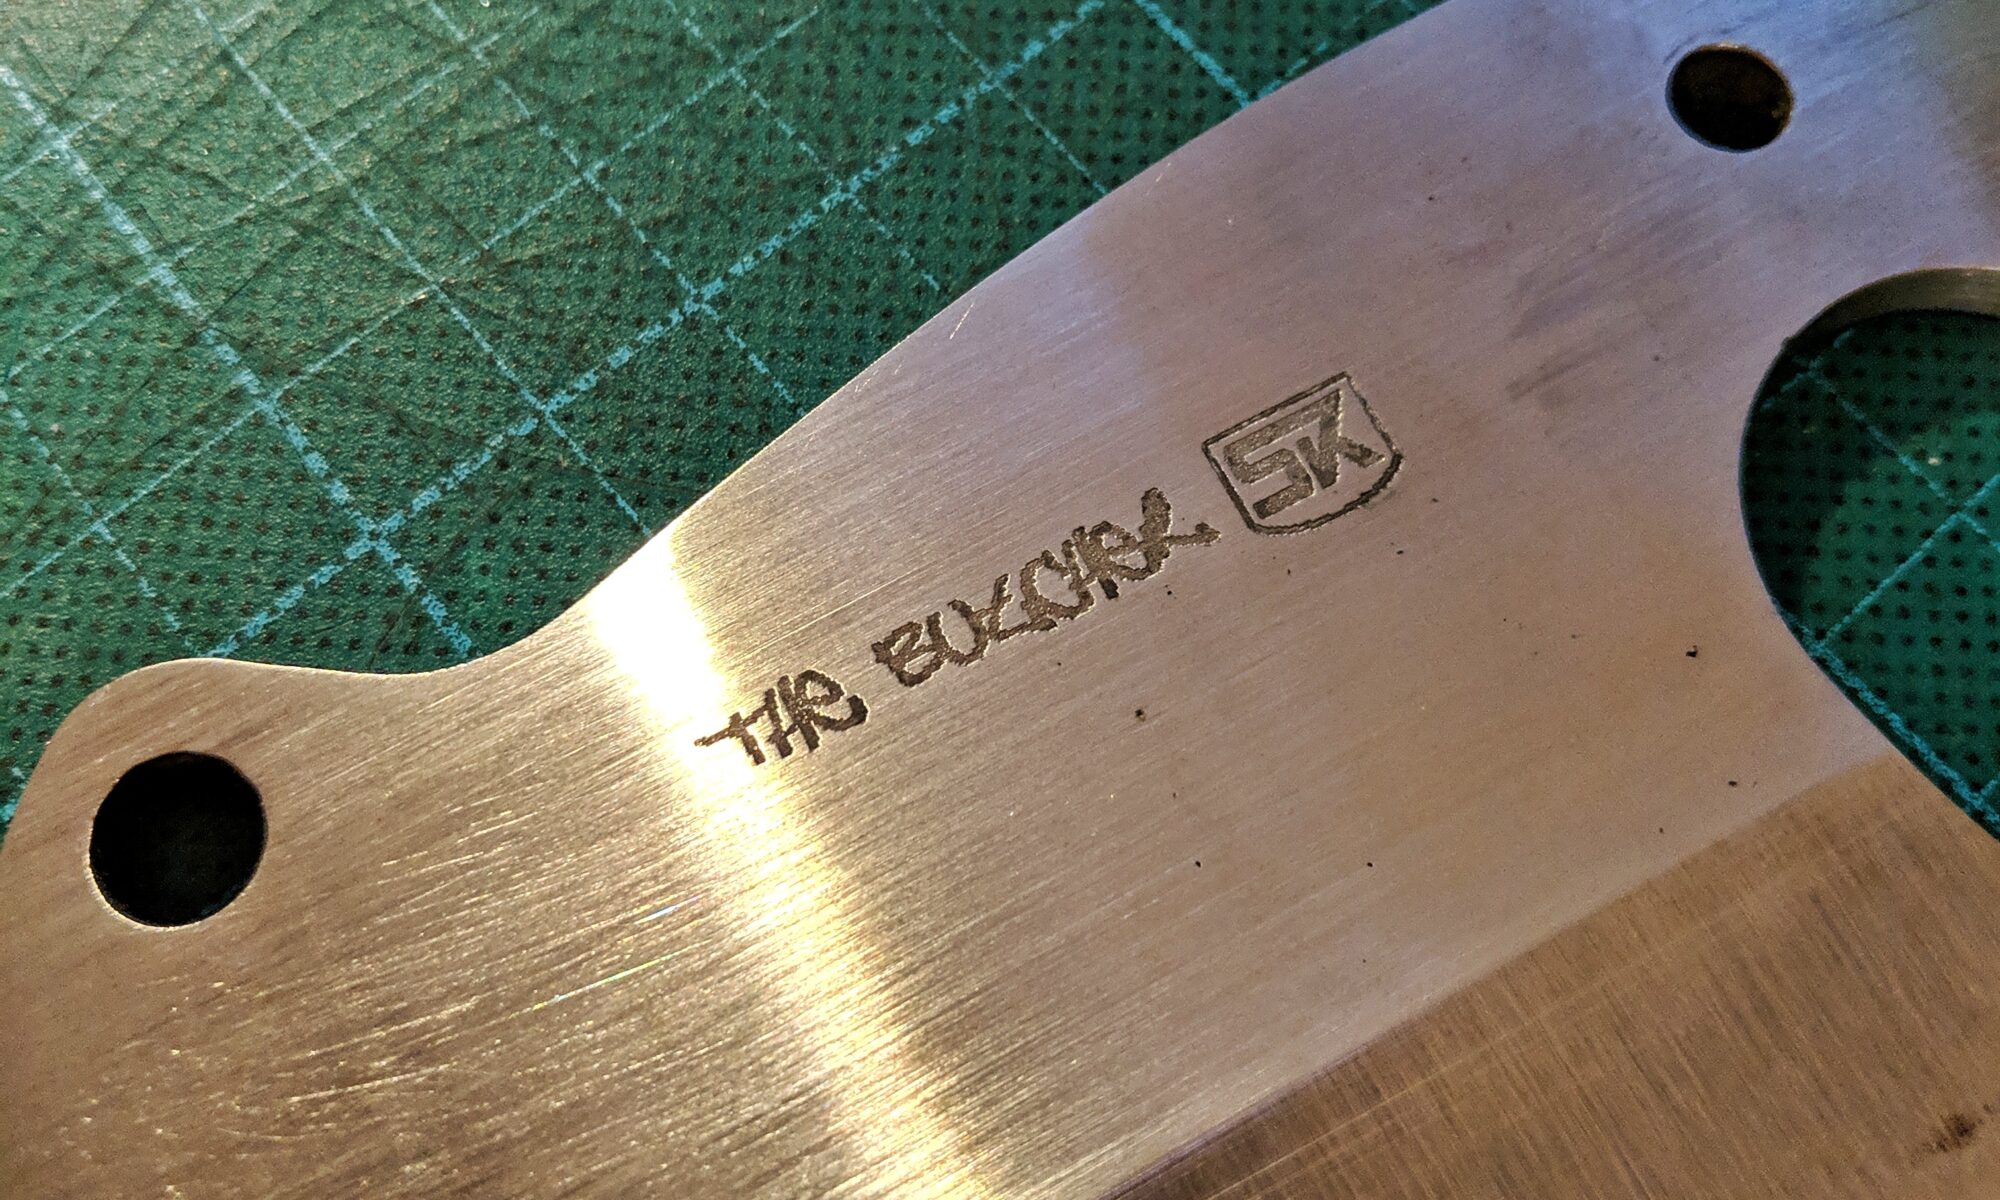
I finished the design for my blade markings and etched all knives I had here. Like I posted before I wanted to have unique metal etchings on every blade.
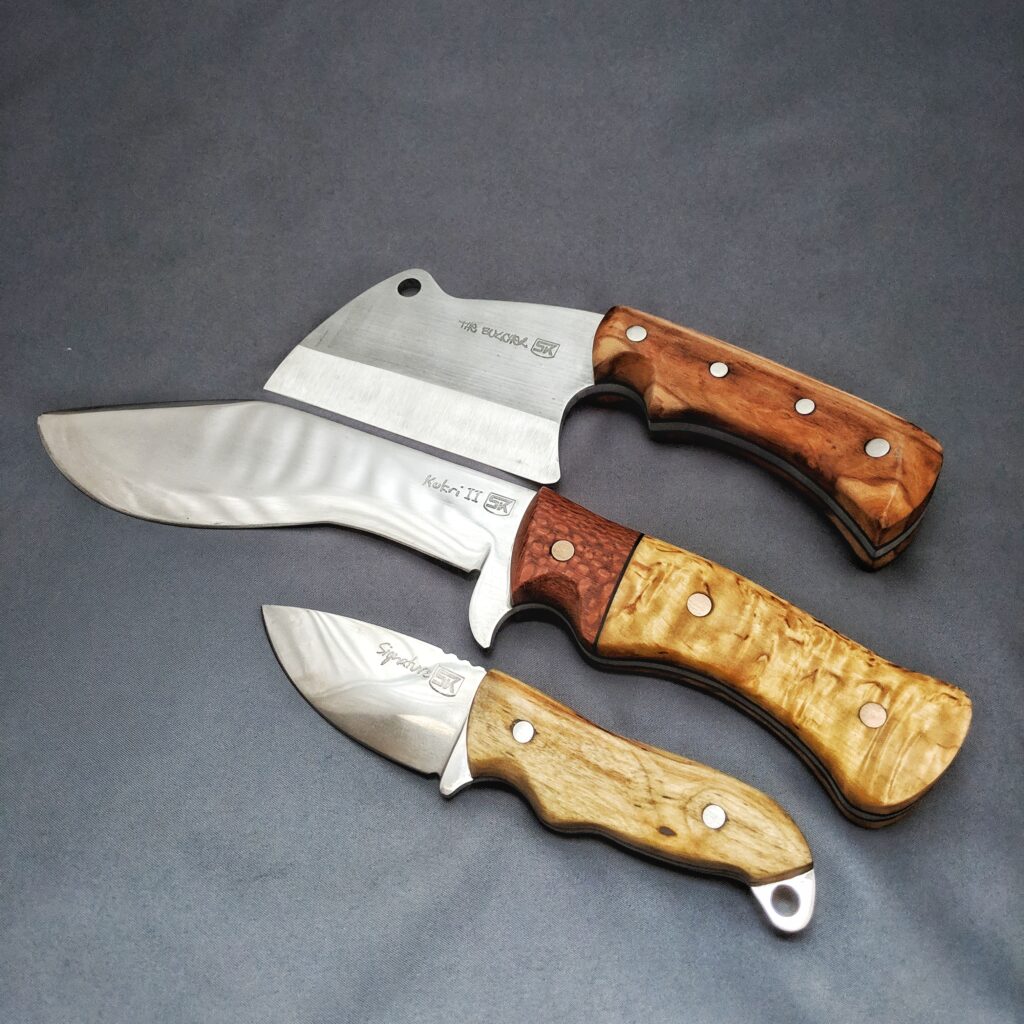
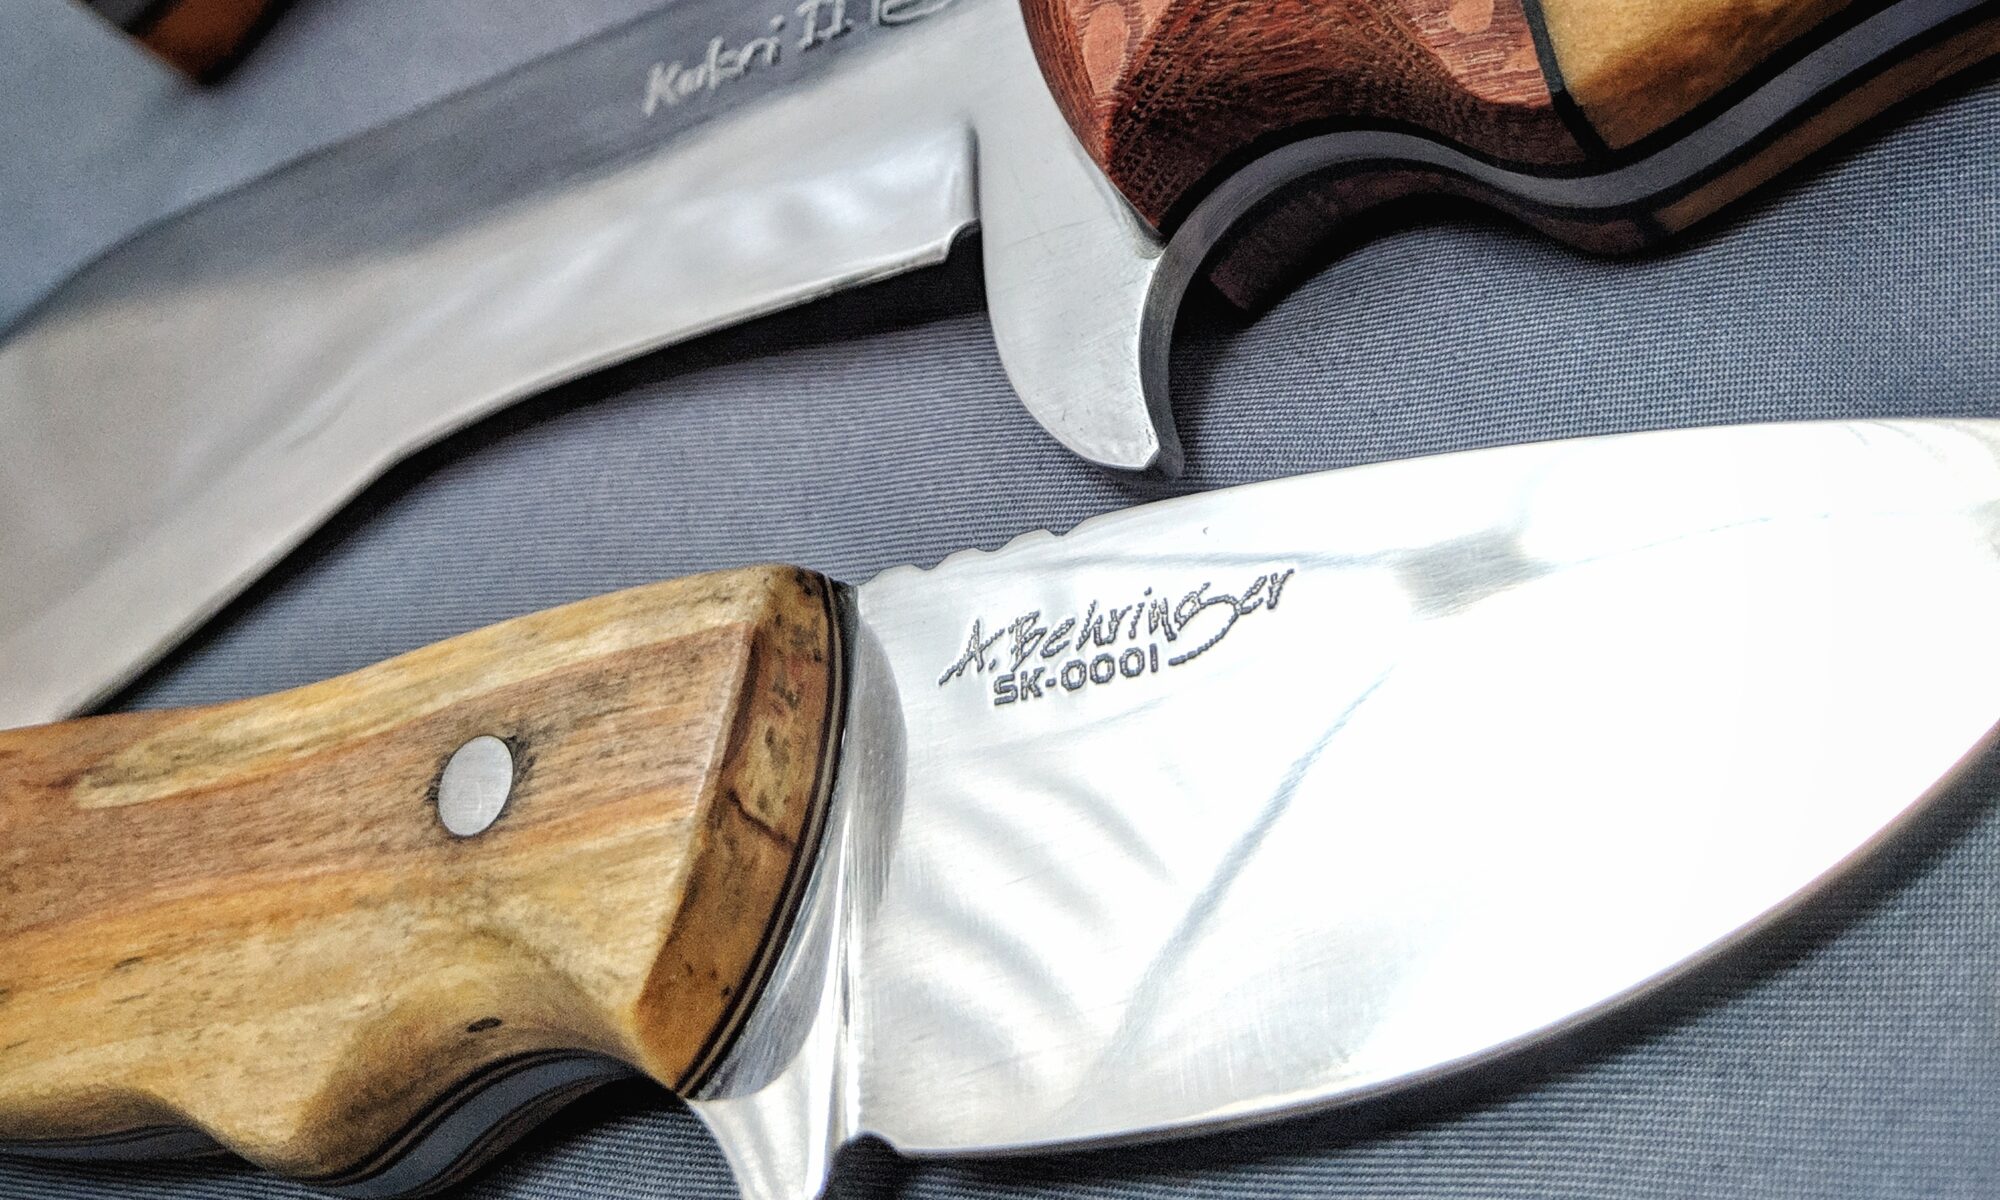
On one side of the blade I have my Simply-Knives SK-logo together with the name of the model. Every knife model I design has a unique name.
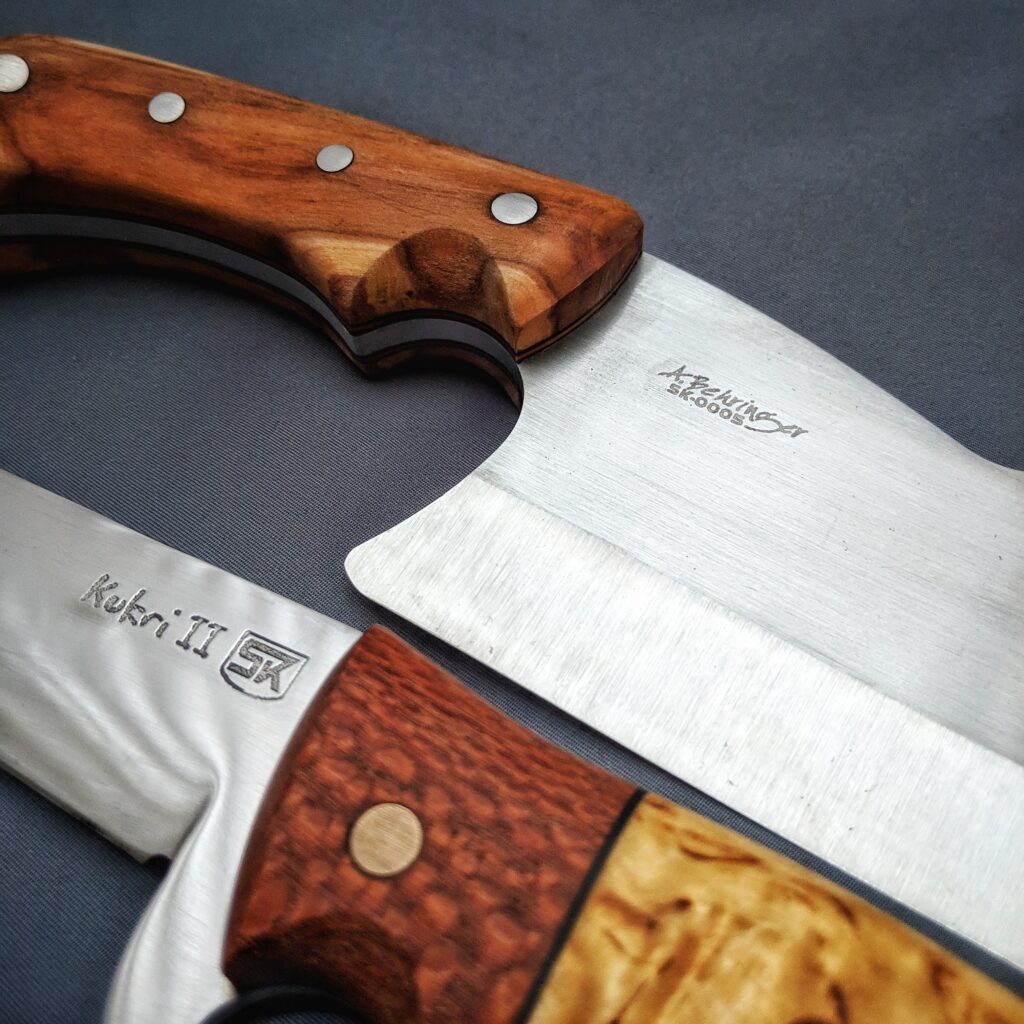
On the other side I add my name A.Behringer and a unique number of this knife. I will give every knife a number that identifies this single knife. I plan to put a certificate to every knife which matches the id metal etched on the blade.
The etching worked out pretty nice, despite the fact that the knives are ready made, the surface finish was done before and handles are allready on the blade. I was able to redo the surface finishes and clean up where the etching left some stains.
I am pretty happy with the results.
Conquering the Kitchen with a meat cleaver
I had some of the 4.5 mm 1.2235 (80 CrV2 or L2) steel of the bowie knife left. And as I had bought it as a 60 mm wide steel plate I wanted to make good use of the 200 mm piece left. I had seen a lot of meat cleavers from fellow knife makers and I had also thought about making something useful for the kitchen. I think there was more practical use for a kitchen knife, as the zomie apokalypse wasn’t near where my first knifes would be of good use. And many of our supermarket kitchen knifes are shitty anyways so I planned something on my computer.
The design phase went good. I wanted an handle which is a bit angled down and I liked the design of the handle of the outdoor knife I made for my father. Also I liked the idea of an arched spine that goes along the top of the whole knife. A hole in the top of the blade of a cleaver is mandatory I think.
Putting the paper stencil on the steel and cutting everything out with the angle grinder went nicely. What I did not like was the pattern the steel mill left on the plate and these marks where pretty hard to grind away. But finally I had my 240 grit scratch pattern on the steel.
The edge is completety straight and I anticipated the grinding of the bevels would be easy – I think I need a better grinder or at least some better belts – I already found Trizact belts for my machine so I will give them a try.
As this will be a heavy duty kitchen meat cleaver I wanted more durability of the design so I added another pin hole for the handle scales – just joking. I wanted to try something new and so I wanted 2 big and 2 smaller pins, just for the looks. Did I say I love my drilling machine?!
Next came the heat treatment. I already experimented in building a Venturi Burner but that did not work so well – that thing makes a lot of noise and the flame burns inside the tube – I think I will have to think of another design. Probably the tube is to big in diameter. But the forge gets hot with that thing too and I ended up with a proper hardened blade – file test was successfull. Then the blade went to the oven.
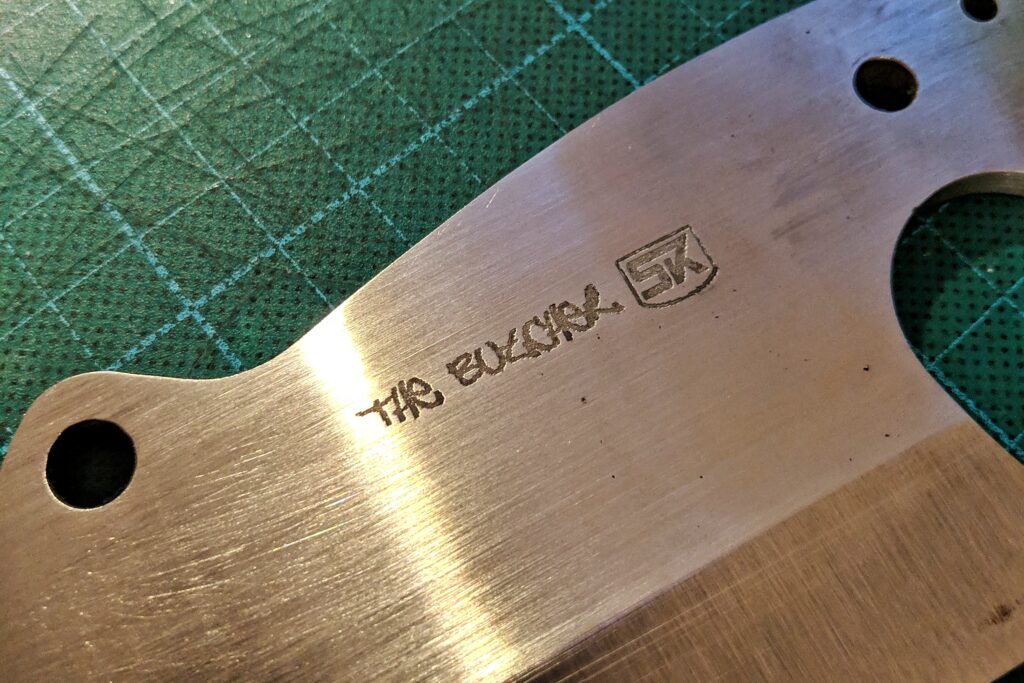
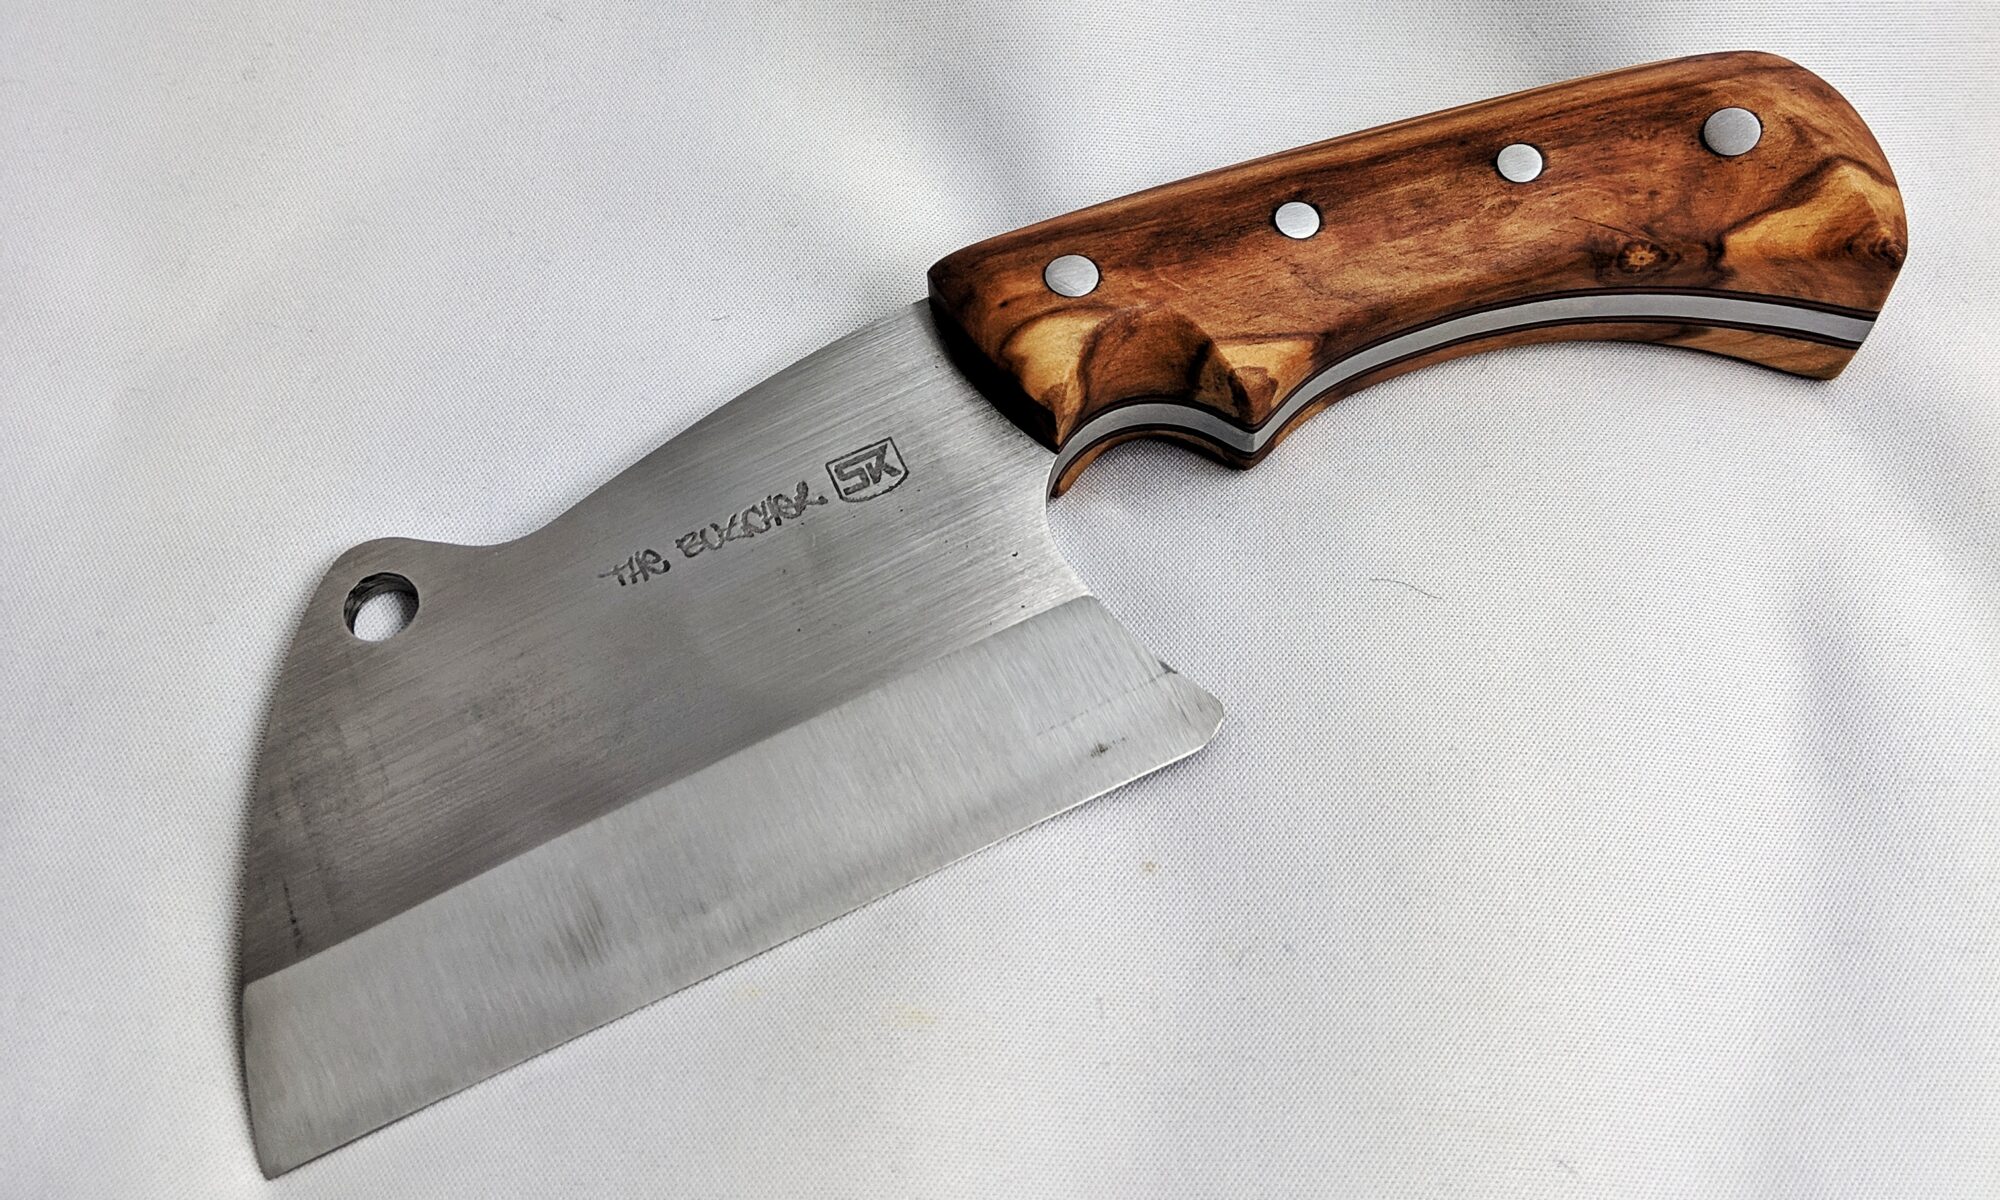
This is the first blade I tried etching my logo onto, and the name. I think “the utcher” fits nicely for a meat cleaver, even such a small one. Before I had removed the filthy remains of the heat treatment. And after the etching I refreshed the 240 grit scratch pattern. I also refreshed the bevel grinds as you can see in the pic I fckd up the scratch pattern there – I ended up with an extreme sharp scandi grind which goes straight to the edge with no secondary bevels.
Next came the handle. Last winter (2017/2018) our lovely small apple tree broke under the weight of the snow. The tree was just a bit over one meters high but it always had small delicious red apples. The whole family was sad to see it lying in the snow. I saved some of its bigger branches to build something from them – so why not as a knife handle where it could live forever for us?
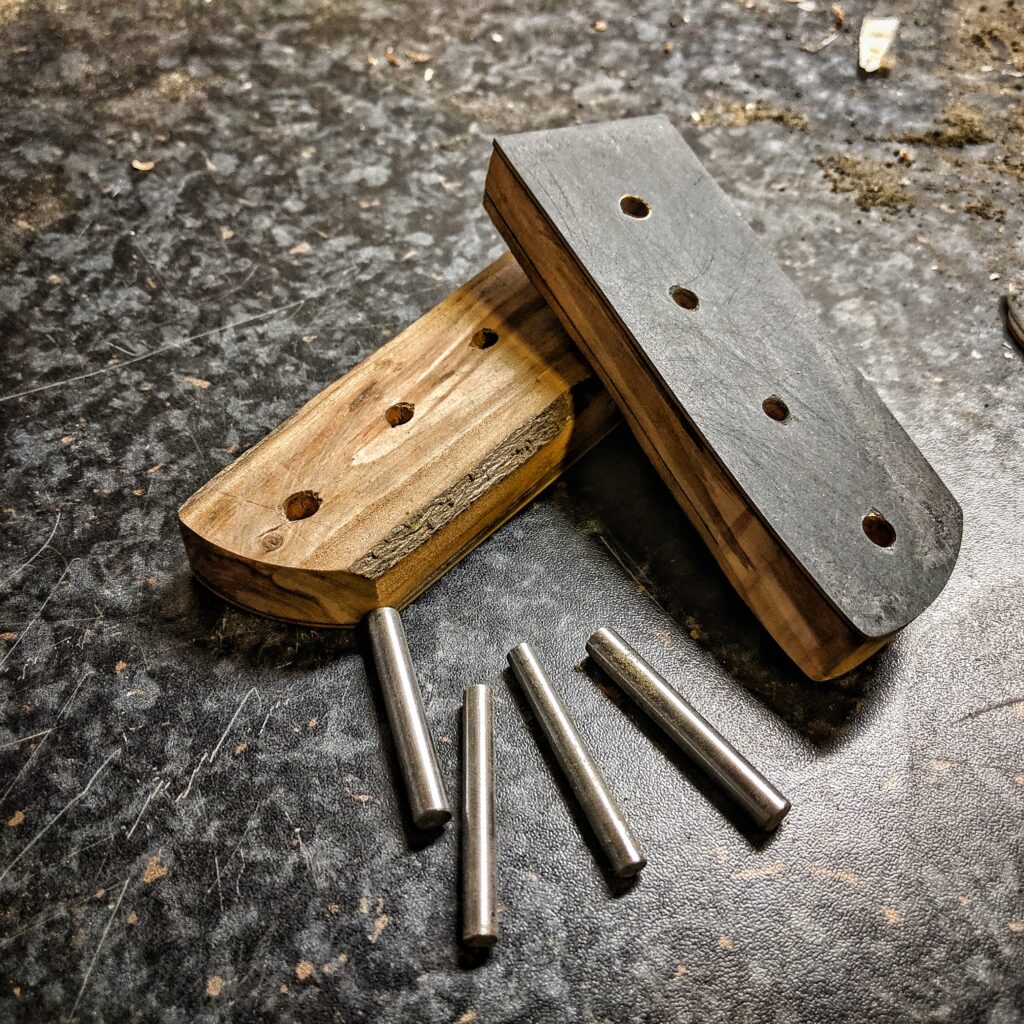
I cut a piece out of the apple wood branch, just big enough for the handle and chose orange and black for my liners. First I laminated the liners to the wood blocks and let it dry for a day. The next day I glued the blocks to the blade and had to wait another 12 hours before I could continue with the handle.
Grinding the handle scales to the tang and bringing everything into an ergonomic shape went pretty good. I am still mazed how beautiful the apple wood turned out when everything was at 240 grit and I treated the handle with linseed oil varnish.
And yes the knife IS sharp. While preparing the knife for some photos I cut myself pretty badly.
Meat Cleaver: The Butcher
A small but heavy meat cleaver with a scandi flat grind. The first knife I used metal etching to transfer my logo and the name of the blade. The spine of the knife runs in an arc from the heel of the handle to the hole at the top of the blade. The handle has a 4 pin design and a wide heel to avoid loosing grip when hacking with the knife. The handle is made out of apple wood from an apple tree the broke in winter 2017.
My blogpost how I made this knife.
Continue reading “Meat Cleaver: The Butcher”Outdoor Knife: PB
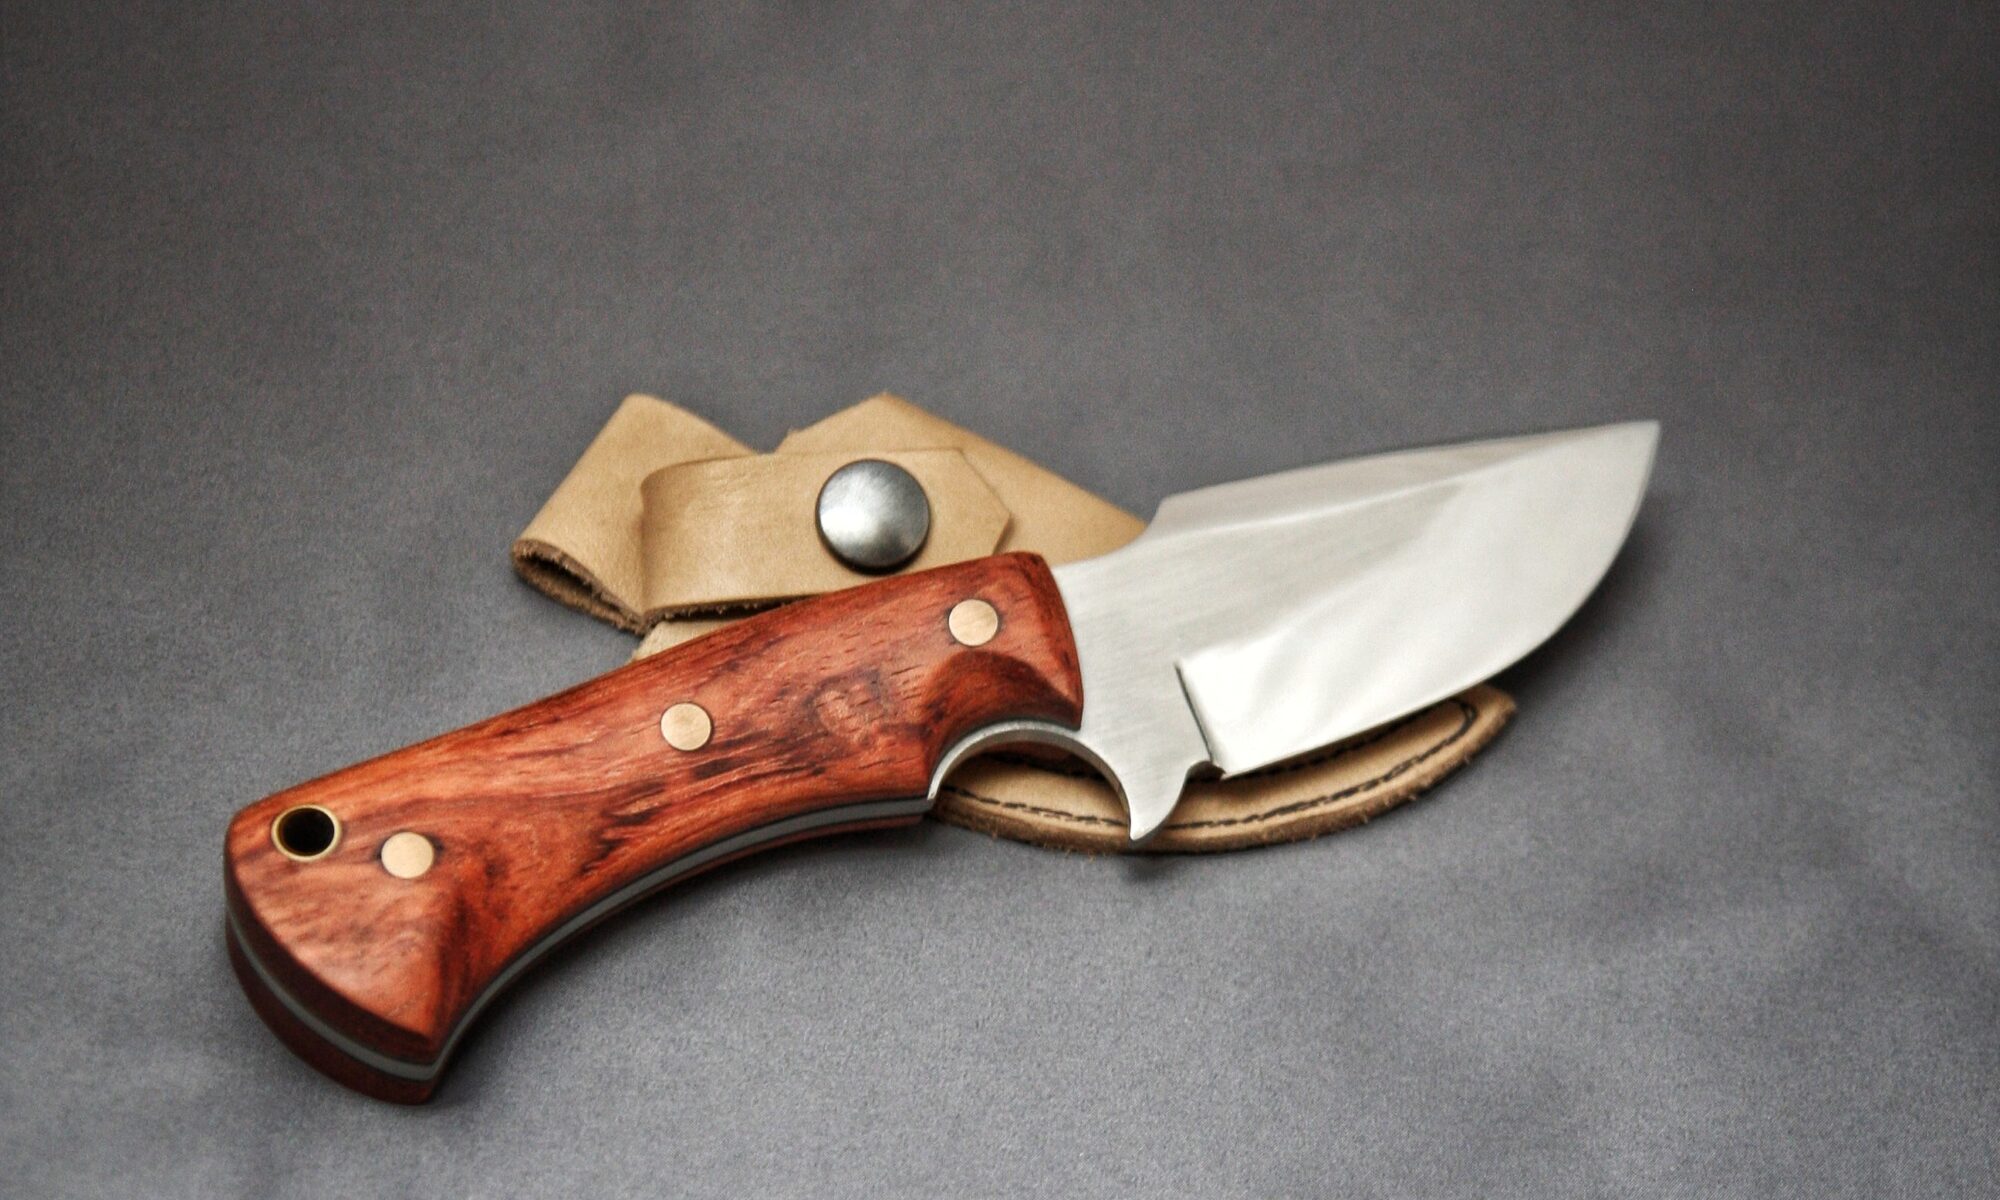
The fourth knife I made. I made this knife as a christmas present for my father 2018. The blade is intentionally short and wide. The index finger cutout has a small silver ring running around the opening. The tail of the handle has an extra wide design to give the knife a good handling and has an additional hole for a wrist strap.
Continue reading “Outdoor Knife: PB”Bowie knife: Mike
The third knife I made. I made this knife for my brother as a present for Christmas 2018. The blade is a recurved bowie design. The blade has a flat grind and a mix of polished and scratched surfaces. The recurved design made a special design for the leather sheath necessary.
My blogpost how I made this knife.
Continue reading “Bowie knife: Mike”How I do my metal etching / markings
In this how-to I explain how I use a Brother P-touch P700 and an STe-151 stencil tape for etching my blades.
Continue reading “How I do my metal etching / markings”Kukri / Khukuri: Kukri II
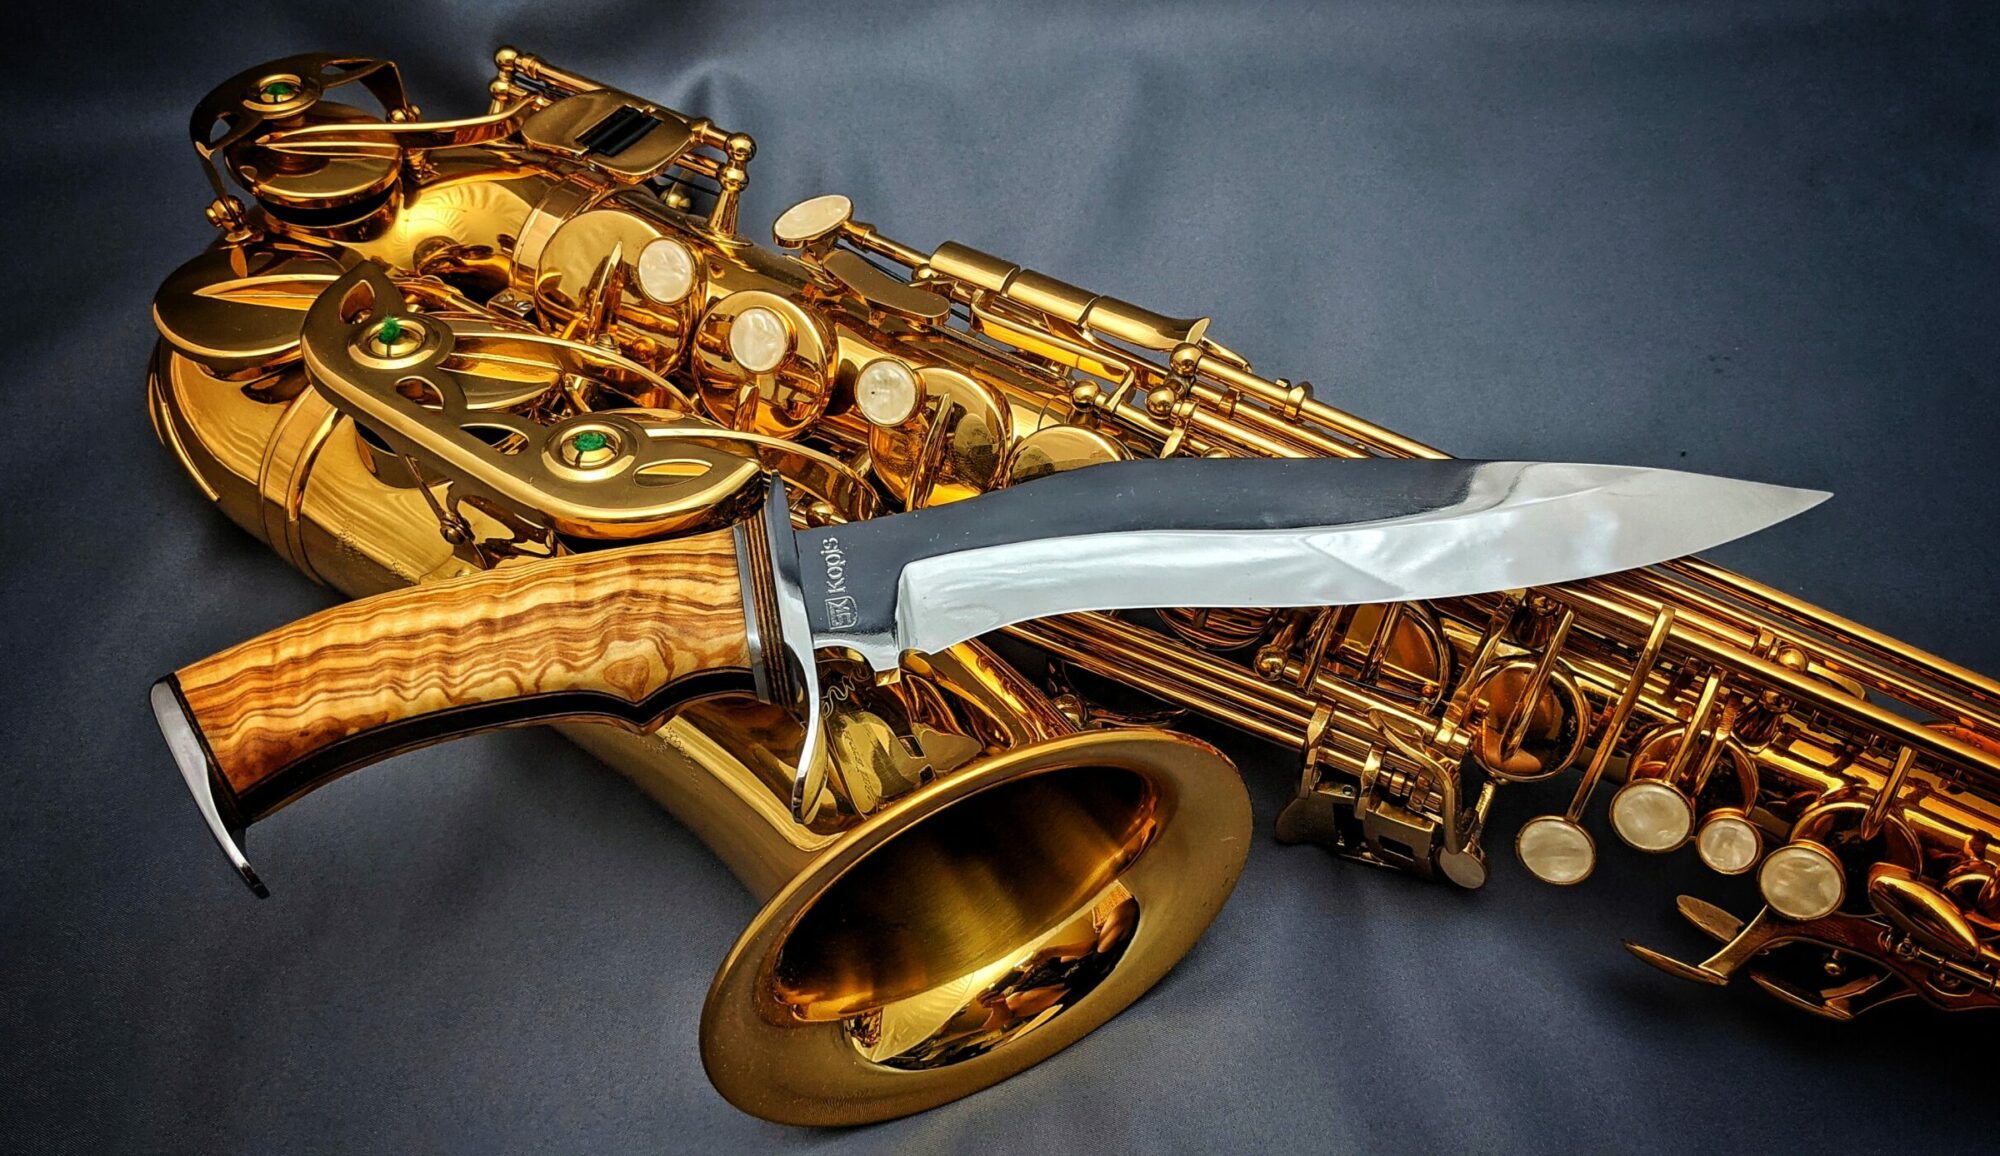
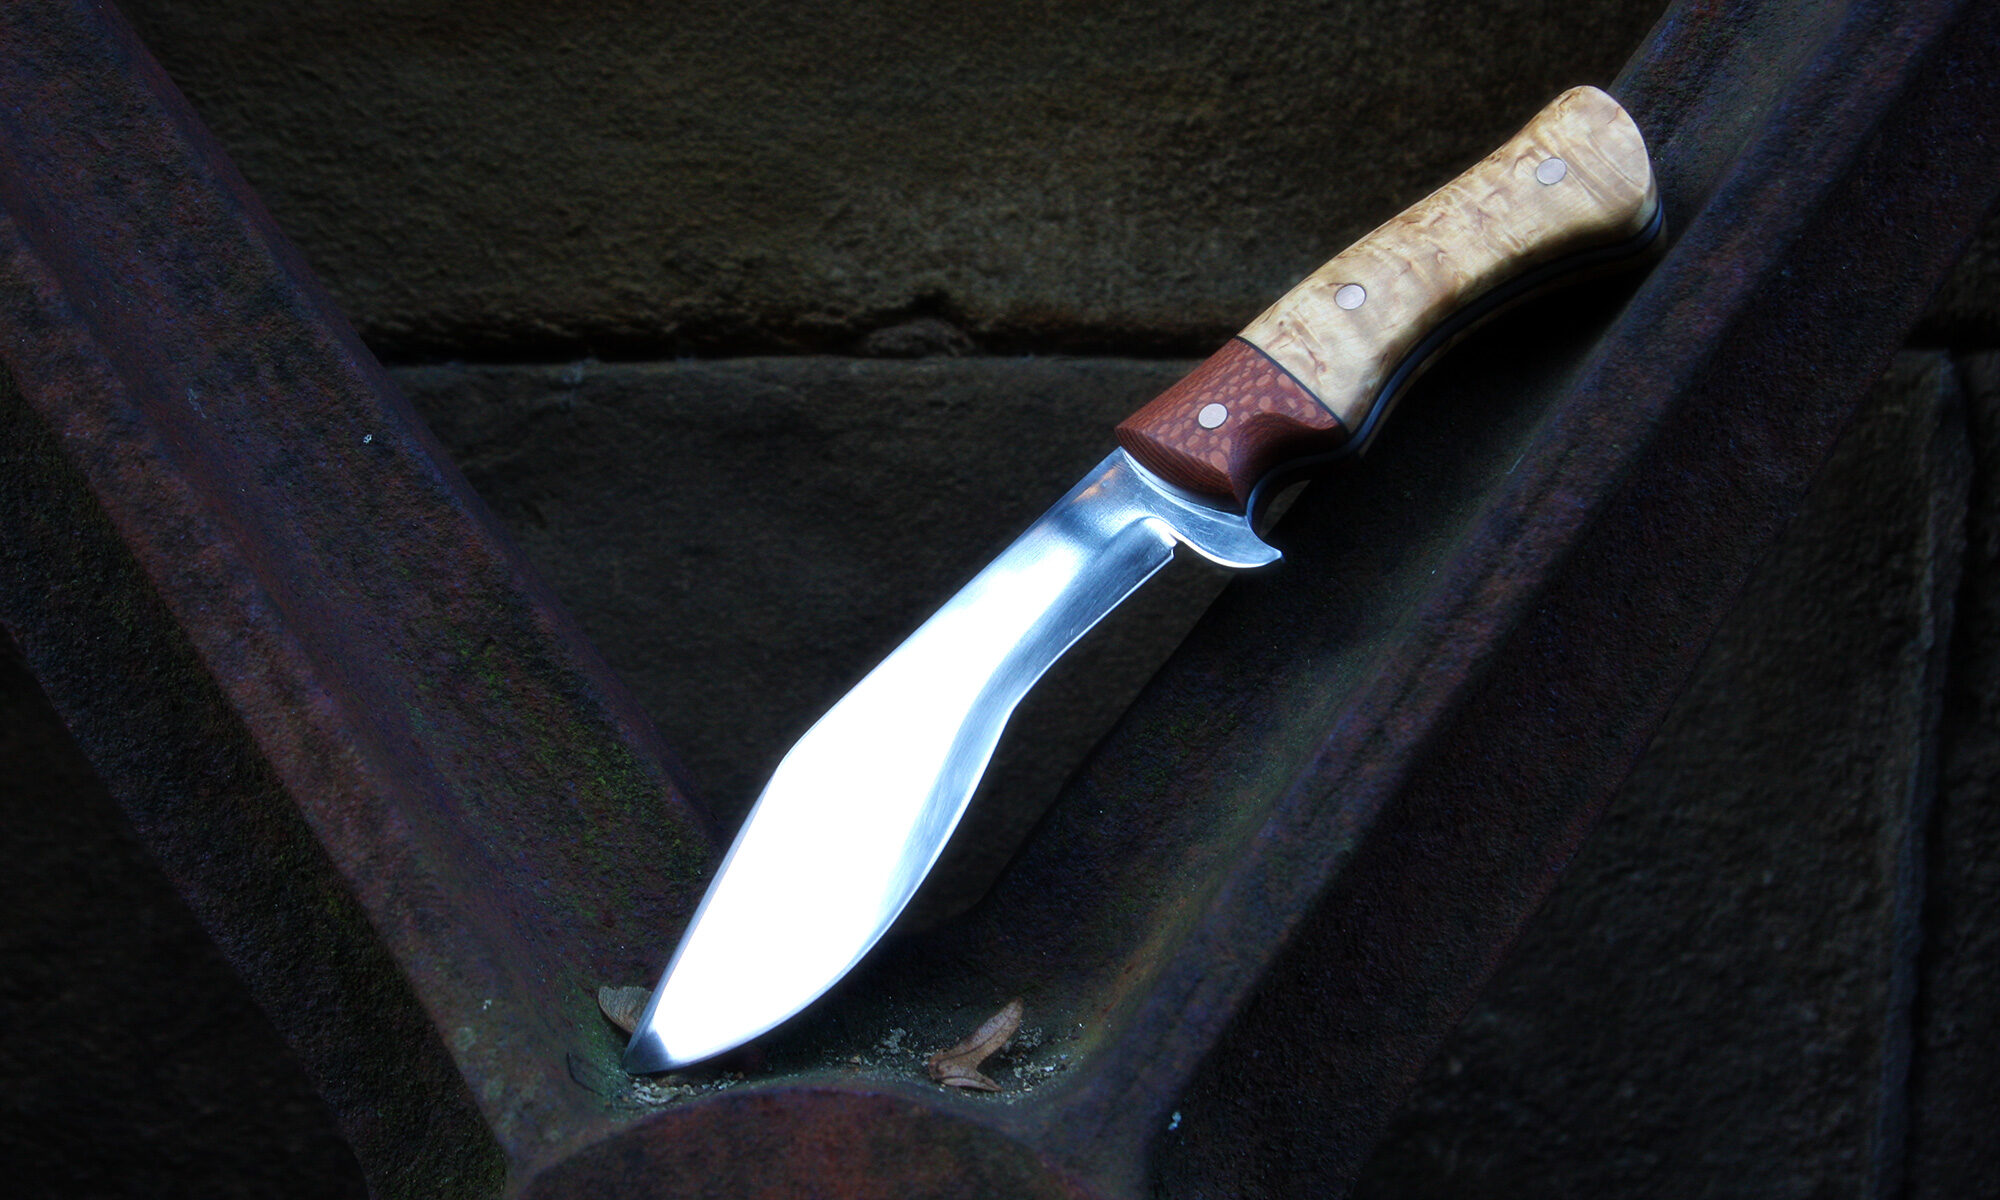
The second knife I made. I was inspired by video games where Kukri knives played a big role. I tried a split handle type with two different wood types. The blade has a konvex grind which is perfect for wood chopping.
my blogpost about making this knife.
Continue reading “Kukri / Khukuri: Kukri II”